

Table of Contents Show
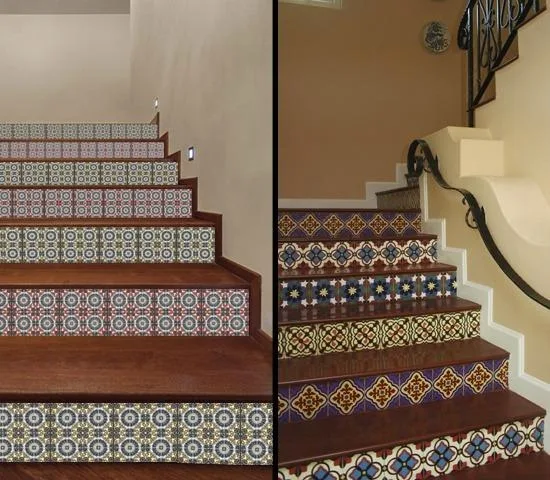
Add style to the interior stairway by tiling the risers. Decorative tiles installed on stairs brighten a dark stairway.
Add unique decor to your stairway by installing tiles over the wooden risers, and the vertical back of the steps on the stairs. Using mosaic tiles or plain, single-colored tiles to add dimension and flair to your stairway is a fun way to bring your personal style to your home.
DIY Decorative Stairway Riser Tiling
There are a few different ways to decorate the stair risers with tiles. You can use medium-sized, 6-by-6-inch, tiles that do not take up the entire space, height-wise, of the riser for a full designer effect.
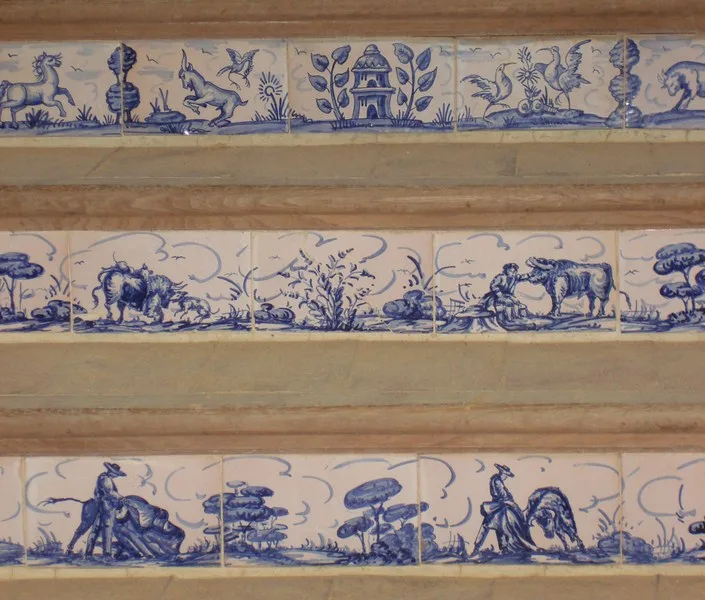
Be creative and design your own mosaic tile story on the risers. Make the same design on each riser telling the story, or make the story run from the top of the stairs to the bottom in consecutive pictures.
Before deciding upon adding tiles to the risers of the stairs, check the depth of the tread to prevent losing valuable foot space by reducing the space by an inch.
Materials:
- Tape measure
- 6-inch square ceramic tiles
- Mortar
- V-notch trowel
- 1/4-inch tile spacers
- Grout
- Grout float
- Wet sponge

Instructions:
- Measure the height of the risers on the stairway, using a tape measure. The riser will measure equal to or less than 7 3/4 inches. Purchase 6-inch square tiles to place on the risers which will leave a 7/8-inch gap above and below the tile.
- Fill the 7/8-inch gap above and below the tiles with small accent tiles or colored grout.
- Apply mortar to the riser, the vertical back of the stairs, using a V-notch trowel. Set a clump of mortar on the riser and spread it across the riser covering every inch. The V-notches in the trowel leave a sufficient amount of mortar on the riser to hold the tiles in place. Begin working at the top of the stairway to prevent loosening newly laid tiles.
- Set a 6-inch ceramic tile into the mortar. Start on the side of the riser that connects with the wall and work your way to the opposite side. Install a 1/4-inch tile spacer between all the tiles to ensure a uniform, even gap between the tiles.
- Continue to add tiles to the risers of the staircase using the same process until all risers have 6-inch ceramic tiles covering them. Allow the mortar to set for two hours.
- Insert grout into the 1/4-inch space between the tiles using a grout float. Place a clump of grout on the tiles at the gap and push the grout across the tiles until each gap has been evenly filled with grout.
- Grout all the tiles on every riser. Let the grout set for an hour.
- Clean the tiles with a wet sponge. The grout on the tiles will wipe off easily even after it has been set because the tiles are a smooth surface, but the areas between the tiles are not.
- Shellac the grout or use another type of clear sealant to prevent chipping, wearing, or erosion on the grout when you clean the tiles.
Warnings
Do not press hard when wiping the tiles with the wet sponge or the grout will loosen and wash away.