DIY repair for wood rot is not difficult. It will save you money.
If you are seeing wood rot around your wooden window ledge or the brick mould on your outside door frames you really should repair that wood rot now rather than later.
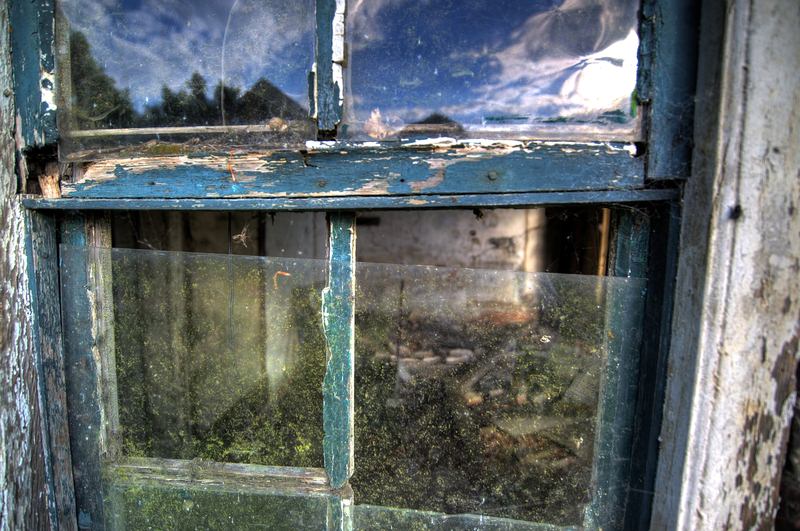
Don’t have a panic attack or nightmare but wood rot around windows and doors is more serious than some homeowners realize.
Why Wood Rot is Serious
- It means that water is getting to the wood in some way that it should not be.
- Your windows or doors may not be sealed properly. This could be a caulk, primer or flashing deficiency. It could be that water is getting behind your gutter into the soffit and down the inside of your walls. This is a more serious situation because it will surely cause structural damage if not repaired.
- Another consideration is cost. If caught in time an inexpensive DIY repair is possible. Believe me, the problem will only get worse. If you have to call in a contractor it just gets expensive. Small places wood rot that is evident can be pieced in. Do it now and save the cost of a window or door frame and install.
- In almost all cases wood rot in your home is worse than what you see. If you let your DIY wood rot repair turn into a structural damage repair it can cost you thousands.
Finding the Water Source of Wood Rot
Wood rot is a matter of cause and effect. First, fix the cause then fix the effect it has created. Look for water stains on your house and follow the stain back to its source. Go out when it rains and see where the water is coming from. Clean out your gutters.
Make sure roof flashing is not allowing water behind your gutters. Go into your attic with a flashlight and look for water stains on the rafter tails or anywhere for that matter.
Your DIY inspection is just as good as a professional inspection if you find the problem and fix it. It could be as simple as caulking your door or window. You will save the cost of an inspection and service call.
The DIY Wood Rot Repair for Windows and Doors
We will use an example of an outside door brick moulding that has sustained water damage and rotted. This example will give the DIY repair homeowner a good understanding of the process. Apply the same techniques to repair window mouldings.
For minor repair of softwood or very small wood rot repairs simply use an epoxy or wood putty. You can fill in or strengthen the wood. Sand, seal and paint to complete the job.
If you have brick moulding on an outside door frame that has wood rot of several inches it is a somewhat bigger job. Here is a material list for your trip to the building supply store.
- Brick moulding that matches the moulding on your door.
- A tube of good outside caulk.
- Wood screws 1 inch longer than the thickness of the brickmould.
Using a small square draw a straight line across the brick moulding a couple of inches above the wood rot. Cut the caulking next to the house along the side of the affected brick mould with a utility knife. Using a dove saw or cut off wheel cut along the line that you marked on the brickmould. Remove the bad wood.
Mark and cut a piece of the new brickmould the same size as the piece you removed. Drill a hole at the top and bottom of the wood repair piece that is a little smaller than the diameter of the wood screws. Using a drill bit a little larger than the head of the wood screws drill into the same holes about 1/4 of an inch.
Use two wood screws to fasten the new wood repair piece in place. Sink the head of the wood screw below the surface of the wood. Caulk the side of the new brickmould next to the house. Caulk the crack across the brick mould where the new piece has been placed.
Caulk over the holes where the wood screws were sunk. Let the caulking dry and then sand it to a smooth surface. Seal and paint your wood repair.
To replace the entire piece of brick mould, follow the same procedure. It’s just a larger scale. You will have to miter the top of it to fit the crosspiece at the top.
You’ve done a great job and saved yourself some money both by doing it yourself and doing it before it becomes a bigger expense.