
Table of Contents Show
Learn how to build your own weaving loom. Use materials around your house to make a weaving loom that is effective and cheap. Build a cheap weaving loom with simple instructions.
DIY Weaving Loom Instructions
Have you always wanted to learn to weave, but you don’t have the money or space for a giant floor loom? Learn how to build your own weaving loom using materials found around your home. You’ll be a weaver in no time!
Inspiration Strikes
Like many other knitters and crocheters, I’ve often dreamed of learning how to weave. But who has the money or the space for a giant floor loom?
Even the more portable knitter looms cost a pretty penny, and personally, I’d rather spend that money on more yarn or spinning fiber, or even a new spinning wheel. But that doesn’t mean I don’t still get the itch to weave.
I was inspired by this Threadbanger video a while ago. I watched it and thought, “Hey, I could make that!” The only thing stopping me has been the fact that I don’t have any scrap lumber lying around my house.
Then my friend Rachel made her own loom using spare parts from an old bed, and I realized that I might have scrap lumber after all.
I didn’t want to use the parts from my children’s old bunk beds in case we ever decide to resurrect them, but I did find one of those toy sorter shelves tucked away in the corner of the playroom, ready for the scrap heap because it was a little wobbly and not very useful for my kids. Aha! Scrap lumber!
Photos of the Loom Parts
Building the Loom
So, I unscrewed the poles from the middle of the toy sorting shelf and removed, them, leaving me with two sides.
One side on its own would be enough to make a small loom, but I want mine to be long enough to make a scarf or even a narrow wrap so I used both sides.
I stuck them together end to end and literally taped them together in the middle section. If I had duct tape I would have used it here, but I didn’t – and the whole point of this project is to use what you have and avoid spending money.
So I used packing tape, which works for now. If I acquire duct tape in the future I might reinforce that midsection; I may even add brackets on the side or cardboard across the gap for extra stability.
If you’re making a loom and you don’t have a toy sorter shelf, find any long piece of lumber you’ve got lying around. If yours is super skinny, find four pieces and nail them together like a picture frame before you start.
The next step is to put nails or screws into each short end. I chose nails because I don’t know where our drill is right now. I measured across the short edge of my loom, making pen markings every 1/2 inch starting at one end and finishing at the other.
I ended up with a total of about 21 markings. I repeated this on the other short end, then I took nails and hammered one in at each marking point. If you do this, 1/2 inch is about as far apart as you can go with your nails, so keep that in mind.
It’s important to use nails that have a flat, wide-ish head on them. This way when you warp the loom the warp threads will catch on the nails and not slide off.
Aside from that, you can use whatever type of nail you have lying around, just make sure that the top half of the nail or so sticks out from the wood after you nail it in.
Read Also:
Warping and Weaving
Now that you’ve built your loom, it’s time to use it! Choose a sturdy yarn, string, or other material to warp your loom. I used white cotton yarn, the kind you’d use to make dishcloths because I have this giant cone of it (see the next photo gallery).
So I figured it’d get me pretty far in the weaving business, and also it’s a nice neutral color since my scarf will have a virtual rainbow of colors in it.
Start the warp by tying one end of your yarn to the upper left nail in the loom. Bring that yarn down to the lower left nail, and wrap it around the nail clockwise.
Bring it back to the next nail on the top and wrap it around that nail counter-clockwise. Keep going back and forth across the length of the loom like this until you reach the last nail, then tie another knot.
See the photos for examples of the first few wraps and the finished warp all across the loom.
Now it’s time to pick your weaving materials. For me, I chose all the little leftover skeins of handspun yarn I’ve been hoarding saving for a special project.
Some of them are samples I spun when I first learned to spin, and others are skeins I had left over from other knitting and crocheting projects. See the photo gallery for the whole big pile of them on top of my loom.
Start with one skein of yarn or whatever you’ve got – as an aside, I can’t wait to cut my old T-shirts into strips and use them on my new loom – and tie the end of it to your first, a.k.a top left, warp thread.
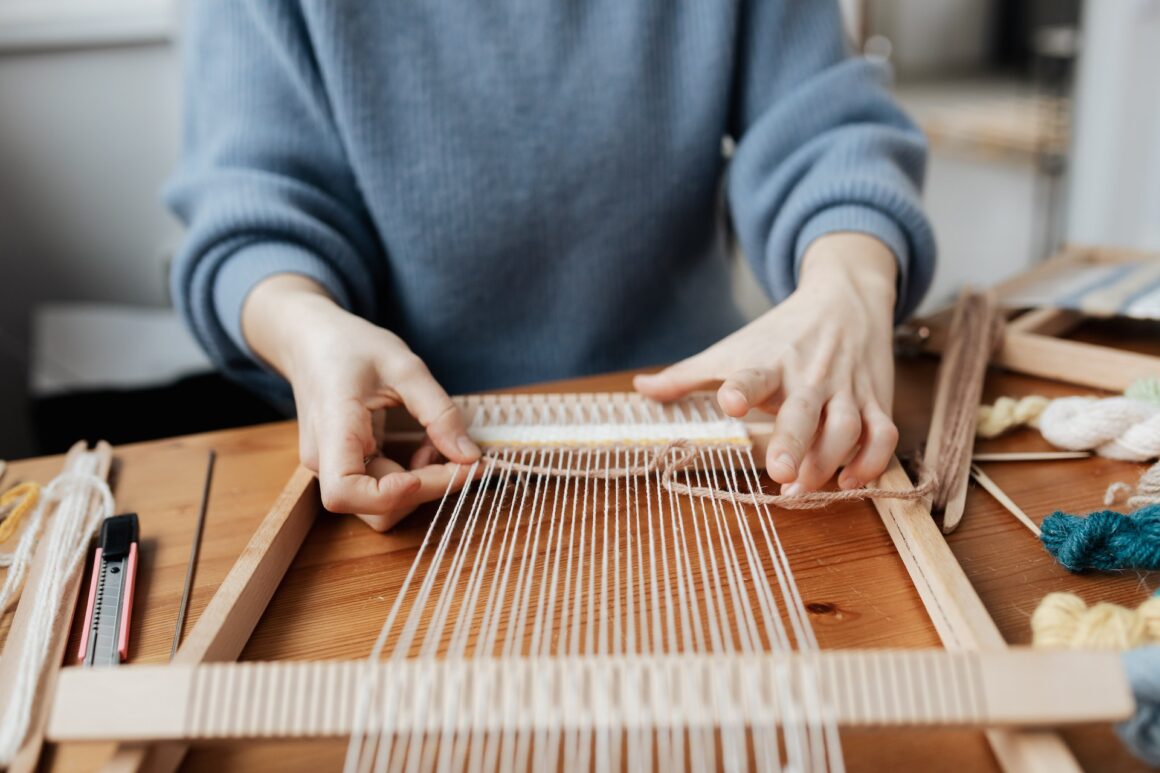
Harken back to your days of pot holder looms, and go over/under/over/under as you come to each warp thread across the loom, moving from left to right.
When you reach the far right side, go around that edge (gently – if you pull too tightly you’ll squeeze in the sides of your scarf!) and start back from right to left. This time alternate under/over, or the opposite of what you did in the first row.
Keep going back and forth like that until your finished scarf is as long as you want it to be, or until you run out of yarn. As you weave, periodically stop and push the woven rows up toward the top of the loom to keep the weave nice and tight.
To take the woven piece off the loom, cut the warp threads close to the nails, two at a time. Tie each pair of warp threads into a square knot at the base of your woven piece to secure it, then repeat this on the other end of the loom.
Add fringe or weave in your ends, whichever you prefer.
Warping and Weaving the Loom
Tips
Here are a few final random thoughts for you:
- The size of this loom mainly determines the size of the finished woven piece. I can’t weave anything wider or longer than my loom. However, I can go narrower – I just won’t warp all the nails. I can also go shorter by stopping before I reach the opposite end.
- My nails were kind of rusty and dirty, so I cleaned them up before I started weaving. I recommend checking yours for this problem.
- This loom is a little wonky. The warp threads aren’t perfectly spaced and the nails aren’t perfectly straight. I am okay with that – I’m not perfect, either. If perfection is what you seek, get a professional woodworker to build your loom or buy one at a knitting store.
- Get your kids in on the fun with this DIY craft – mine probably won’t want to do it, but yours might!