
A simple, inexpensive method to breathe new life into old interior woodwork, whether it’s the hardwood kind or simple sheet paneling.
Wood paneling, whether it be hardwood paneling in a high-end home or ¼ inch sheet paneling in a mobile home, was very popular not too long ago. Unfortunately, once it starts getting scuffed or begins to lose its glossy sheen, what was once attractive can now be a dull eyesore.
But, unless the walls are full of very large holes or are water damaged or rotten, by following these simple instructions, you can restore life to them, whether they’re in your own home or a rental property that you’re fixing up. And you can do it for very little cost compared to the alternative of replacement. All it takes is a little elbow grease.

Read Also: How to Distress Furniture Easily
What You’ll Need to Repair Your Wood Paneling
Unless you have an extensive amount of paneling to repair, you should be able to buy everything on this list for under $150.
- Stain marker pen in the shade of your paneling
- Mineral Spirits (Low odor is recommended)
- Cloth rags
- High gloss polyurethane
- Foam brushes of assorted sizes from 1″ to 4″
- Drop cloths
- Stainable wood filler
- 400 grit sandpaper
- Painter’s tape
How to Restore Wood Paneling
First, unless you’re planning on replacing the flooring, you should put down drop cloths wherever you’re going to be working.
Begin by removing any nail hangers or other items from the walls where you’re going to be working.
If the ceilings or crown/base molding are of different materials, you may want to use painter’s tape to protect them.
Once the walls are free of foreign objects, use the Cloth Rags to wipe down the surfaces with mineral spirits. This will remove most of the dust or polish that may be on the surface. Allow drying.
Caution: While using either the mineral spirits or the high gloss polyurethane, be sure to have adequate fresh air in the area. Respirators are recommended. Also, avoid any open flames in the area.
Once the mineral spirits have completely evaporated from the surfaces, use the stainable wood filler to fill in any nail holes or scratches that are visible. Both Minwax and DAP, among others, have all these products available. Be sure that the filler is Stainable.
Once the wood filler has completely dried, gently sand the repair smooth with the 400 grit sandpaper, and wipe away any excess dust.
Apply the stain marker pen to the stainable wood filler and allow time to dry.
Using the foam brushes, apply a thin, even coat of high gloss polyurethane to the entire surface of the paneling. Be sure to keep a wet lap to avoid build-up, and be careful with this step, as the polyurethane is very thin and hard to see, and can run easily.
If you find you must stop, try to do so at a joint or seam in the woodwork to avoid lapping. Again, make sure there is adequate ventilation when performing this step, and avoid any open flames in the area.
You’ll Take Years Off Your Walls With This Simple Procedure
That’s all there is to it. This relatively simple procedure can take years of wear and tear off your walls for a very small investment. Of course, every situation is different, and it’s up to you to decide if you think this procedure will benefit you.
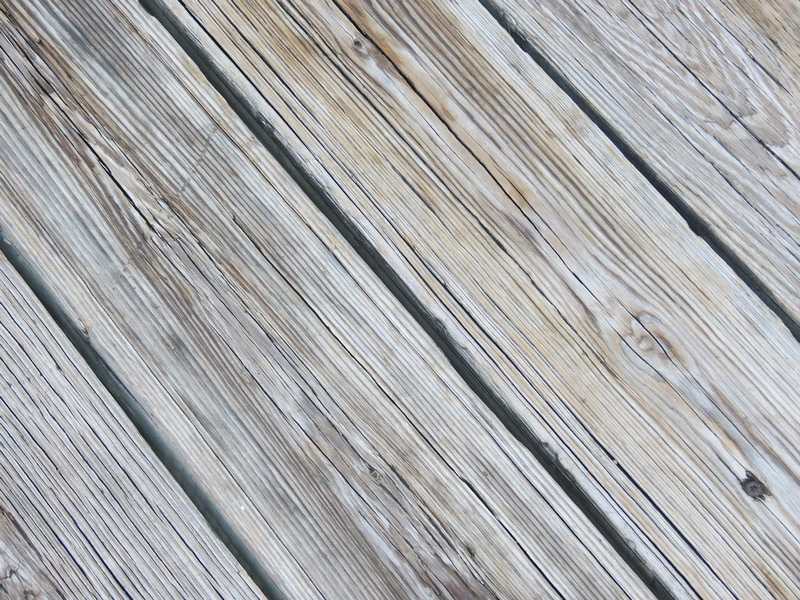
As an example, the paneling in the photograph accompanying this article was restored using this method. This particular paneling is in a mobile home and is 39 years old as of publication of this article. Done properly, your old paneling will shine like new.
But, of course, some blemishes may still be visible, depending on how large they were, to begin with. If you think your walls are too badly damaged to restore, or would just like to paint over them to brighten up your home, the link below will take you to an article that will explain how to do so. Good luck!
How to Paint Over Stained and Varnished Wood Paneling