Table of Contents Show
This tutorial will give you a fun and easy way to transform old or worn furniture into something hip and refreshing for any room in your house.
Many of us have that old table we’d like to refinish, or maybe we don’t want to spend a lot of money buying something new. This tutorial will walk you through step by step distressing furniture that you already have or a thrift store find.
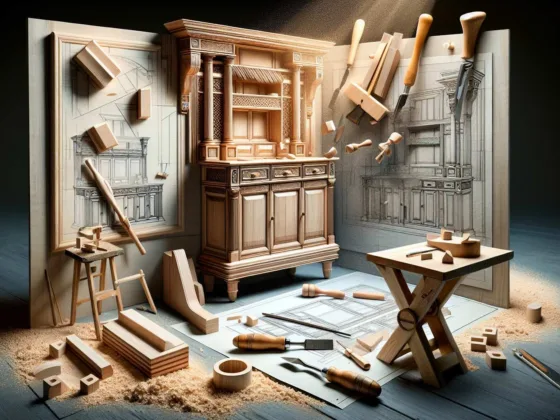
What to Look for in Furniture
Any furniture item that is real wood can be distressed. Make sure that the piece does not have a veneer on it or it is not made of any other material besides wood. Wood can be stripped and the new paint will adhere well to your finished project.
Preparing the Furniture
Make sure to clean the surface with a good cleaner. It can be regular liquid soap. The surface just needs to be clean of any dirt or debris. The next step is to prime the surface.
Many people will sand down the wood to get any finishing off of it so that the new paint adheres well. You can save a lot of time by buying a bottle of liquid deglosser available at most home improvement stores.
It is about $6.00 a bottle. In a well-ventilated area, work this into the surface with a rag. Allow this to dry. You must put your primer on about twenty minutes after so the surface is still sticky (created by the deglosser).
Prime the Surface
For the primer, KILZ has a nice general-purpose latex primer, but any all-purpose latex primer will do. If there is hardware on the furniture, remove it.
For example, handles or knobs on a dresser. Paint one coat of primer and allow it to dry. Usually, a couple of hours are needed to dry depending on the humidity.
Selecting Paint Colors
The next coat should be a light color and the top coat a dark color so that when the item is distressed, the bottom coat shows through. Select your color selections in a satin finish. For example, a white bottom coat and a brown topcoat.
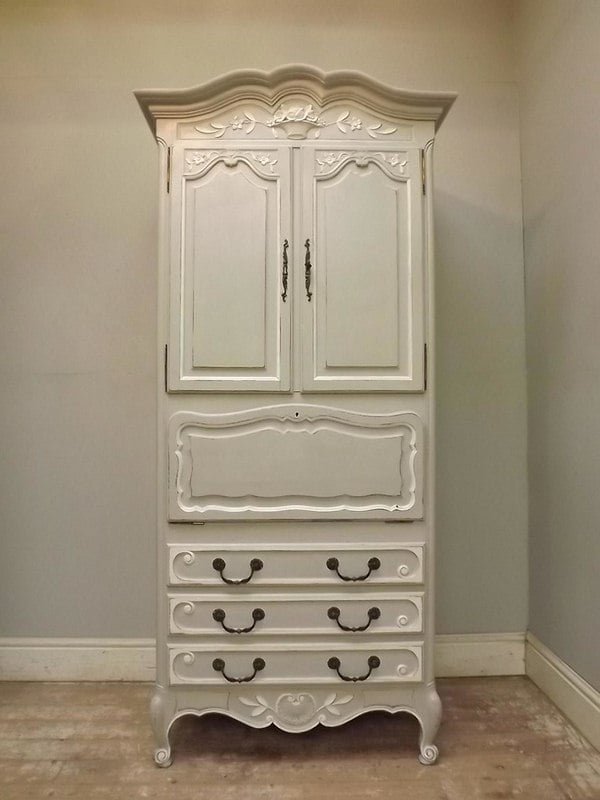
For my project, I did a white bottom coat with a blue topcoat for a cottage-themed dresser. Paint the bottom coat and allow it to dry. Then paint on the topcoat and allow it to dry.
Time to Distress Your Furniture
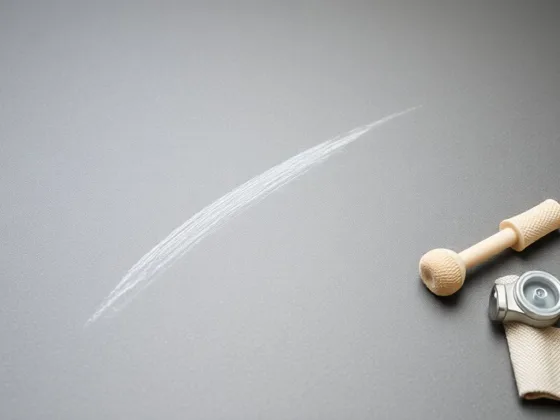
Take a piece of coarse sandpaper, and start to sand the areas that may have a lot of wear if this were an old piece of furniture. The corners, bottoms, and areas need any handles or sand around anywhere you would like.
For added effect, you can bang a chain or hammer to dent certain areas as well. Once you are satisfied, wipe the area clean with a damp cloth.
Finishing Your Piece
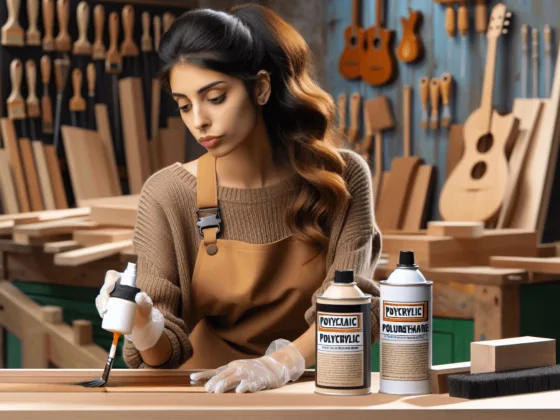
The final coat is a polyacrylic spray in a satin finish available at any home improvement store. Spray it once and allow it to dry. Spray it one more time for added protection.
This prevents further chipping, and if it is a table, makes it easy to clean. Attach any hardware taken off earlier. You’re done! You have saved yourself hundreds of dollars by buying new items or buying distressed furniture.