
Table of Contents Show
Wish you could paint over your old wood paneling to brighten up your home? This article explains how in simple English for the do-it-yourself enthusiast.
Recently I published this article How to Bring Life to Old Wood Paneling Cheaply and Easily explaining how to restore a new shine to old paneling and woodwork easily.
After reading the article, a fellow writer dropped me a line wanting to know if she could just paint over old wood paneling, as she “has too much of it.” As someone who loves the look of finished wood, I didn’t know that such a thing was possible.
Read Also:
Paint Over Finished Wood? I Wouldn’t Do it, But …
But, while I happen to love the look and longevity of stained and varnished wood, and would not usually recommend painting over it, I understand how some may not feel the same way. That being said, I decided to write this article detailing a couple of methods used to cover old varnished wood.
First of all, it depends on what the wood is on. For instance, if you’re looking to cover an old desk or coffee table, then you’re going to want to completely strip the old varnish and stain away before painting.
Any surface that would be considered “high traffic” would qualify to be stripped before painting. This is because these surfaces would be more prone to chipping and flaking because of repeated use.
When Completely Stripping Varnish From the Woodwork
Removing the old stain and varnish can be done with any of several brands of stripper on the market, such as Jasco Varnish and Stain Remover or PVR Paint and Varnish Remover. This is usually a labor-intensive task, requiring multiple applications and cleanup, as well as sometimes including the use of protective clothing or masks.
Different brands have different sets of instructions, and their formulas vary from highly toxic to environmentally friendly, and although the highly toxic ones tend to work a little better, the environmentally friendly ones are, well, environmentally friendly. The choice is of course yours.
- A Typical Regular Varnish Remover (Jasco Varnish and Stain Remover)
- A Typical Environmentally Friendly Varnish Remover (PVR Paint and Varnish Remover)
If You Want to Paint Without Stripping the Surfaces First
However, if the surface is not going to be handled or touched often, such as the surface of a paneled wall, then you can paint over them, with just a little preparation first.
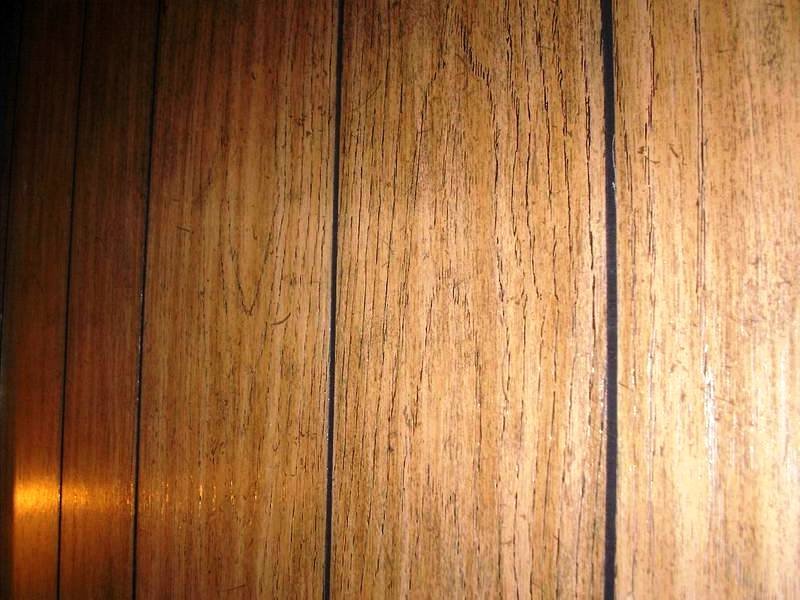
Keep in mind that if your paneling has a “textured” surface such as in the image accompanying this article, the texture will most likely show through the final coat of paint.
The first thing you’re going to want to do is to thoroughly clean the surface with a degreasing agent and a scouring pad or steel wool. This will remove any wax or oils on the surface that could cause the new paint not to adhere well. Be sure to wipe down the surfaces well to remove any detergent residue.
Next, you’ll need to lightly sand the surface of the varnish with medium-grit sandpaper or a sanding sponge. Around 150 grit works well, and be sure to sand any grooves or scrollwork as well. For grooves, I usually fold a piece of sandpaper over the edge of a plastic squeegee or plastic putty knife.
Remember, you don’t need to sand away everything, you just want to take the shine off of the varnish. This will provide a coarse surface for the new primer to bond with.
After you’ve finished sanding, wipe down the surfaces with mineral spirits to remove any dust left behind, and allow to dry completely. Be sure to check any grooves or scrollwork before painting as the mineral spirits can collect in these and still be wet, which would cause the primer coat to not adhere.
Now you’re almost ready to begin painting. Tape off any edges with Blue Painter’s Tape, and apply a good oil-based primer to the surface. Be sure to use a high-quality roller or brush to prevent any “texturing” or “bristle marks” on the surfaces.
Allow the primer to dry completely, then check over the surfaces for any blemishes that the primer may have revealed. Any nail holes or dents can be repaired with Wood Filler Putty and sanded smooth. Be sure to re-prime these areas after repairing them.
Pay Attention to the Small Details, Like Grooves or Scrollwork
Once you have a smooth surface, you can apply your finish coats. Depending on what quality paint you choose, it may take as many as two to three coats for complete coverage. Watch any grooves or scrollwork carefully for buildup, and use a brush to pull the paint very thin on each coat in them.
Excessive buildup can cause a “blurring” effect on the sharp edges of the grooves, which will detract from your finished look.
If you’d like a very smooth finish, you can lightly sand before your final coat using a medium-fine grit, around 200 to 280, to knock down any drips or imperfections.
That’s all there is to it. It’s a little labor-intensive, but for those who think they have too much woodwork in their home and would like to brighten things up a bit, this fairly easy procedure will do it. Good luck!