It would seem pointless to write a post on a project that was essentially a failure. I tried to remove some scratches from my glass tabletop and used two methods that were recommended on the Internet.
Since neither of them showed before and after pictures, I thought it would be useful to document the procedure, to show in detail how it’s done. The two methods were buffing the scratch out with toothpaste and filling it in with clear nail polish.
In this post, you’ll see what I tried, and my results on removing scratches from a glass tabletop. If you have a different experience, do let me know. Maybe it’s just a matter of tweaking, or maybe you know of a totally different method that works better.
If you were planning to do what I did, this may save you some trouble.
Buffing it Out With Toothpaste
One recommendation is to rub white toothpaste into the scratch and carefully buff it with your finger or a paper towel. White toothpaste is specified because it is slightly more abrasive.
Presumably what purports to remove tartar from your teeth may also remove scratches from your tabletop. I was worried that these abrasive agents might themselves scratch or dull the glass, but that did not happen. So if you want to give it a try, it shouldn’t hurt.
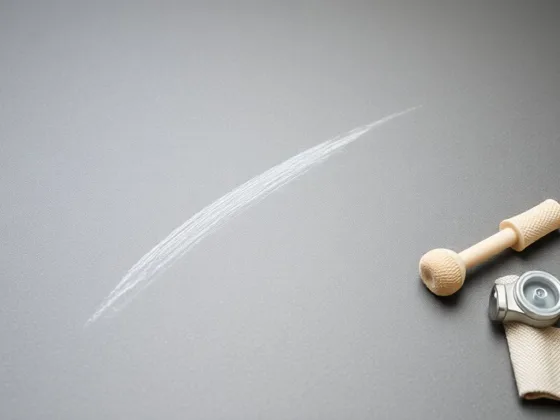
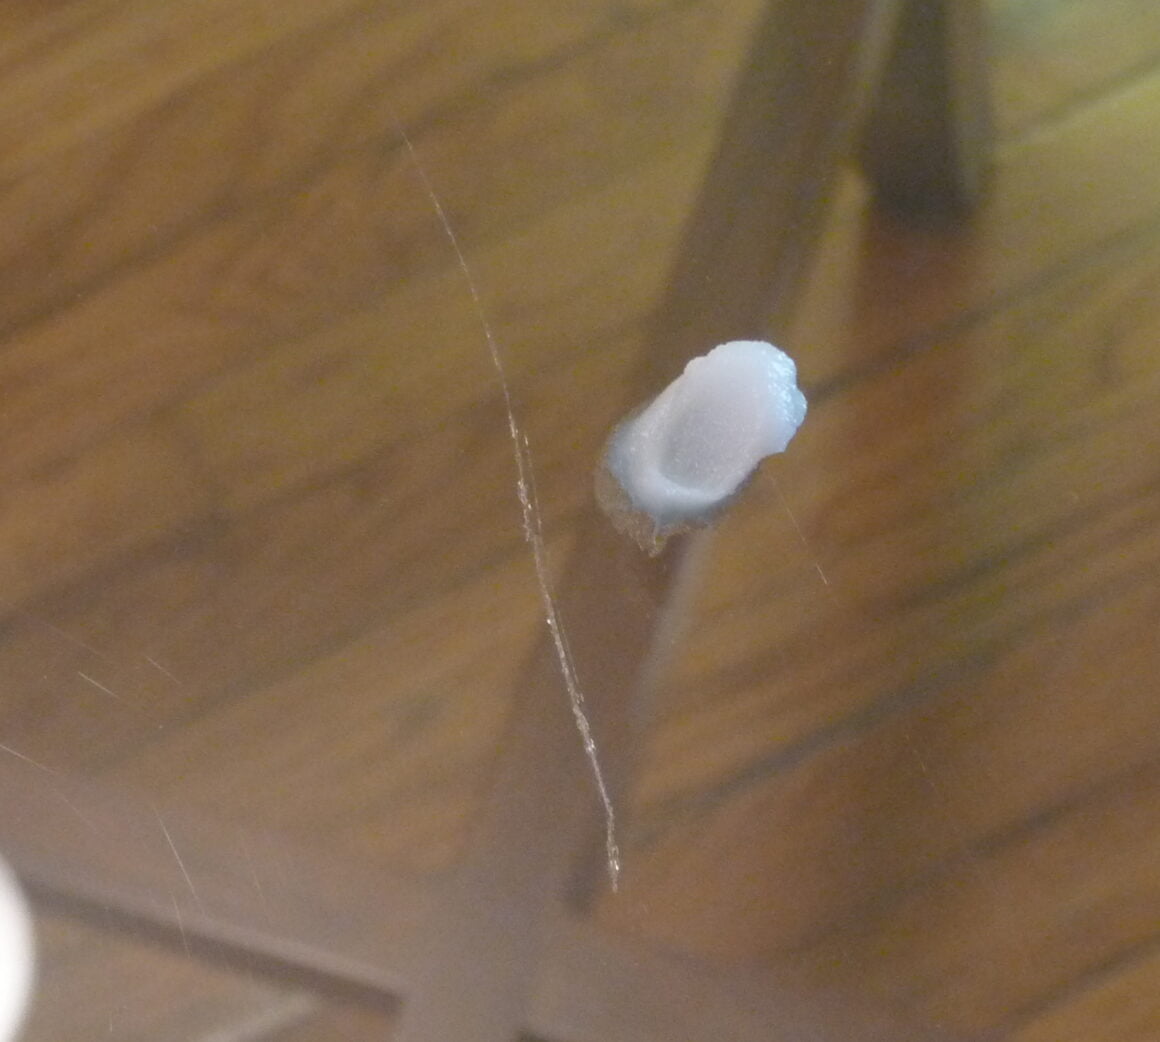
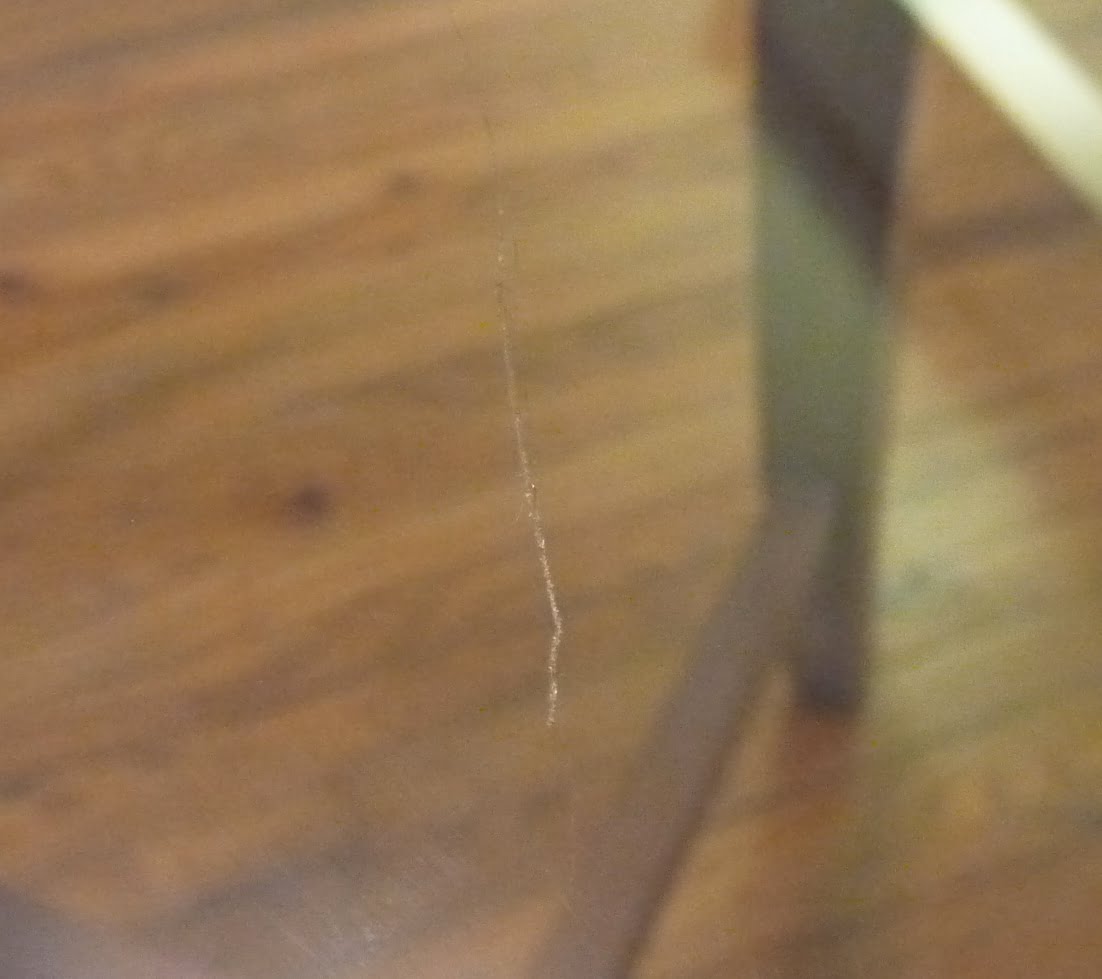
The subject is a scratch on the middle of my glass tabletop, about 1.5 inches in length. I say “about”, because it actually continues beyond that length, but the 1.5 inches comprise the most visible part.
In the first picture, you can see it with a pea-sized amount of toothpaste next to it.
I used “Arm and Hammer” tooth-whitening toothpaste. I think it’s great toothpaste, and of course, I don’t blame it for not being able to remove scratches on glass. That’s not what it was made for. At least it didn’t do any harm.
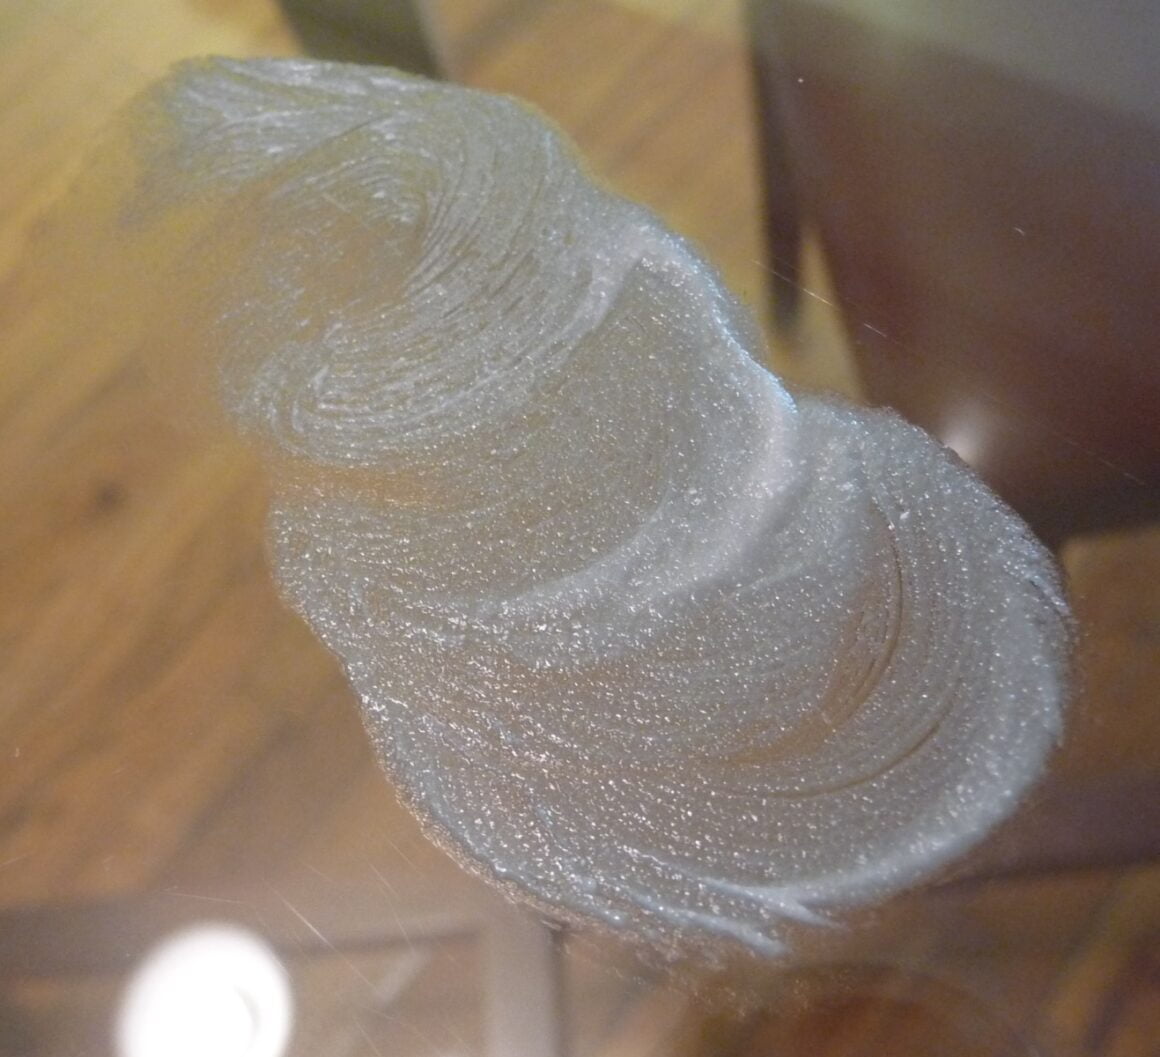
In the second picture, you see the toothpaste after having buffed for 1 minute, using my finger.
After that, since I could still see the scratch through the paste, I buffed it for another minute with a paper towel, the other recommended way.
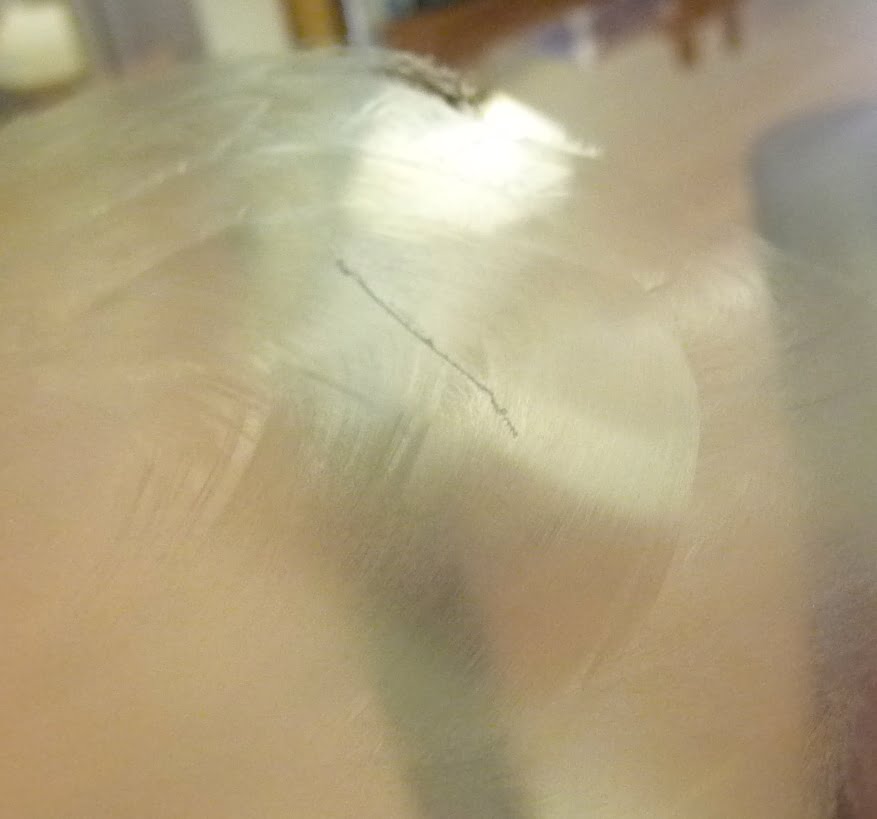
The result of that is shown in the third picture. As you can see, the scratch is still there.
Filling It In With Clear Nail Polish
Removing the toothpaste with Windex and a paper towel showed a sparkling-clean scratch. The background seemed unmarred.
On to the next method: filling in the scratch with clear nail polish. I applied clear nail polish to the scratch and let it dry for a few minutes. While the polish was still wet, the scratch was less visible.
I rubbed the area with acetone-based nail polish remover, which took off the nail polish and revealed the scratch again in its full glory. Oh well.
You can see this in the following pictures.
We get scratches on our glass table top quite often. They do seem to soften a bit with time, so maybe buffing them would work if I kept it up for longer, say, for an hour.
On the other hand, anything that would have an effect on the scratch might also cause new micro-scratches to the glass, and cause it to dull. We will invest in a pad for our table, to protect it from any new scratches.
Have you had better results with any other methods?
Maybe a Little Lighter?
Comparing the before and after pictures, it would seem that the scratch has become slightly less prominent. When I go back to the table and look at it, it looks just like I thought it did before treatment.
At this rate, it would take a lot longer. It may be worth trying buffing for 10 or 20 minutes at a time. If you have the time and inclination, this may be an option worth pursuing.