Table of Contents Show
If you wish to renew your bathroom, but you simply can’t afford to rip everything out and start from scratch, it is still possible to renovate your bathroom on a relatively small budget yet create a wonderful transformation.
A Complete Overhaul
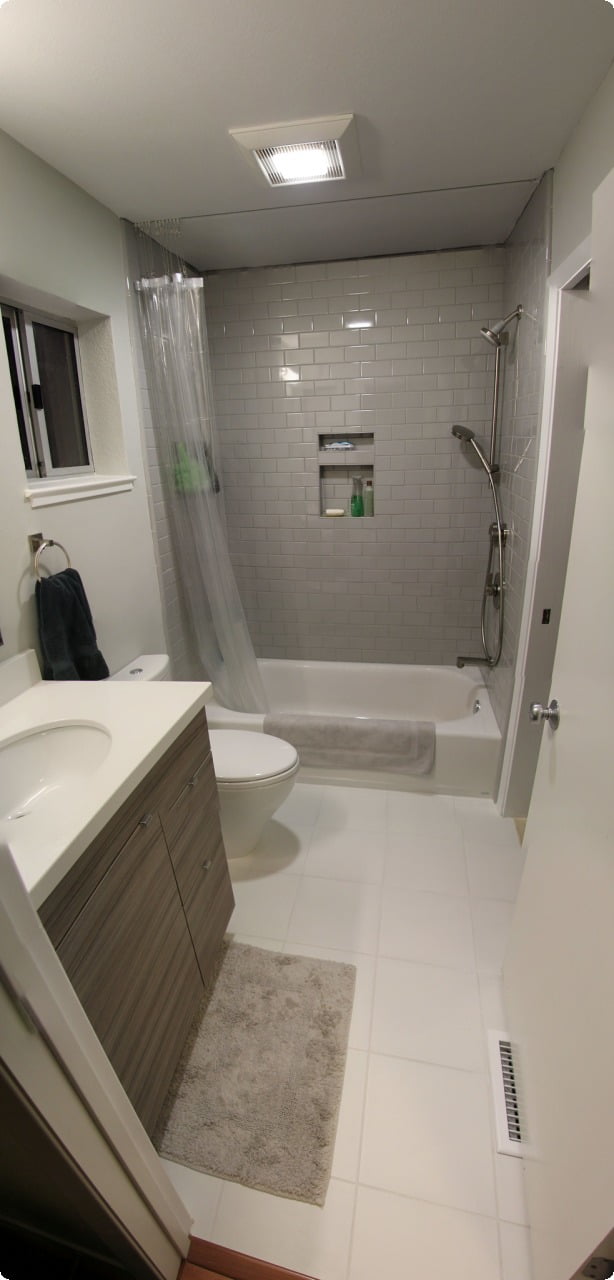
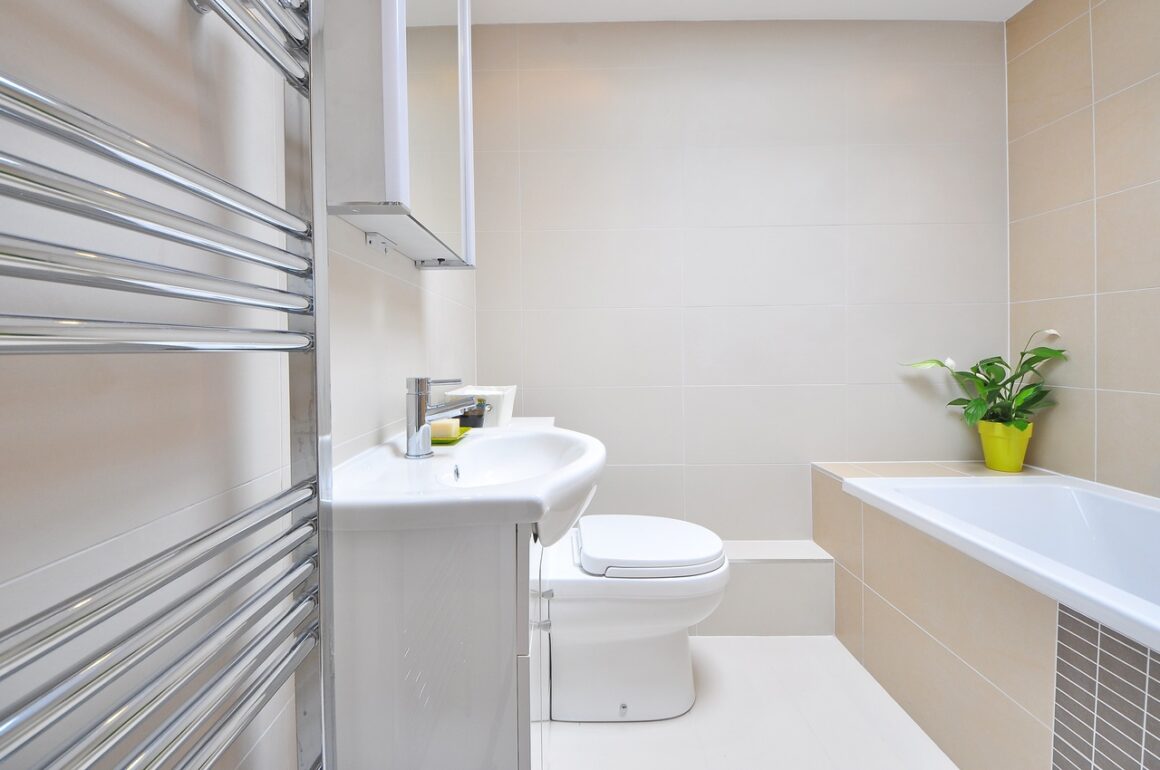
A tired bathroom can often be completely rejuvenated without having to replace any of the sanitary ware. Clean, fresh paint and bright new fittings will give it a new lease of life for a fraction of the cost.
First, clean the tiles thoroughly, and I mean thoroughly, then renew the tile grouting with either new grout or a renovator. Change the old taps, waste, and overflow for new chrome ones, or install a mixer.
Alternatively, take the old fittings, if they are good enough, to your local plumber’s merchant and have them sent away for overhauling and re-chroming.
With the taps and fittings off, thoroughly clean all the surfaces of the toilet, bath, and washbasin, removing any limescale staining.
Take this opportunity to renew all the silicone mastic seams, then replace the taps and fittings.
Install a new light fitting and repaint the ceiling, walls, and woodwork. To add colour to a plain white tiled wall, paint a strip with one of the new products available, or use transfers or even stick-on tiles.
Replace the floor covering with an inexpensive piece of vinyl, and perhaps fit a new Venetian-style blind. Change the toilet seat. There you have it a new-look bathroom.
Cleaning and Replacing Tiles
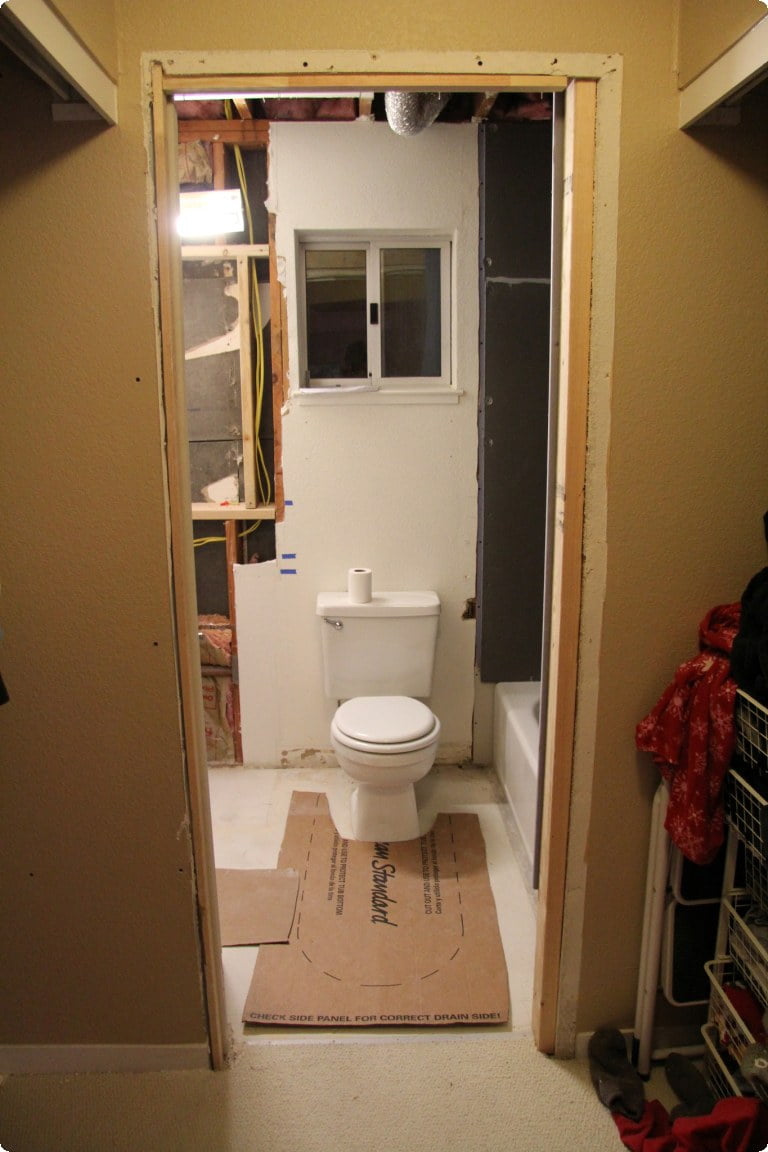
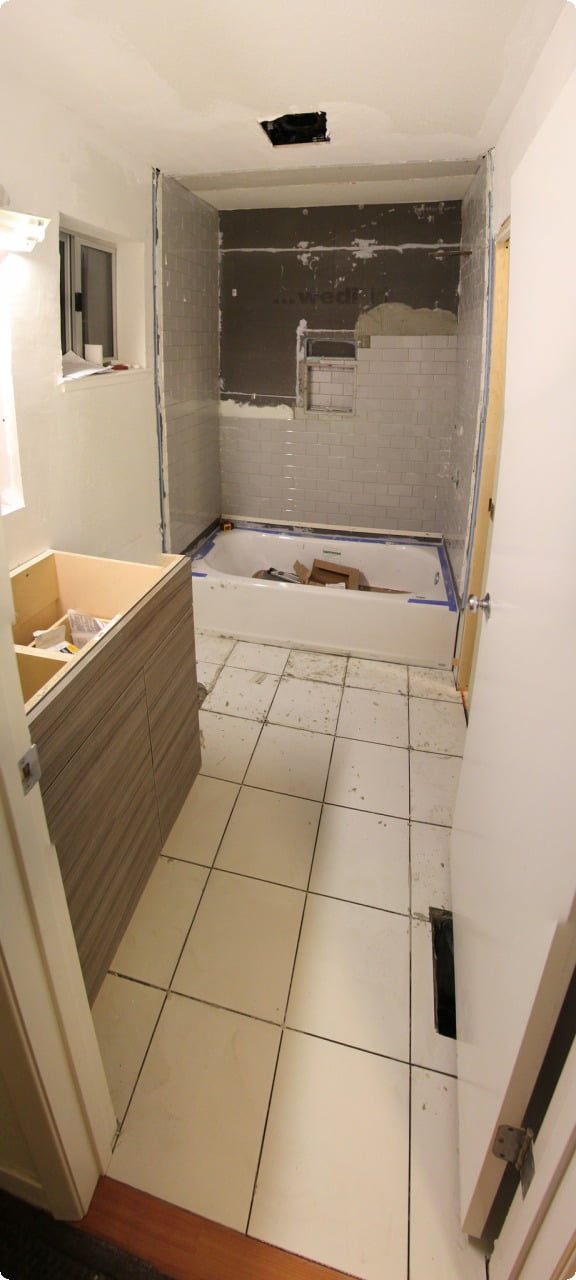
A tiled wall should last a very long time without needing to be replaced, so you can imagine my concern and extreme annoyance when cracked and damaged tiles suddenly started to appear in the bathroom at home, on a wall that I had fairly recently tiled.
I quizzed my wife and three children one by one, but needless to say, they all denied any knowledge or responsibility, and the mystery remains unsolved to this day.
These things do happen, and one might be excused for assuming that the seismic effects of the great shifting plates of California had reached Hackney. Of course, I was left with the job of replacing the damaged tiles.
Fortunately, repairing a tiled wall is fairly straightforward, and restoring a tired one is even easier, although it does demand some physical effort.
Apart from incidental damage tiles are only usually replaced for a more fashionable style, or because they’re very old.
When tiles age the glaze tends to craze slightly and they begin to look ugly as they are covered in black, circular, or angular lines.
When this occurs, it’s probably worth considering taking the lot off and starting afresh.
If the tiles themselves are sound and still of an acceptable style, but the grouting is black and unsightly, it may well be worth renovating them, because all that’s required is a very small outlay and a bit of elbow grease.
Cleaning a Tiled Wall
Mix a bucket of bleach and warm water in equal proportions – this is a very strong solution, so wear protective rubber gloves and goggles.
Apply it to the tiles using a two-sided sponge, with a soft surface on one side and a pan scrubber on the other. Using the rough side, scrub the tiles and grouting joints to remove any condensation mould marks, which are normally black.
Polish the tiles dry with a soft cloth 5. TOP TIP To help avoid the problem of condensation, which causes the build-up of unsightly sooty mould in bathrooms, showers, or baths with a small window open.
If that’s too cold, open the window immediately after leaving the bathroom, and leave the door open to allow fresh air to circulate.
Regrouting a Tiled Wall
Where grouting has become discoloured, scrape it out a few millimetres (1/8in) below the surface and apply fresh grout. You can use a special tool, or you could make one by reshaping the end of an old screwdriver with a grinder. Be careful not to slip and scratch the face of a tile.
The grouting might be very tough, and it may be necessary to tap the tool along the joint with a mallet or piece of wood, such as a length of 50 x 50mm (2 x 2in) batten.
Once you’ve brushed out the dust and debris from the joints, wash down the tile surface with sugar soap then polish the tiles dry with a soft cloth.
Alternatively, if the tiles were washed clean before you removed the grouting, use your vacuum cleaner to suck up all the dust before you regrout.
Grout all over REJUVENATING GROUT Instead of raking out the old grouting, you can use a grouting renovator. This comes in the form of ready-mixed paint which forms a waterproof bond over the old grouting but does not stick to the tiles.
If this is your preferred option, wash the tiles down with sugar soap, and allow the tiles to dry fully.
Paint the renovator over the joints and leave it to dry, which should take a couple of hours. Spray the whole surface with water, wait three minutes, and then wipe off the excess with a damp sponge. Dry and polish the tile surface with a soft cloth to finish, and the job is done.
Fit the sealant tube into the mastic gun then cut off the end of the nozzle at an angle to suit the size of the gap. Point the nozzle at one end of the joint, hold the gun steady, and squeeze the trigger while moving the gun along.
If there is a corner, work away from it.
Have handy a small bowl filled with equal parts water and washing-up liquid; dip your finger into the bowl and wipe over the bead to give a smooth finish along the length of the joint.
Alternatively, dip the handle of a spoon or fork into the solution, then run it along the joint to shape it.
Descaling
If you happen to live, as I do, in a “hard water” area, the plumbing and heating systems can develop problems caused by the scaling up of pipework and fittings.
The water companies supply us with clean, fresh water, with all the harmful impurities removed, but still containing minerals absorbed from the ground. It’s the concentration of these minerals that determines how hard or soft our water is.
The general rule of thumb is those flat areas, which depend on supplies being drawn from underground, have a higher mineral content, therefore hard water. If you live in an area that draws its water from rocky surface terrain you are likely to have soft water.
The tell-tale signs of hard water are a scaled-up kettle or shower head or staining on the bath or washbasin. This hard limescale also builds up on the inside of pipes.
Hot-water cylinders are particularly vulnerable, with their efficiency being affected by up to 70%. Trying to prevent the build-up of limescale or staining, which can be very difficult to remove once established, is a constant but important battle.
Keep a check on limescale build-up inside the shower head especially. An accumulation of limescale here will partially or wholly block the tiny holes, resulting in poor performance from your shower.
To remove the scale, undo the shower head, disassemble the perforated spray plate, and soak all the components in a pot of proprietary descaler.
Once the limescale has dissolved, rinse all the parts thoroughly with clean water, reassemble them, and refit. Your shower should function perfectly once again.
Descalent can also be used around the taps to help keep the bathroom gleaming.
If hard water is causing you real problems, consider installing a water softener to treat all your water, except drinking water. Fitting one can be difficult but is doable depending on your proficiency.
Bath Panels
A bath panel has a big impact on a bathroom, so installing a new one in a different style can have a dramatic effect, changing its appearance beyond all recognition.
Replacing a Bath Panel
Remove the old bath panel and use it as a template for your new bath panel. Lay it on a sheet of MDF set across a pair of carpenter’s stools, or stand the sheet up if you are short of space, and draw around it to transfer the shape 4. Alternatively, measure up the bath panel space you have just exposed and transfer these measurements to the MDF.
With the MDF firmly secured, cut out the bath panel. Use a jigsaw and cut a fraction outside the line, then smooth off the excess using a hand plane to give an accurate fit.
TOP TIP: Before cutting, double-check the dimensions of the bath panel, skirting and moulding. Next, fix any matching skirting. Use PVA glue and pins, or screw from the inside to fix.
Draw a line of equal margin all around the bath panel, cut and mitre moulding of your choice to match the lines, then glue and pin it in position. With the bath panel still on the stools, paint it (including the edges) with a coat of primer, two undercoats, and a top coat. When dry, fix it into position.
It’ll make your bathroom look like new.