
Table of Contents Show
Wondering how to decorate the kitchen with cookie cutters? Here are a few inexpensive ideas to get you started.
How to Decorate the Kitchen with Cookie Cutters: Fun & Unique DIY Ideas
New or vintage cookie cutters offer an inexpensive and whimsical solution to your decorating dilemmas. If you are wondering how to decorate the kitchen with cookie cutters, here are several do-it-yourself suggestions you can use for your own home remodeling endeavors.
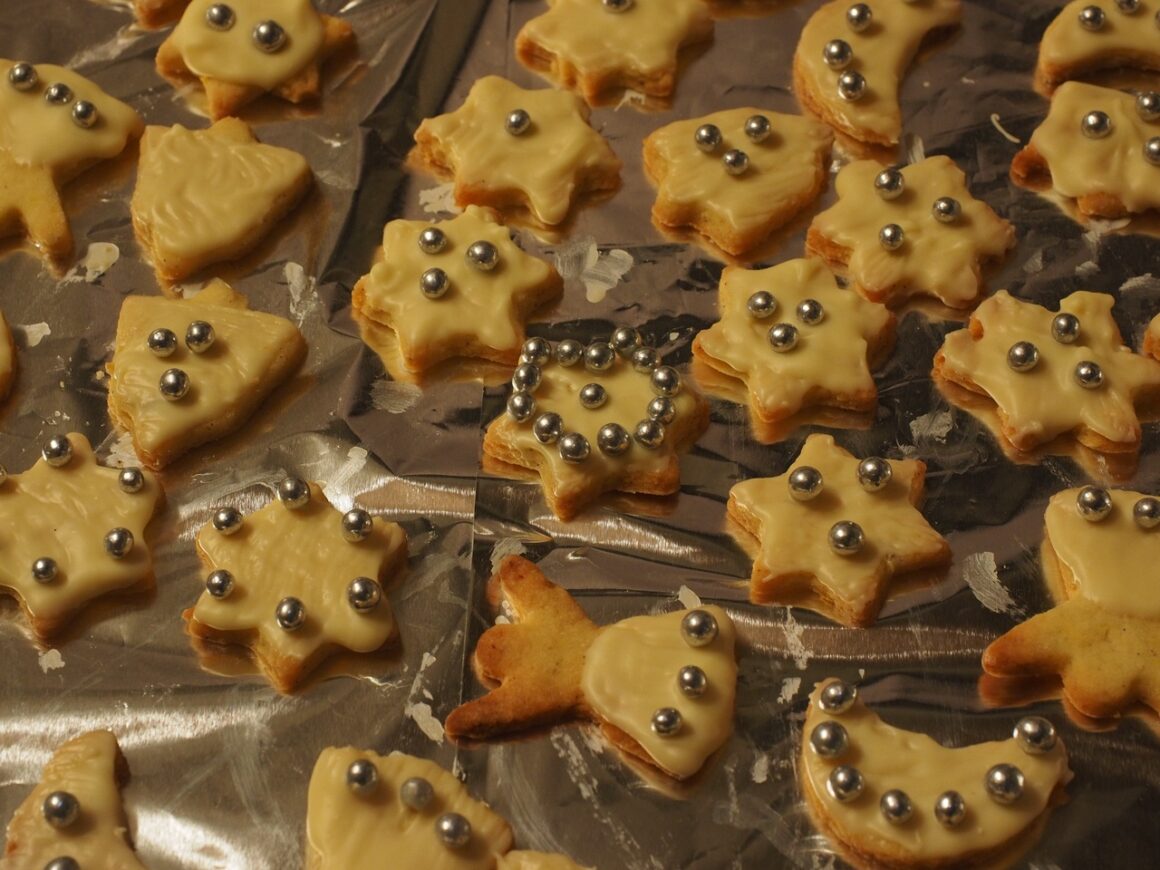
Cookie Cutter Wreath
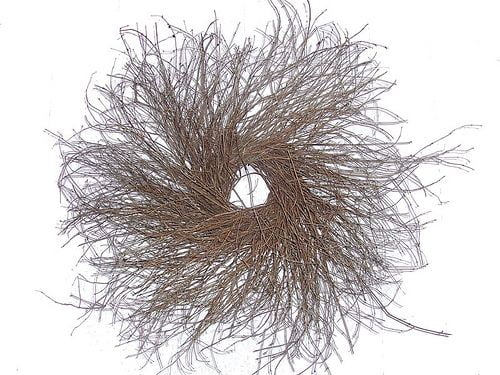
One of the simplest ways to incorporate cookie cutters into your decorating motif is to use them for a custom wreath. Consider adding several to an existing twig wreath using a glue gun. Or, if you plan to reuse the cookie cutters at some point, wiring them on with floral wire might be a more practical option.
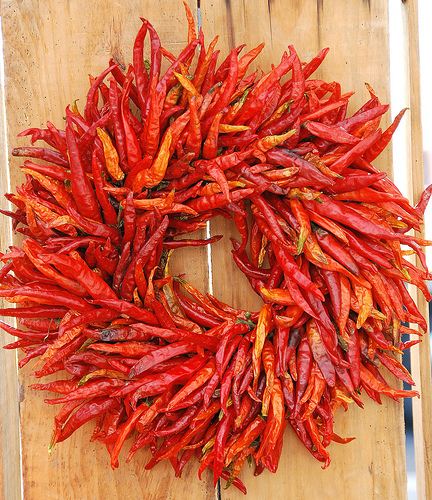
Looking to infuse some color into the scheme? Add a fabric or ribbon bow. You can even incorporate a pop of color by using a chili pepper wreath as your base, instead!
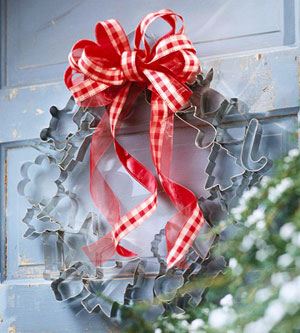
Another popular method of creating a wreath with cookie cutters is to actually glue the metal tools themselves together in a circle.
Here is what you will need:
- Cookie cutters of various shapes and sizes – either vintage or new
- Elmer’s Tack Adhesive Putty (or something similar)
- Glue gun and glue
- Paper clips
- Colorful ribbon (optional)
- Florist wire (optional)
Begin by laying all of your cookie cutters out on a flat surface. Working with the cutting side of the cutters, arrange them in a circle as you would a puzzle – using smaller cookie cutter shapes to fill in the spaces between the larger shapes. Be certain that each cookie cutter is directly attached to another cutter.
Now that you have your basic shape laid out, go back and begin to apply the Elmer’s Tack Adhesive Putty (or whatever adhesive putty you are using) to the points of contact on each cookie cutter.
Press the cutters firmly together so that they are joined.
If you do not plan on re-using the cookie cutters at some point, you may wish to use the glue gun and glue for this step instead. To give your cutters extra support, clip them together with small paper clips.
Since you are working on the “unfinished” side of the wreath, the paper clips will not be seen once the wreath is flipped over to its “finished” side.
If you are using a colorful ribbon, this can either be woven in and out of the cutters so that it encircles the entire wreath – or, it can be used to tie a simple ribbon bow. Attach the bow with either your glue gun or florist wire.
Read Also:
On Display
You can also consider just displaying the cutters themselves. A simple way is to hang a few small shelves on a large, blank wall. Cookie cutters can then be placed on the shelves – but also taken down for use when needed.
If you are finding that you are having a hard time keeping the cutters on the shelves, or getting them to stand up enough to be seen, try adding a little of Elmer’s tack to the bottom of the metal cutter.
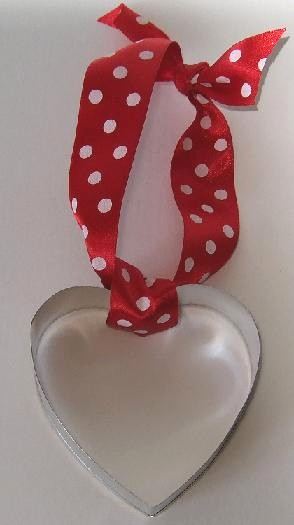
Not sure you want to invest in shelves? Use a variety of different, but coordinating, ribbons. Thread the cookie cutter with the ribbon and attach it to the wall using a small tack and hammer.
Cookie Cutter Stencils
Cookie cutters also make terrific stencils! Choose one shape to repeat, or use several shapes to create a pattern. For the really adventurous, you can even use a variety of shapes with no repeat.
Trace the outside of your cookie cutter shapes with a pencil. Then, go back over the outline with a paintbrush and paint, a paint pen, or even a Sharpie marker. Leave the center blank, or fill it in with paint using a small brush, a rag, or even a sponge.
You can also dip the cookie cutters directly in paint and use them as you would a stamp.
Here are a few places to use your stencil or stamp on,
- The top of your wall, just below the ceiling – as a border
- Your kitchen table
- The front of older cabinets
- Lengths of fabric for a one-of-a-kind window treatment
- A chalkboard
- Plain dishes you can display in cupboards, cabinets, or on countertops
- Your kitchen floor
- Placemats and cloth napkins
- Over existing wallpaper for a fun and funky pop of unexpected color
- Blank or painted canvas for an original piece of artwork
- Ceramic tiles for a kitchen backsplash or as a custom trivet
- Mini shades for a chandelier over your kitchen table
- Dishtowels you can display
Little Touches
Are you still wondering how to decorate the kitchen with cookie cutters in a way that is not too cutesy? Why not try just simply tucking a few beloved shapes from your childhood into unexpected places like a floral arrangement, a teacup in a glass-front cabinet, or among the other treasures you have decorating the space on top of your cabinets?
Using cookie cutters to decorate does not have to be over-the-top. By adding little touches around your kitchen, you can create a cookie-cutter theme that is simply sweet!