Table of Contents Show
Introduction
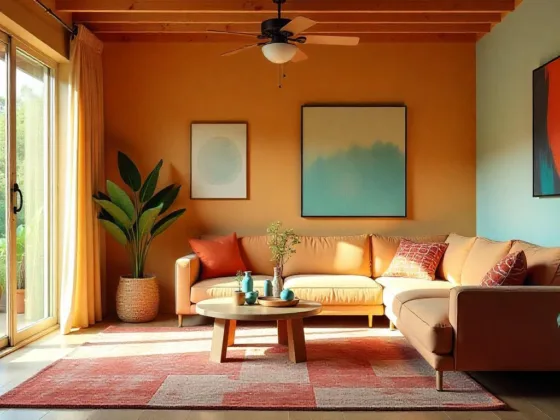
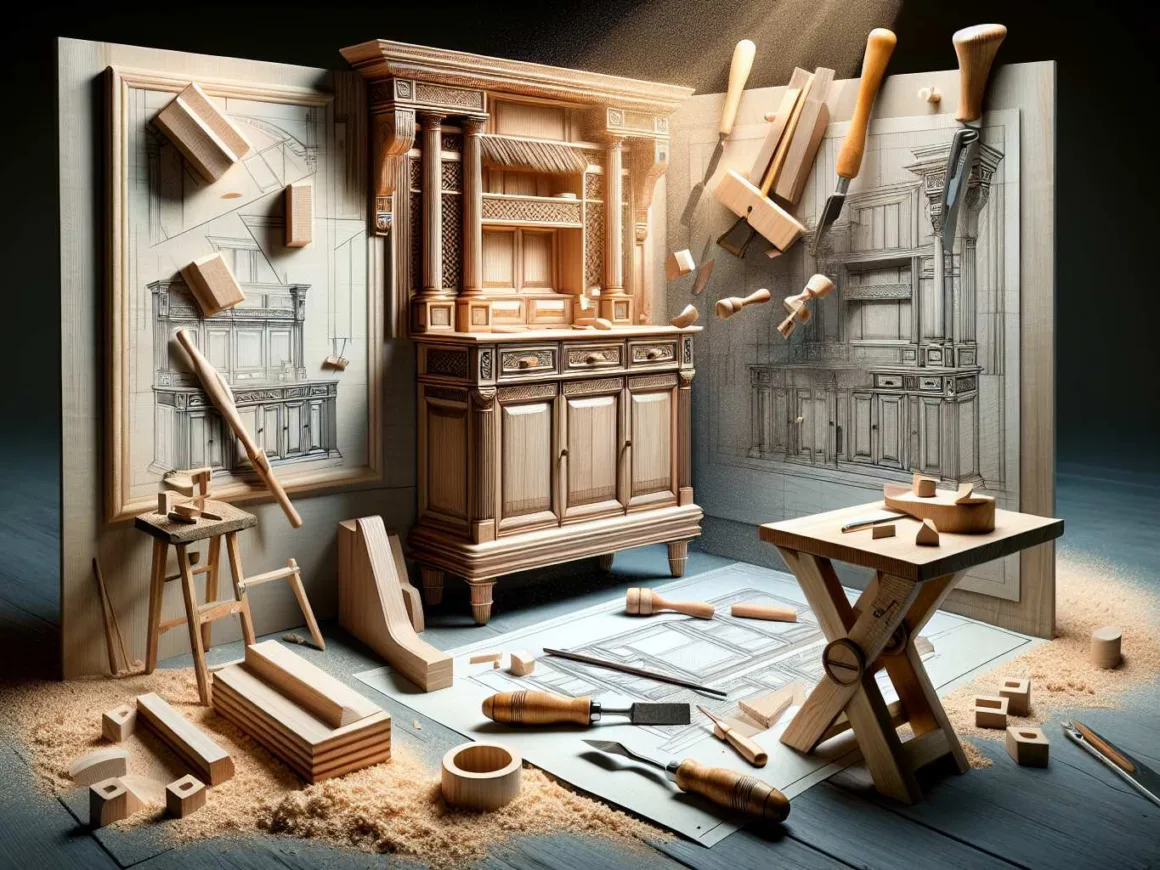
Creating custom cabinets can transform your living space, adding both functionality and a sophisticated look. Building your own cabinet box not only provides a sense of accomplishment but also allows you to customize every detail to fit your specific needs. Whether you’re enhancing your kitchen, bathroom, or entertainment center, this guide will walk you through the process from start to finish.
Benefits of building your own cabinet box:
- Cost-effective: Save money by choosing budget-friendly materials.
- Customization: Tailor the size and design to match your exact space requirements.
- Skill development: Enhance your woodworking skills through practical application.
This step-by-step guide on how to build a cabinet box is designed for DIY enthusiasts of all skill levels. You’ll find detailed instructions, tips for selecting materials, and recommendations for tools to make the project easier.
Ready to start? Use the knowledge gained here to embark on your own DIY woodworking projects and create stunning custom cabinets that reflect your personal style.
For more inspiration on transforming wood pieces, check out these helpful resources:
- Explore different techniques like staining already stained wood to add character and depth to your cabinets.
- Consider using a faux wood paint technique for a unique and artistic finish that mimics the natural beauty of wood.
1. Understanding Cabinet Box Basics
A cabinet box is the main structure of your cabinets. It’s like the skeleton that holds everything together, from shelves to drawers. Having a well-built cabinet box is important because it ensures that your cabinets are strong and will last a long time. This is crucial not only for how your cabinets look but also for how they function in your kitchen, bathroom, or any other room where you need storage.
Why Is the Cabinet Box Important?
The cabinet box serves two main purposes:
- Durability: A sturdy cabinet box made from high-quality materials can withstand daily use and heavy items without sagging or falling apart.
- Flexibility: The design of the cabinet box determines how you can organize your storage space. By customizing the dimensions of the cabinet box, you can create a layout that suits your specific needs.
Customizing Depth for Specific Needs
One of the main advantages of building your own cabinet box is the ability to customize its dimensions, especially depth. This allows you to maximize space efficiency tailored to your specific needs. Whether you want deeper cabinets for storing larger items or shallower ones to fit into a tighter space, you have total control over the final design.
Determining the Overall Height of the Cabinet
The height of your cabinet box impacts both its functionality and aesthetics. While base cabinets are typically 34 1/2 inches high to accommodate a standard countertop height, it’s important to consider other factors when determining the overall height. For instance, if you’re looking for more insights on kitchen cabinet design and dimensions beyond the standard options, this Quora thread provides valuable information shared by experts in the field.
To determine the overall height:
- Measure from the floor to where you want the top of your countertop.
- Subtract the thickness of your countertop material.
- Adjust if necessary based on personal preference or specific project requirements.
Using Plywood for the Top of the Cabinet Box
Plywood is often chosen for the top of a cabinet box due to its strength and cost-effectiveness. It also provides a smooth surface that’s easy to work with. When selecting plywood, consider using a thickness of 3/4″ as it offers strong support without being overly cumbersome.
Budget-Friendly Interior Decor and Reviving Old Wood Paneling
Creating a sturdy and functional cabinet box is just one aspect of enhancing your living space. If you’re interested in more home improvement ideas, such as decorating home interiors on a budget or looking for ways to incorporate Norm Abram’s recommendations on kitchen cabinet design into your project, TimeWornLit has some great resources that might interest you.
By understanding these basics, you’re setting yourself up for success in creating a sturdy and functional cabinet box that meets all your needs.
2. Building the Cabinet Box
Creating a stable base is crucial for the durability and functionality of your cabinet box. Start by constructing a 2×4 platform base. This platform will provide a solid foundation for your cabinet, ensuring it remains level and secure.
Step-by-Step Instructions for Assembling the Cabinet Box Using Pocket Holes
1. Cutting the Wood
Begin by cutting your MDF or plywood sheets to the desired dimensions for the bottom, sides, and top of your cabinet box.
2. Constructing the Base
- Cut 2×4 lumber to create a rectangular frame that matches the width and depth of your cabinet.
- Secure the 2×4 pieces together using wood screws to form a sturdy platform.
3. Attaching the Bottom Panel
- Place your cut bottom panel on top of the 2×4 platform.
- Secure it using pocket holes and screws to ensure a tight fit.
Recommendations for Budget-Friendly Options and Cost-Effective Materials
Opting for cost-effective materials can save you money without compromising quality. MDF is often recommended over plywood for painted cabinets due to its smooth surface and lower cost. Here are some budget-friendly materials to consider:
- 3/4″ MDF Panels: Ideal for painted finishes and more affordable than plywood.
- Poplar Lumber: Great for face frames; it’s budget-friendly and easy to work with.
Incorporating Pocket Hole Jigs
Using pocket hole jigs, such as those from Kreg Tool, simplifies construction and ensures strong joints. Here’s how you can incorporate them:
1. Drilling Pocket Holes
- Use a pocket hole jig to drill holes along the edges of your side panels.
- Ensure holes are evenly spaced for maximum strength.
2. Assembling Side Panels
- Align side panels with the bottom panel.
- Secure them using pocket screws and clamps, creating a seamless joint.
3. Adding the Top Panel
- Position the top panel on the assembled sides.
- Use pocket screws to attach it securely.
Practical Tips
- Use Clamps: Clamps help hold pieces in place while you drive screws, preventing misalignment.
- Check Alignment Regularly: Ensure all parts remain square during assembly.
Building your own cabinet box not only gives you a custom fit but also offers significant savings. The right tools, like pocket hole jigs, make this process straightforward even for beginners.
For those looking to restore antique cabinets, knowing how to properly strip wood from antiques can be invaluable. Additionally, if you’re interested in expanding your DIY skills beyond cabinet making, you may want to explore more on essential tools every DIYer should have here.
3. Adding Support, Back Panel, and Toe Kick
Installing Support Braces for Added Stability
Ensuring the durability of your cabinet box is crucial, and support braces play a major role in achieving this. These braces are typically placed at the top and bottom of the cabinet, providing a sturdy framework that can withstand daily use.
- Top Braces: Cut 4″ wide boards to fit between the sides of your cabinet box. Secure them using wood glue and 2″ brad nails.
- Bottom Braces: Attach similar braces against the base to provide additional support.
By incorporating these braces, you’ll effectively maintain the shape of the cabinet, even when it’s loaded with heavy items.
Inserting a Hardboard Tempered Panel
To ensure stability and prevent wobbling, it is essential to insert a hardboard tempered panel at the back of your cabinet box.
- Measure and Cut: Take accurate measurements of your cabinet’s back opening and cut a hardboard tempered panel accordingly.
- Insert Panel: Apply wood glue along the grooves on the back edges of your cabinet sides. Gently slide the hardboard panel into place.
- Secure: Use brad nails to fix the panel firmly, ensuring it remains flush with the edges.
Definition and Purpose of a Toe Kick in Cabinetry
The toe kick is a recessed area at the base of kitchen cabinets designed to allow you to stand closer to your counter without stubbing your toes.
- Height: Typically ranges from 3.5″ to 4″.
- Depth: Generally around 3″ deep but can vary based on design preferences.
The toe kick provides ergonomic benefits, making it easier to work at counters for extended periods without discomfort.
Utilizing Home Decor Hacks and DIY Tips for an Upgraded Toe Kick
Creating a functional and visually appealing toe kick can be achieved without breaking the bank, thanks to a few clever tricks. These tips from TimeWornLit will help you achieve a cost-effective upgrade for your kitchen cabinets:
- Scrap Plywood: Utilize leftover pieces from other projects. Cut them to size and secure them at the base, creating the recessed area.
- Separate Kick Plate: Construct a dedicated kick plate using plywood. Attach this piece separately from the main cabinet box for easier adjustment and replacement if needed.
By incorporating these easy DIY tips into your project, you can give your dated kitchen cabinets a well-deserved facelift while staying within budget.
4. Constructing the Face Frame and Doors
Constructing the Face Frame for a Seamless Appearance
A face frame provides a seamless look to your cabinet box, enhancing both its aesthetics and structural integrity. To begin, gather the necessary materials:
- Poplar lumber ripped to 1 5/8″ wide
- Wood glue
- Pocket hole screws
- Clamps
Steps to construct the face frame:
- Measure and Cut: Measure the dimensions of your cabinet box’s front opening and cut your poplar lumber accordingly.
- Drill Pocket Holes: Use a pocket hole jig, such as the Kreg Tool, to drill holes in the back of each piece where they will join.
- Assemble the Frame: Apply wood glue to each joint, clamp the pieces together, and secure them with pocket hole screws.
- Attach to Cabinet Box: Once assembled, attach the face frame to the front of your cabinet box using wood glue and brads.
Tips for Installing Doors Separately
Installing doors can be tricky without precise measurements and quality materials. Niem Cabinet Doors offers custom doors with exact measurements for an impeccable fit. Here are some tips for seamless door installation:
- Measure Twice: Always double-check your measurements before ordering or cutting.
- Choose Quality Hinges: Invest in good-quality hinges that allow for easy adjustment and alignment.
- Pre-drill Holes: Pre-drill mounting holes to prevent wood splitting and ensure a snug fit.
- Use Shims: Align doors perfectly by using shims during installation.
These steps will help you achieve a professional finish, making your DIY cabinet indistinguishable from a store-bought one.
To explore more about affordable modern furniture options or techniques on distressing furniture to match your new cabinets, you may find this guide on finding affordable modern furniture options or learning how to distress furniture easily helpful.
Constructing the face frame and installing doors might seem daunting at first, but with these tips and methods, you’ll find it’s a manageable task that yields impressive results.
5. Finishing Touches and Hardware Installation
Achieving a professional finish for your custom cabinet box starts with priming and painting. This step not only enhances the appearance but also provides a durable surface that withstands daily use.
Priming and Painting Cabinets for a Professional Finish
1. Preparation
Begin by sanding the entire cabinet box with an orbital sander to ensure a smooth surface. Pay attention to any wood putty-filled nail holes, ensuring they are flush with the wood.
2. Choosing Primer
Select a high-quality primer suitable for MDF or plywood. This will help seal the surface and provide a good base for the paint.
3. Application
- Apply the first coat of primer using a brush or roller.
- Allow it to dry completely, then lightly sand with fine-grit sandpaper to remove any imperfections.
- Apply a second coat of primer for complete coverage and let it dry.
4. Painting
- Choose a durable paint designed for cabinetry, like enamel paint which offers a hard finish.
- Use a high-quality brush or roller to apply the first coat of paint, ensuring even coverage.
- After drying, lightly sand again before applying the second coat.
- Repeat if necessary until you achieve the desired finish.
Installing Hardware from Amerock
Adding hardware is the final touch that brings both functionality and style to your cabinet box. Amerock offers an array of stylish options that can complement your cabinetry design.
1. Selecting Hardware
Consider matching hardware with other elements in your room for a cohesive look. The Amerock Stature pull in champagne bronze is an excellent choice for a sophisticated and modern look.
2. Measuring and Marking
- Use a template or measuring tape to mark precise locations for each piece of hardware.
- Ensure uniformity by double-checking measurements before drilling holes.
3. Drilling Holes
- Use an appropriate drill bit size that matches the screws provided with your hardware.
- Carefully drill holes at your marked locations, maintaining steady pressure to avoid splintering.
4. Attaching Hardware
- Insert screws through the back of the drawer or door front, aligning them with pre-drilled holes in the hardware.
- Securely tighten screws using either a screwdriver or power drill on low torque to avoid stripping.
These finishing touches elevate the overall aesthetic and usability of your custom cabinet box, making it not only functional but also visually appealing.
Conclusion
Taking on your own DIY woodworking projects can be incredibly rewarding. Building a custom cabinet box not only saves money but also allows for tailored solutions that fit your specific needs and preferences. Whether you are crafting a cabinet for your kitchen, entertainment center, or any other space, the skills and techniques discussed here equip you well.
Imagine the satisfaction of creating something with your own hands that adds both functionality and beauty to your home. Using the knowledge gained from this guide, you are now ready to build your very own custom cabinet box. Dive into the project, enjoy the process from start to finish, and don’t hesitate to experiment with different styles and finishes to make it uniquely yours.
Feel inspired? Grab your tools and materials, and start building today! Your journey into DIY cabinetry awaits.
4 Steps to Build a Cabinet Box – TikTok video
FAQs (Frequently Asked Questions)
What is the purpose of a cabinet box?
The cabinet box serves two main purposes: durability and functionality. It is the main structure of your cabinets, providing stability and support for the overall cabinet system.
Why is the height of the cabinet box important?
The height of your cabinet box impacts both its functionality and aesthetics. It determines the storage space inside the cabinet and how it fits within the overall design of the room.
Why is plywood often chosen for the top of the cabinet box?
Plywood is often chosen for the top of a cabinet box due to its strength, durability, and smooth surface, making it an ideal material for supporting countertop installations and providing a sturdy foundation for the upper part of the cabinet.
How can I save money when building a cabinet box?
Opting for cost-effective materials and utilizing budget-friendly options such as pocket hole jigs can help save money without compromising on quality. Additionally, incorporating practical tips like using clamps can also contribute to cost savings during the construction process.
What is the purpose of a toe kick in cabinetry?
The toe kick is a recessed area at the base of kitchen cabinetry that allows you to stand closer to the countertop while providing a comfortable space for your feet. It also contributes to the overall aesthetic appeal of the cabinets.
How can I achieve a professional finish for my custom cabinet box?
To achieve a professional finish, it is important to properly prepare the surface by sanding, selecting high-quality primer and paint suitable for cabinetry, and applying them with precision. Additionally, installing hardware from reputable brands like Amerock can add a final touch of sophistication to your custom cabinets.