
Table of Contents Show
Is Your Floor a Good Candidate for Refinishing?
Refinishing a wood floor is a tedious job but something that can be done by the average homeowner. The first step is to figure out exactly what type of wood is on your floors.
Most wood floors will be made of hardwood like oak or maple. Some will be made of heart pine, a soft wood that is found in many old homes, especially in the southern United States.
Heart pine and maple are harder to refinish than oak, but they can be done with careful consideration of their unique characteristics.
Some recent floors may be made of engineered wood, and these cannot be refinished. They have a thin veneer on the top and then sanded it will sand right off.
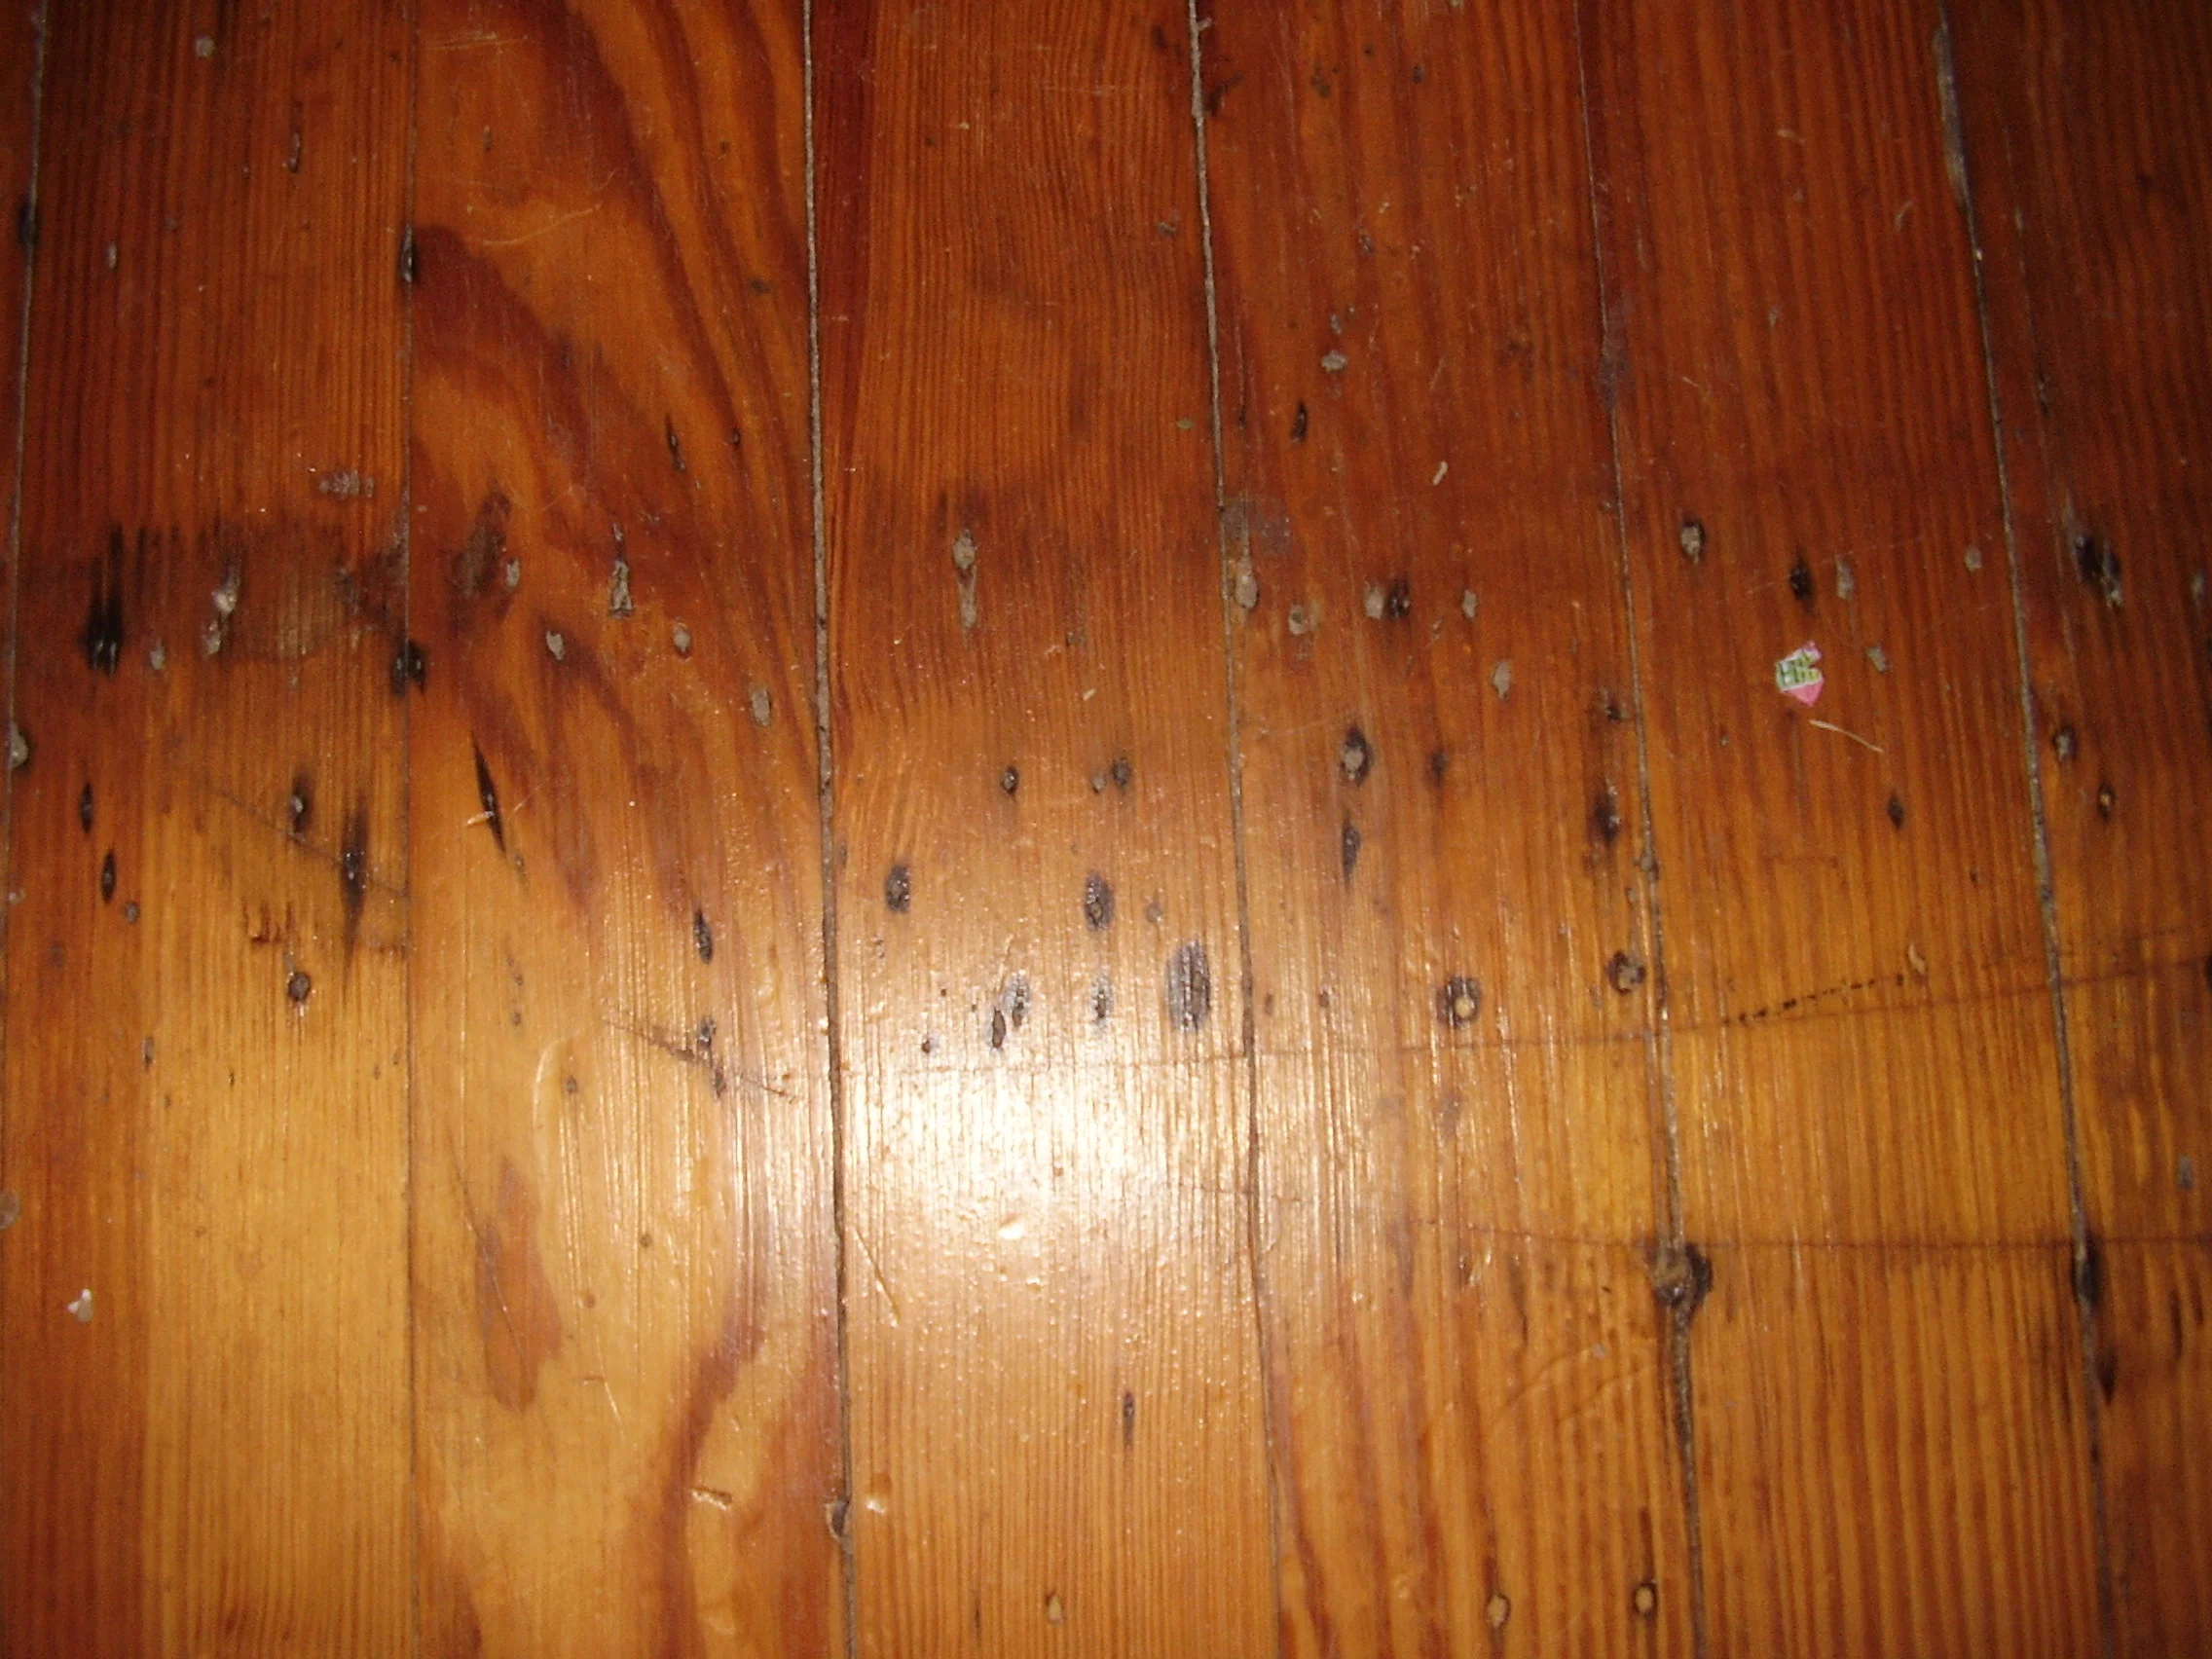
If you pull up a heating grate so that you can see the wood planks from the side you should be able to tell whether your floor is solid wood or veneer, and you should be able to whether or not it is too thin to sand.
At least 1/8 inch of wood should remain above the tongue. Sometimes older floors have been refinished many times. Each time it is refinished a layer of wood is removed until there is nothing left to remove.
You can also tell by looking at the floor where the tongue and groove fit together. If nail heads are beginning to show then the wood is too thin to sand.
There are ways around this, so don’t give up your dream of a beautiful floor yet. Check into chemically removing old varnish and proceeding that way.
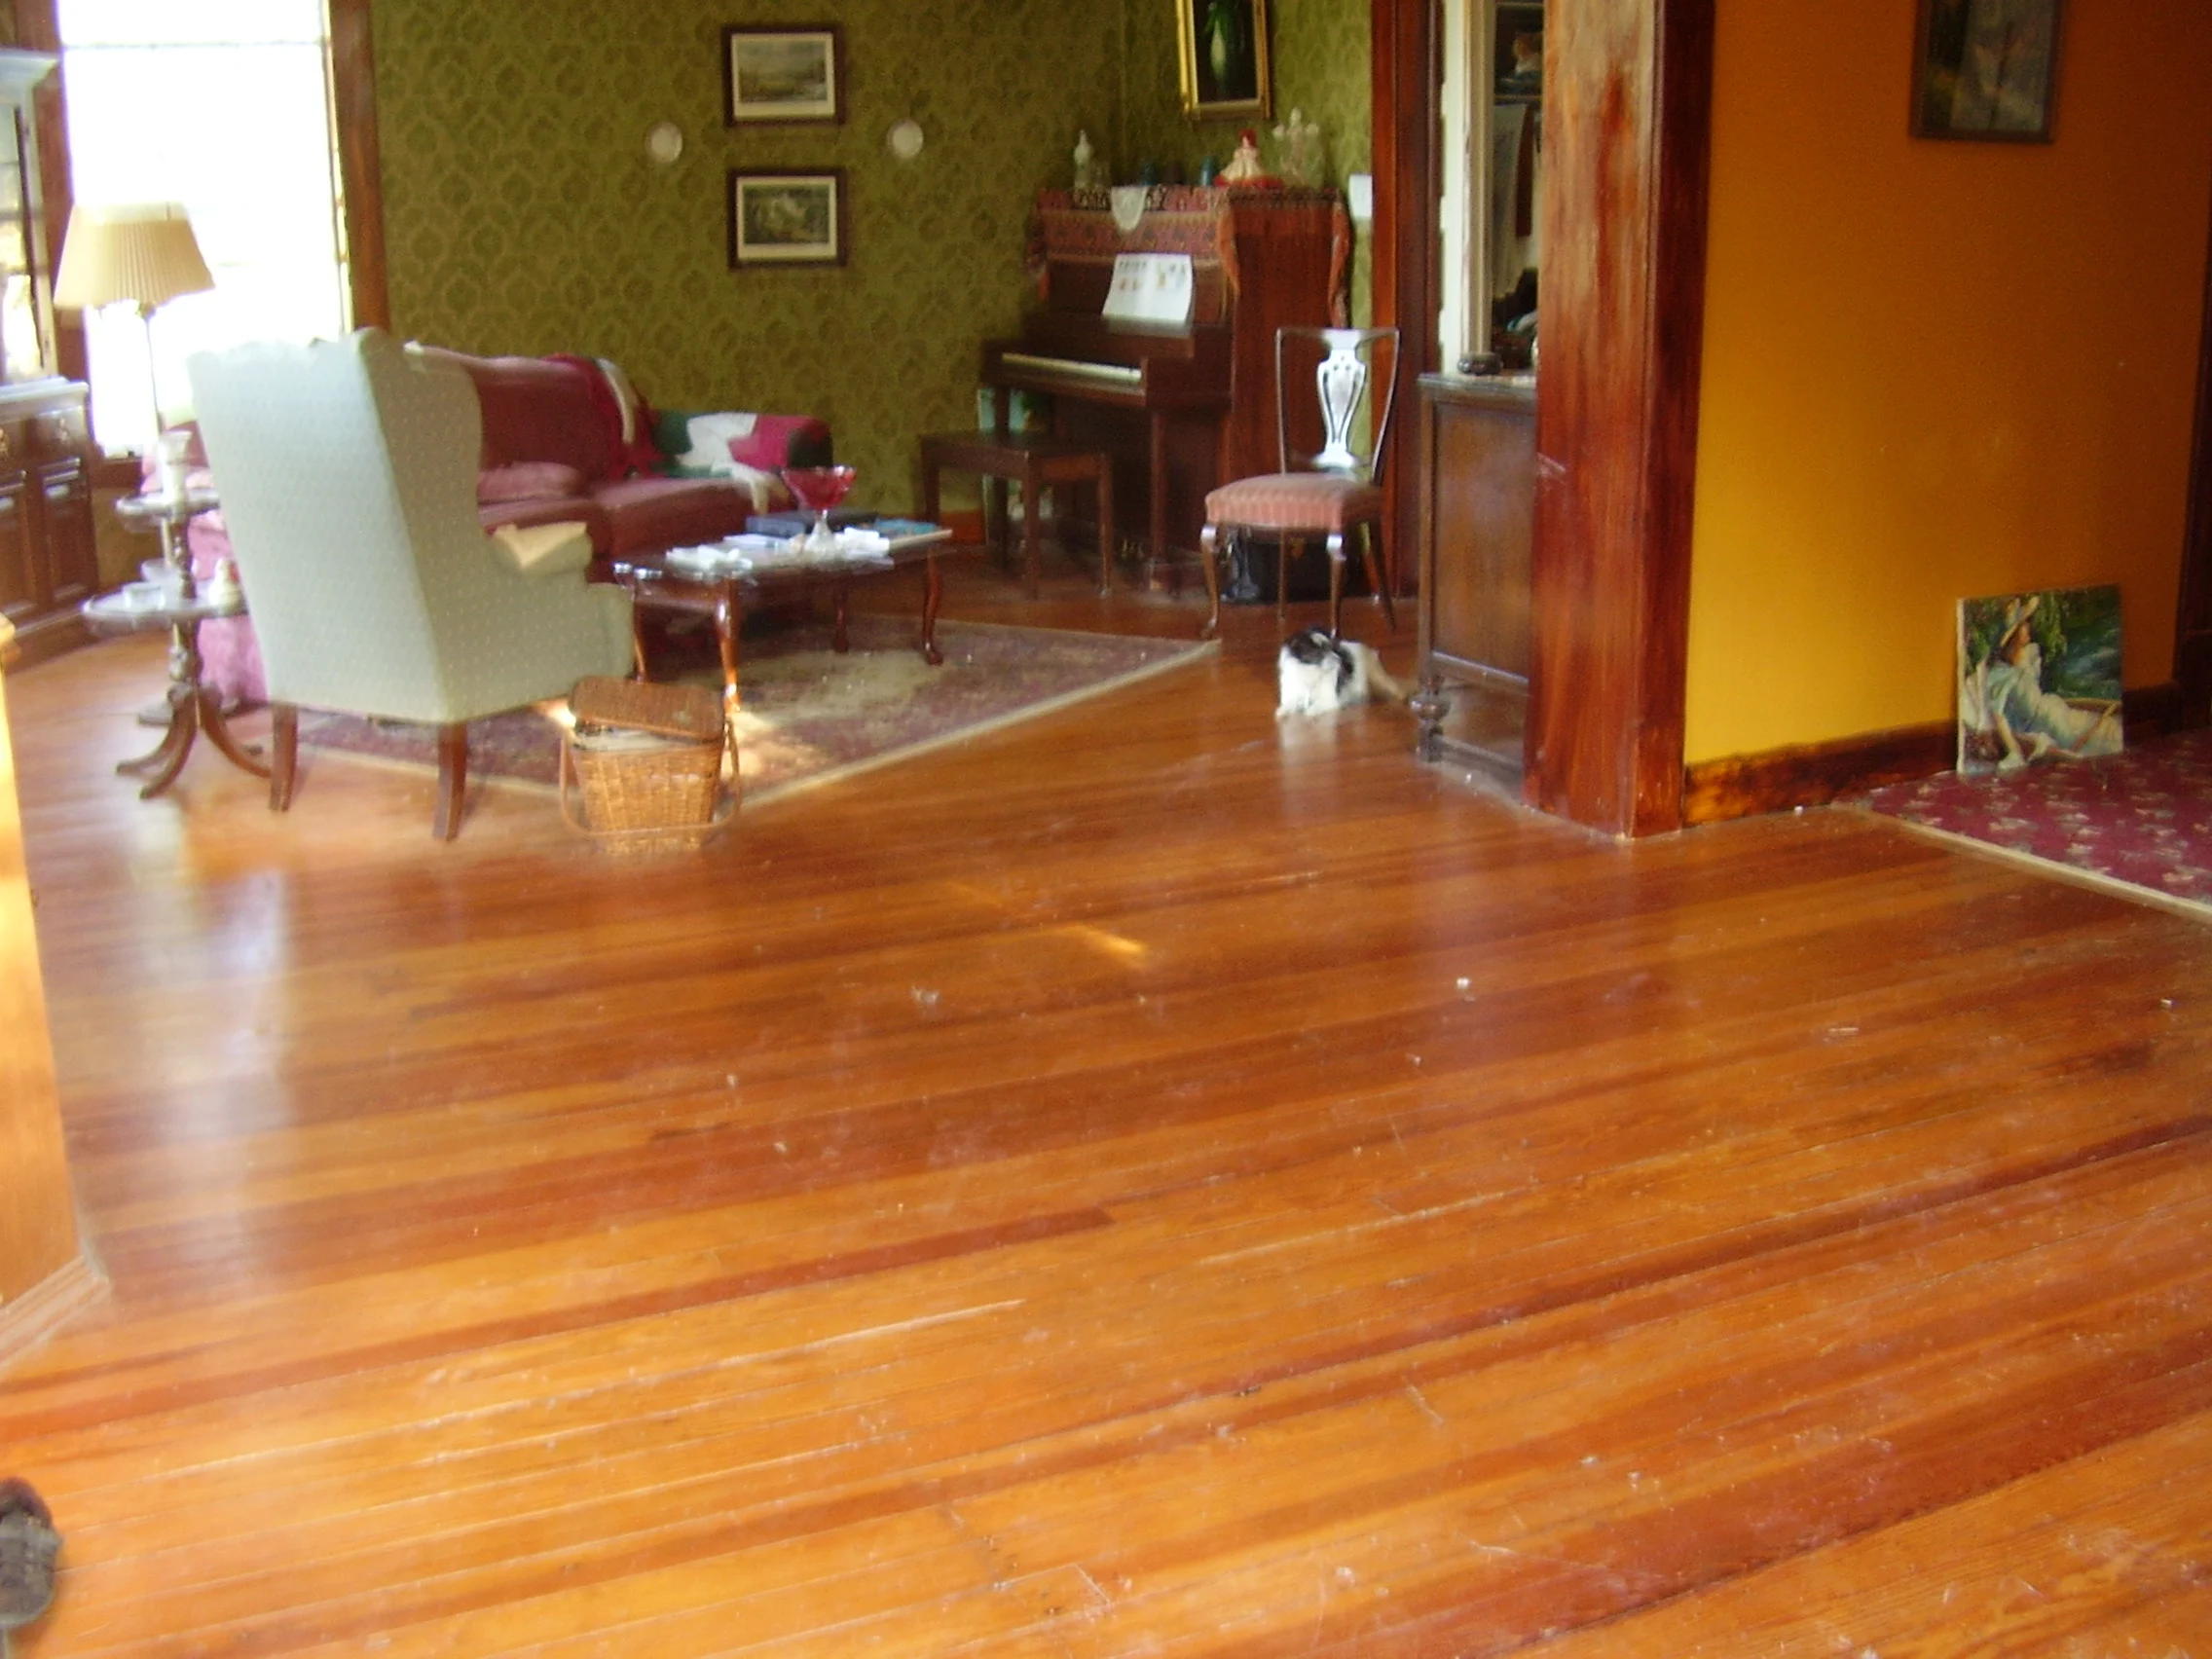
If your floor is wood and in good condition then you can safely refinish it by sanding.
Equipment You Will Need
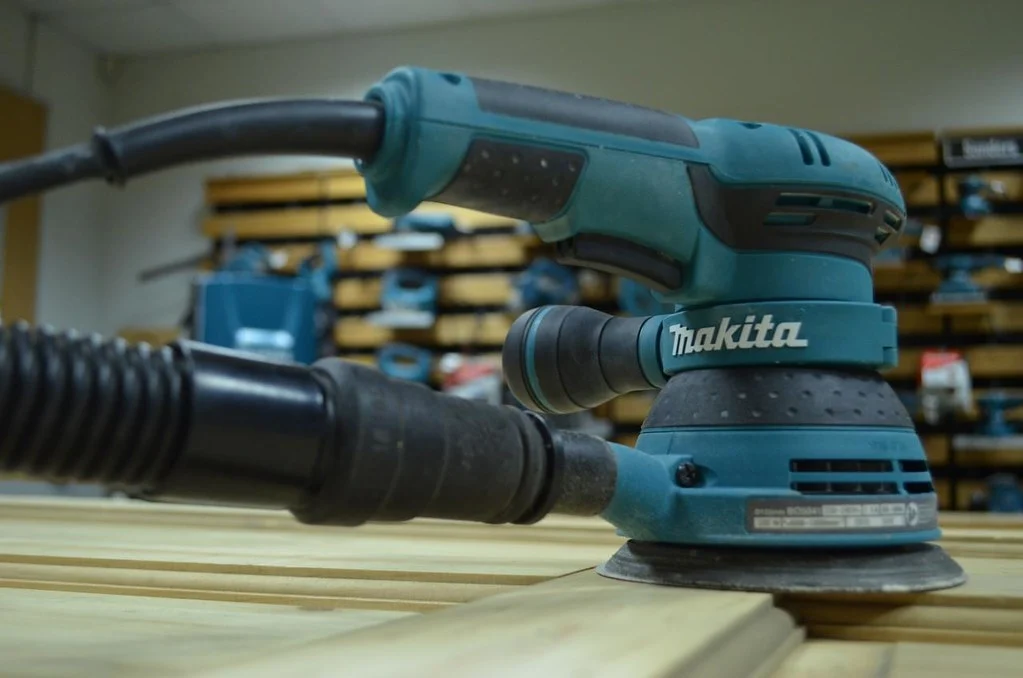
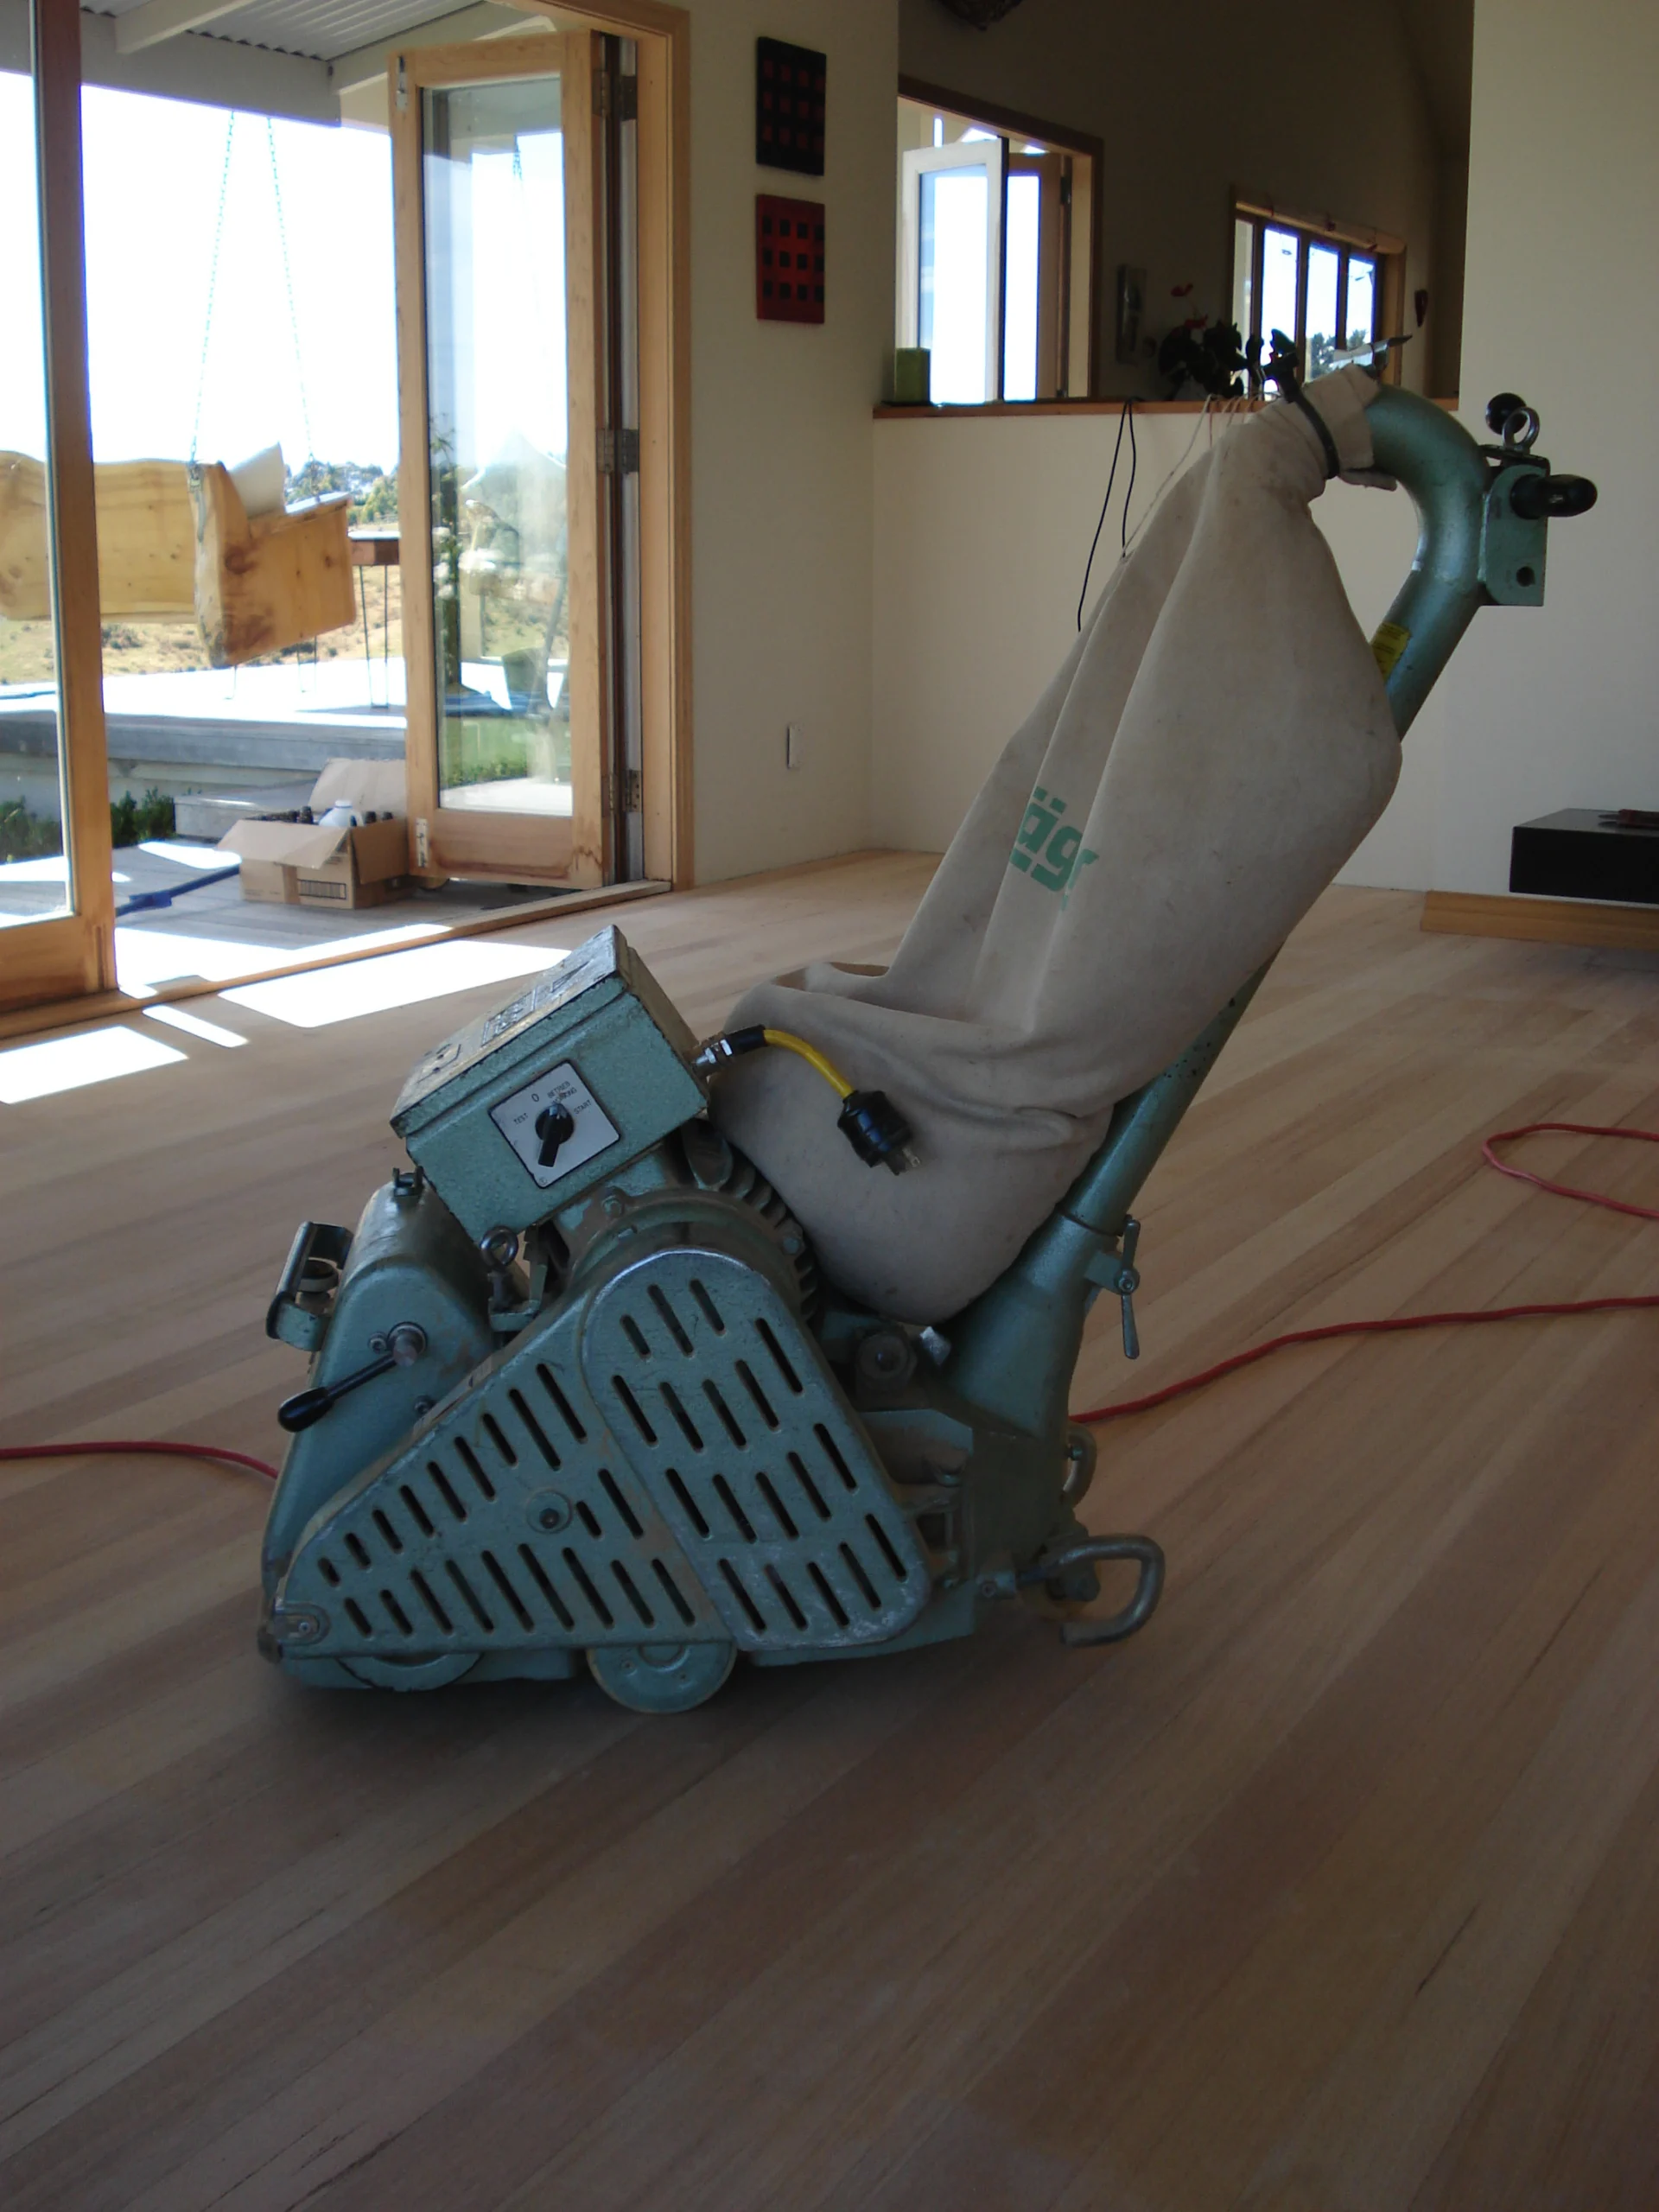
You will need to rent either a drum sander or a belt sander. If you have a choice choose a belt sander because it is easier to control and the belts are easier to change. If you don’t keep a drum sander moving it can make grooves in your floor that cannot be fixed, and the drum sander is heavier.
You will also need to get an edge sander so that you can get into the edges and corners of the room that the big sander can’t reach.
Besides the drum (or belt) sander and the edge sander you will need the following:
- Buffer
- Orbital/ palm sander
- Putty knife and scraper
- Shop vacuum
- Ear protection, dust masks, safety goggles
- Lamb’s wool and natural bristle brush, or foam applicators
- Tack cloths
Talk to the people at your home improvement center and be sure you understand how to run the machines, and how they work. Get enough sandpaper in each grit, you don’t want to have to run back and forth to the store every five minutes.
Prepare the Room for Sanding
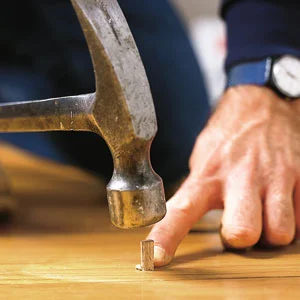
Go through and remove everything from the room. Take up the heat grates if your home has them on the floor. Pull out carpet staples and old nails that may have been used to tack down carpet or plywood.
When we pulled up the carpet at our house we found that the previous owners had driven nails into the floor at about 3-inch intervals! Use a hammer and nailset to sink any exposed flooring nails.
If you are not replacing the baseboards then leave them in place. Go through and sweep the floor thoroughly. Go back and dust mop. You want the floor to be as clean as possible before you start.
Just a quick word about repairs. A lot of people use wood putty and such to fix gouges on the floor. The wood putty is a bad idea in softwoods because it will pop out in a matter of a couple of years. Before you decide to fill gouges and cracks read several articles on it.
Especially if you have a historic floor you may decide to leave the smaller defects as is. If you have a softwood floor with deep gouges new planks will have to be laced in. Unless you have lots of experience this is best done by a professional.
First Sanding
Sanding raises a lot of dust. Be sure that you wear a mask to protect your respiratory system. Also, hang plastic over doorways and vents to keep the dust out of the rest of the house.
Do a walk-through before you begin and carefully look for areas where boards seem to be loose or need repair. If there are old holes from radiators you can plug these with a dowel of the same size as the hole, and then cut it off level with the floor. All of this should be done before sanding.
Be sure to use your safety gear. Sanders is very loud and it is not uncommon for a nail or splinter to fly up in your face unexpectedly. First, fit your drum sander with 20 to 36-grit course paper. Beginning an area that will be least noticeable so that you can get the hang of the machine. Start the sander with the drum off the floor and slowly lower it onto the wood.
Be very careful. The drum sander is loud and heavy and it can gouge or make a swirl mark on your floor. Keep your mind on what you are doing. Walk the sander forward, sanding with the grain of the wood.
If the floor is warped sand diagonally to the wood grain. Sand from wall to the wall making both a forward and a backward pass of each row. Move slowly but deliberately. The first sanding does not resurface the wood, but rather removes the finish that is on it. Overlap your path with one plank of flooring each time.
Check the sanding belt often for wear and replace it when you need to.
Do not try to sand down to bare wood. When you have removed about 85 percent, or so, of the finish, you’re ready for the next step. Once you have the main part of the floor done, sand the parts of the floor that the sander couldn’t reach, such as wall edges and corners it is time to use an edge sander.
Install the same grit disc you just used in the edge sander. Start sanding next to the baseboard and work from there out to where you just sanded. Tip the edger back and slowly lower it to the floor. Use a left-to-right semicircular motion
Second and Final Sanding
The second sanding removes the scratches left by the previous sanding, and any remaining finish or blemishes left on the wood. Switch to 80-grit paper and repeat the steps of the previous sanding.
Start the machine close to the wall at the opposite end of the room from where you started last time so that you’re not starting in the same spot each time.
If sanding in the same direction as the grain is not improving the floor finish, you can try smoothing it out by making one pass diagonally across the grain (never directly across) with medium grit sandpaper. When the floor is completely sanded, use the edge sander with the 80 grit paper to sand near the walls that you couldn’t reach with the large machine. At this point, the wood should look like freshly milled planks.
The final sanding will remove the scratches left from the previous sanding. Install 100-grit paper and begin in the same place in the room as you started your first sanding.
Sand as before but when you get to the edge sanding, add a couple of extra sanding discs under the 100-grit pad. Stacking the discs like this will provide some cushion and allow the sander to conform to any irregularities in the floor which will help to minimize swirl marks. Sand up to the baseboards and then blend the edges into the main part of the floor.
Buffing
Now you will be moving on to buffing. Put a 100-grit sanding screen on the buffer. The buffer, moving back and forth across the floor, will help to even out any problem areas or scratches left by the previous grits.
Move the buffer slowly and overlap each pass, just as you did with the sander. Don’t hurry this step. Keep your feet firmly planted and the buffer moving. You don’t want to run the buffer in any one place for too long or you’ll create marks.
Consider starting in the center of the room so until you get the hang of it so that you don’t bump walls. To finish up, switch to a random-orbit sander with 100-grit paper. Sand up to the baseboards and blend into the main floor.
Decide Which Finish to Use
There are a couple of ways you can finish the floor. The most obvious ways are to use either a water-based or oil-based polyurethane stain. You can get it in a gloss, semi-gloss, or satin finish.
Normally satin is the best because it helps to hide imperfections in the floor. The oil-based finish will give your floor the traditional golden glow that is part of the charm of the wood, enhancing the look of the grain, however, the fumes are horrid for the environment, and your family, and you have to be really careful with ventilation.
The water-based polyurethane will dry clear and resist yellowing and the fumes aren’t as toxic.
There are other options. You can leave the wood unstained and go over it with tung oil or with a natural finish called Osmo Hard Wax Oil. It is environmentally friendly and an excellent option for historic floors.
Because it will not raise the grain when applied you do not need to sand between coats and it is safe for use in children’s areas and on kids’ furniture. It resists humidity and so is great in bathrooms and kitchens. This would be a more historically true finish for your old wood floor if that is important to you.
Applying the Finish
After you decide what you will be applying it is time to apply the stain. Use a high-quality natural bristle brush or foam applicator to cut in along the edges and corners. Be careful about dripping and layers that are too thick. You will want thin, even layers.
Begin at the furthest point from the door, you don’t want to paint yourself into a corner. Apply an even coat. While the finish is still wet, blend in any brush marks with a lamb’s wool or foam applicator.
Working with the wood grain in 5′ wide sections down the width of the room, apply an even coat. With the finish wet blend in brush marks that might have been created A lamb’s wool or a foam applicator is great for this.
Let the finish dry for 24 hours unless using the quicker-drying water-based urethane. Check the grain, If the finish is raised you will need to sand between coats.
Drag a damp cloth across the floor to pick up dust and then put the last coat on the floor. Allow to dry for at least 24 hours, one week if possible, and do not mop for a couple of weeks.