
Table of Contents Show
Faux Wood Paint Technique: How to Paint a Realistic Faux Wood Finish
The faux wood paint technique is one of the easiest faux paint techniques to master. The examples given here will show you how to create a realistic faux wood finish, whatever your project.
Getting Started
Painting faux wood is not as hard as you may think. There are several ways to achieve a faux wood finish, and there are three different techniques detailed here. Apart from mahogany, which is not really knotty, most wood appears the same when presented as furniture – the wood grain, and the knots of wood.
The variable when creating a faux wood finish is obviously the color. The best way to achieve the desired look is to choose which wood you are going to try and emulate and study the color of an existing piece of furniture. This does not have to be in your home; try a furniture store or a friend’s house, and look at their furniture for some inspiration.
You will be looking at mixing up two different colors for your faux wood paint, a darker base coat, and a lighter top coat. When creating the paint mix, the type of paint does not really matter, as long as you have checked its suitability for the surface you are using.
Using tester pots of regular emulsion paint is a good way to get started, or try some of the budget acrylic paints from the art supply store. Play around with paint color mixes for your faux wood until you are happy.
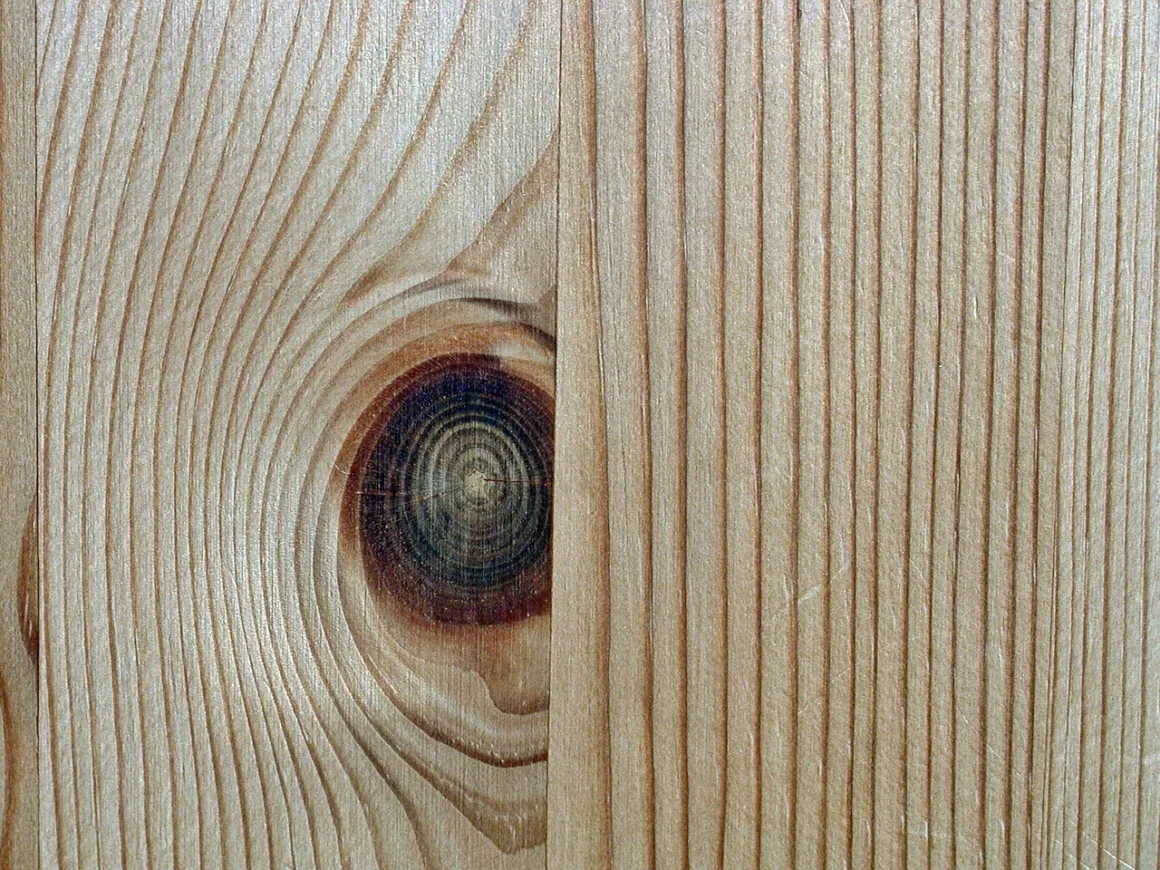
If you are using MDF (Medium-density Fibreboard) as your faux wood painting surface, you need to prime it first. Paint dries too quickly on the porous surface of MDF, making it unsuitable for faux paint techniques unless you use a special primer. Please note: the image used here is for visual reference and is not the result of faux wood painting.
Read Also:
1. Sponge Technique
Apply the darker base coat to your chosen surface, and allow it to dry completely. The lighter topcoat you are now ready to apply should be thick and gloopy.
Now apply the topcoat with a brush and work quickly. If you find the topcoat is drying too quickly, then add a dash of vinegar to slow down the drying process.
You can now either use a cheesecloth to run along the surface to create the faux wood grain or use a dry, rough paintbrush to drag along the topcoat, wiggling the brush slightly as you go. Both methods leave sections of the basecoat exposed, and a good-looking faux wood grain effect in its wake.
Using a small natural sponge, go over the still-wet topcoat, twisting the sponge tightly on the surface to create the effect of knots in the wood.
2. Rocker Technique
A wood-graining rocker can be obtained from DIY stores and is usually found with paintbrushes. It is a relatively inexpensive piece of equipment and creates a very realistic and natural faux wood finish when used correctly.
Again, apply the darker base coat and allow it to dry thoroughly. Apply the topcoat, and start your rocker at one end, working in lines (think planks of wood). Slide the rocker through the wet surface to create the faux wood grain.
Stop and rock it slowly, at intervals, to create the knots, and keep going in one continuous line to the end. Wipe off any excess paint that has accumulated on your rocker before continuing.
When starting the next plank, the one adjacent to the one just completed, start with the rocker in a different position than the one used originally. You can vary the look from plank to plank, either working completely at random or alternating on each row to give a more natural appearance.
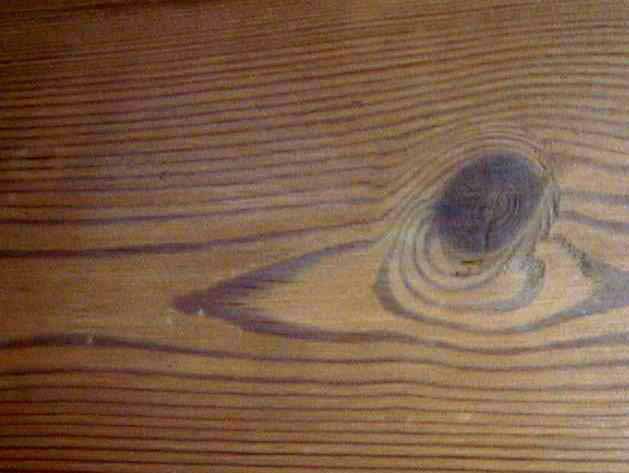
If the finished appearance is a little stark in contrast, allow it to dry a little, and work over any unnatural-looking grains with a dry paintbrush to soften the look. Please note: the image used here is for visual reference and is not the result of faux wood painting.
3. Brush Technique
This technique is a little more involved in terms of paint mixing, but very easy to do, and produces a very natural look. It is only recommended if you require a faux mahogany wood finish, as the appearance is softer than for other woods.
Start with a base coat of black, and allow it to dry completely. The topcoat would ideally be a mix of bright red, dark orange, beige, and purple (an arts and crafts store identifies these colors as cadmium red, burnt umber, raw umber, and dioxazine purple), mixed with a glaze.
This can be a specialist paint glaze, or a mix of paint and vinegar (one part vinegar to six parts paint).
Paint the top coat on with a large, domed brush, leaving streaks of the black undercoat showing through. Keep the brush strokes going in the same direction to create the wood effect.
Using any of these faux wood paint techniques should leave you with a natural, and realistic faux wood finish to any item you set your brush to.
Resources
- Janet Shearer’s Trompe l’Oeil Painting Course, New Holland Publishers, 2002
- Printing and Priming MDF: https://www.diydoctor.org.uk/projects/mdf.htm
Image Credits
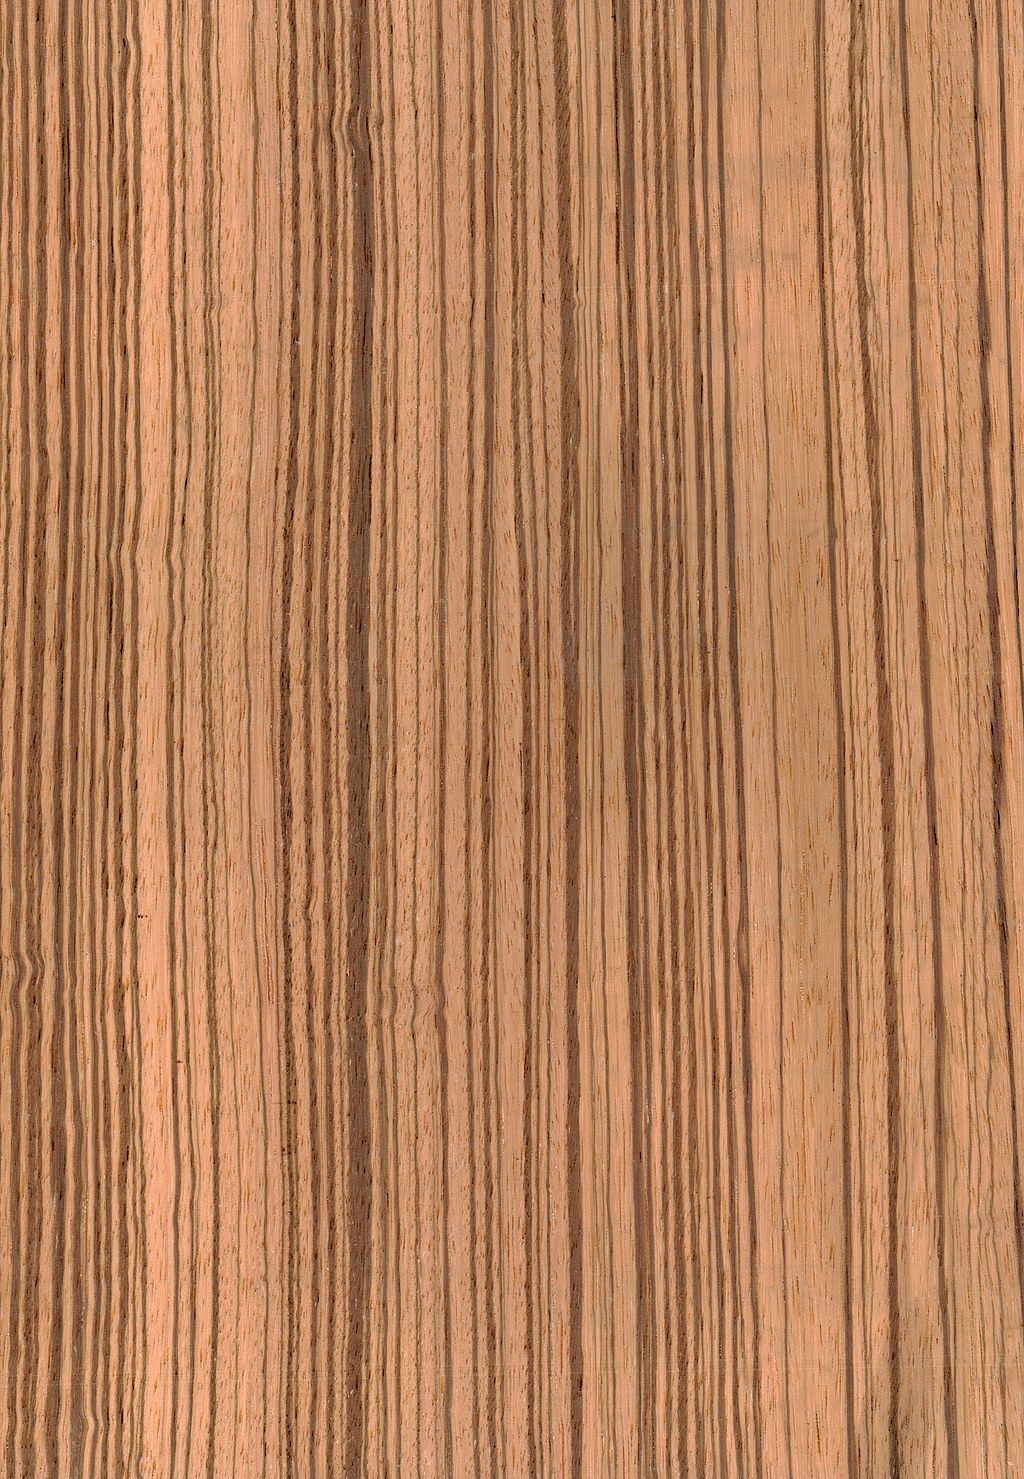
- Wood grain – Bohringer: https://commons.wikimedia.org/wiki/File:Zebrano01.jpg
- Pine – Gixie: https://commons.wikimedia.org/wiki/File:Antique_pine_wood.jpg