Table of Contents Show
Introduction
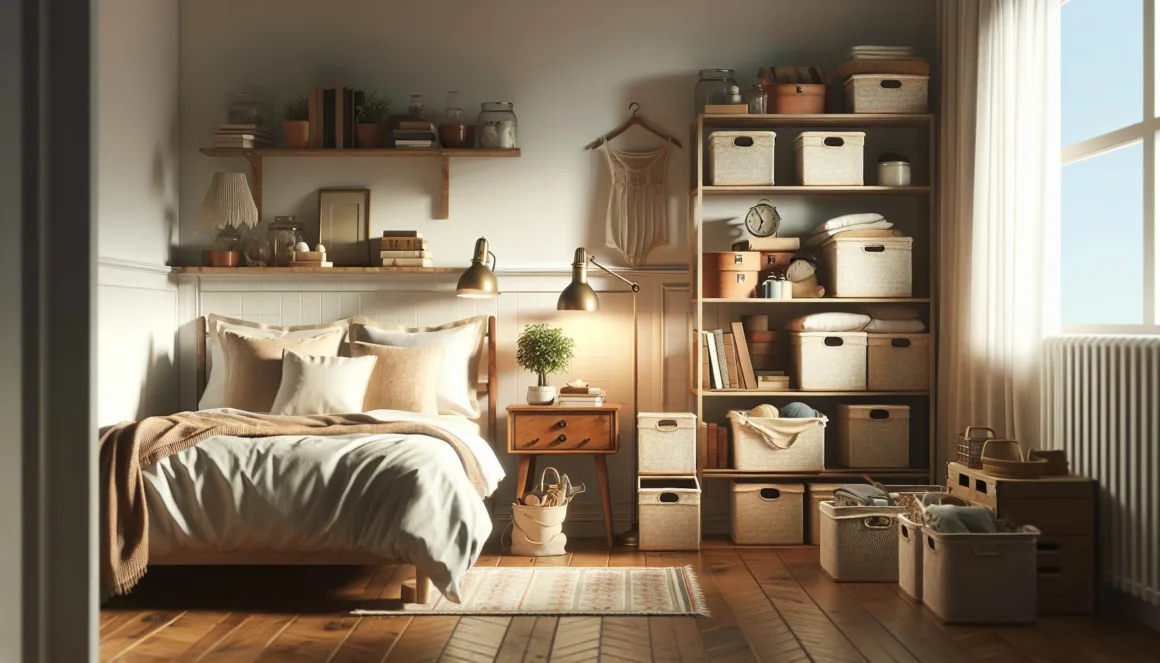
Dealing with limited storage space in a small bedroom can be overwhelming. It often leads to a messy room and a lack of organization, which can disturb the peacefulness of your personal space. Finding affordable solutions that are both stylish and functional becomes crucial in such situations. And this is where thrift store finds can be a game-changer!
Thrift stores offer a wide range of budget-friendly options that can help you tackle your storage woes without compromising on style or functionality. From unique pieces that add character to your room to clever storage hacks using everyday items, there’s so much you can do with thrifted finds.
In this article, we’ll explore various ways to transform your small bedroom into a well-organized sanctuary using thrifting, DIY projects, and repurposing techniques. Whether you’re looking for ideas to optimize closet space, create a functional bedside setup, or make the most of vertical wall space, we’ve got you covered!
“Why settle for generic when you can have one-of-a-kind?”
Ready to uncover hidden gems and turn your small bedroom into an organized haven? Let’s dive right in!
When it comes to maximizing storage in your small bedroom, one area that often gets neglected is shoe storage. We’ll show you some creative ways to keep your shoes organized without sacrificing too much floor space.
Additionally, we’ll also discuss the importance of selecting the right mattress and bed frame for your small bedroom. A comfortable bed not only enhances sleep quality but also contributes to the overall aesthetic appeal of the room. We’ll provide tips on how to choose the perfect combination that suits both your comfort preferences and space constraints.
1. Thrifting for Bedroom Storage
Exploring thrift stores, consignment shops, and online platforms like Facebook Marketplace can be a treasure hunt for unique and inexpensive storage finds. These venues offer a ton of choices that not only fit your budget but also add a sophisticated and modern look to your bedroom.
Benefits of Thrift Stores and Consignment Shops
Thrift stores and consignment shops are goldmines for budget-friendly storage solutions. Here’s why:
- Unique Finds: Items available here are often one-of-a-kind, adding character to your space.
- Cost-Effective: Prices are significantly lower than retail, allowing you to stretch your budget further.
- Sustainable Shopping: Purchasing second-hand reduces waste and promotes recycling.
Practical Tips for Thrifting
When searching thrift stores for storage solutions, keep these tips in mind:
- Inspect for Quality: Check for any damages or signs of wear. Some imperfections can be fixed with minor DIY projects.
- Measure Your Space: Bring measurements of your bedroom space to ensure the items will fit where intended.
- Think Creatively: Look beyond the item’s current state. Imagine how a coat of paint or new hardware could transform it.
Other Budget-Friendly Shopping Options
Besides thrift stores, you can explore other sources such as yard sales and online marketplaces.
Yard Sales
Yard sales are excellent places to find hidden gems at unbeatable prices. To get the most out of yard sales:
- Early Bird Gets the Worm: Arrive early to snag the best deals before others.
- Bundle and Bargain: Don’t hesitate to negotiate prices, especially if you’re buying multiple items.
- Bring Cash: Many yard sales operate on a cash-only basis, so bring small bills for easy transactions.
- Check Local Listings: Use local newspapers or online community boards to find yard sales in your area.
Online Marketplaces
Online platforms like Craigslist, Facebook Marketplace, and eBay offer a convenient way to find budget-friendly furniture from the comfort of your home. Here’s how to maximize your online shopping experience:
- Set Alerts: Enable notifications for specific items you’re seeking to get instant updates when new listings appear.
- Filter Search Results: Use filters to narrow down listings by location, price range, and condition.
- Communicate Clearly: When contacting sellers, ask detailed questions about the condition of the item and if possible, request additional photos.
- Safety First: Arrange meet-ups in public places or opt for contactless delivery options.
Discovering these thrifting treasures is not just about saving money; it’s about finding pieces that bring personality and functionality to your bedroom. Additionally, if you’re looking to add a touch of elegance and charm, consider trying out steps to make canopy bed curtains that can transform your room into a luxurious haven.
2. Repurposing Vintage and Antique Furniture for Storage
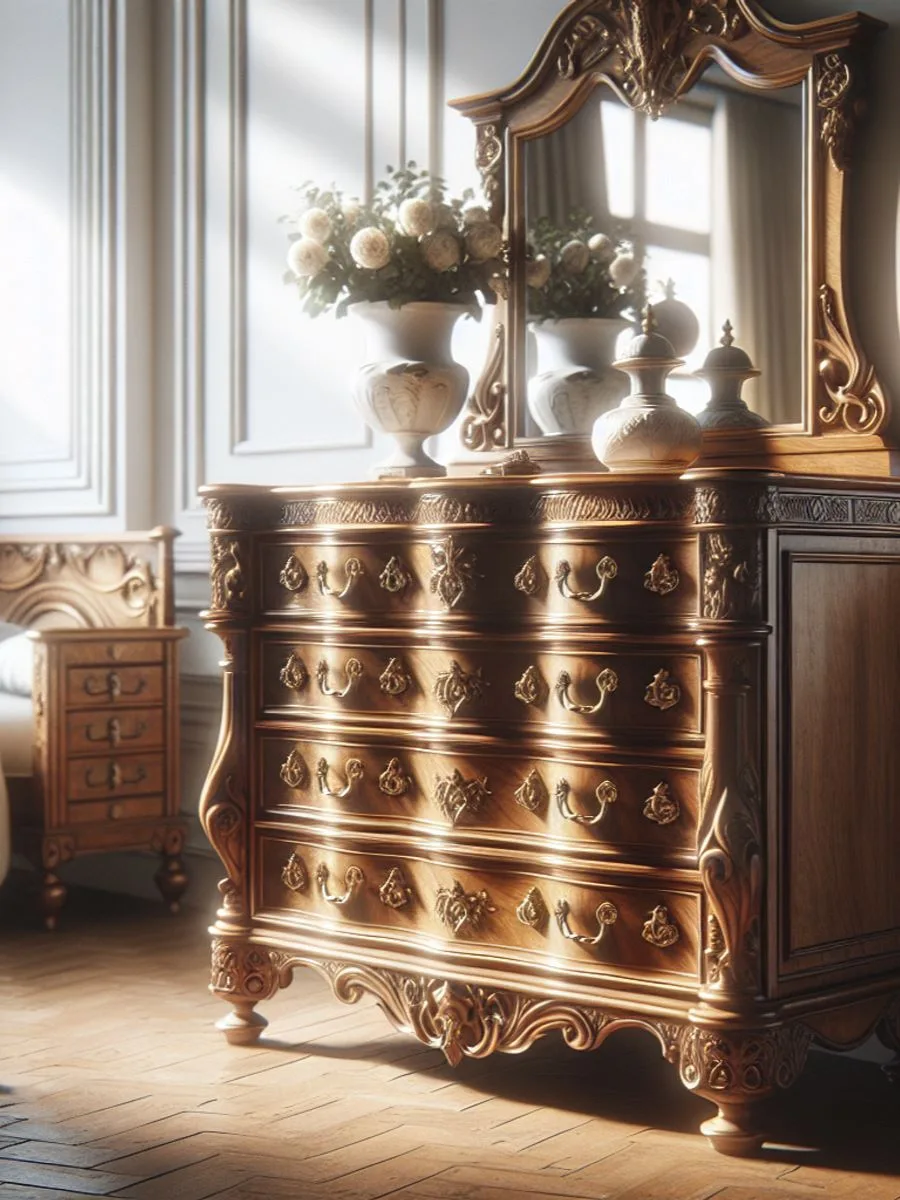
Transforming vintage furniture into stylish storage solutions not only adds character to your bedroom but also offers a sustainable way to manage space. By repurposing antique pieces, you can create unique and functional storage that seamlessly blends into your decor.
2.1 DIY Furniture Makeover: Transforming Old Pieces into Stylish Storage
Step-by-Step Tutorial on Renovating Vintage Furniture
Choosing the Right Piece
Selecting the perfect piece of vintage or antique furniture is crucial for a successful makeover. Here are some tips to guide you:
- Assess Size and Functionality: Ensure the piece fits well within your bedroom dimensions and meets your storage needs.
- Check for Structural Integrity: Look for solid construction, even if there are cosmetic flaws. Inspect joints, legs, and other critical parts to ensure they’re sturdy.
- Consider Style Compatibility: Choose a piece that complements your bedroom’s aesthetic. Think about how the design lines and features will fit into your existing decor.
Materials Needed
- Sandpaper (various grits)
- Paint or stain
- Brushes and rollers
- Screwdriver set
- New hardware (optional)
- Sealant or varnish
- Drop cloths or old sheets (to protect flooring)
- Tack cloth (for dust removal)
Steps to Renovate
Preparation
- Cleaning: Start by cleaning the furniture thoroughly to remove any dirt, grime, or old polish. Use a mild detergent and water solution, then let it dry completely.
- Disassembly: Remove any existing hardware using a screwdriver. Keep all screws and hardware in a small container to avoid losing them.
Sanding
- Initial Sanding: Sand the entire surface of the furniture with coarse-grit sandpaper to remove the old finish and smooth out imperfections.
- Fine Sanding: Switch to finer grits of sandpaper for a smoother finish. This step is crucial for ensuring the paint or stain adheres properly.
Painting or Staining
- Priming: Apply a coat of primer if you plan to paint the furniture. This helps cover any stains and provides a good base for the paint.
- Painting/Staining: Once the primer is dry, apply your chosen paint or stain in even strokes using brushes or rollers. Work in thin layers to avoid drips.
- Drying Time: Allow ample drying time between coats as per the manufacturer’s instructions. Usually, it’s best to wait at least 24 hours between coats.
Adding New Hardware
- Selection: Choose new knobs, handles, or hinges that match your style preferences.
- Installation: Ensure new hardware aligns correctly with existing holes; otherwise, you may need to drill new ones carefully.
Finishing Touches
- Sealant/Varnish: Apply a protective sealant or varnish to enhance the durability and longevity of the finish.
- Reassembly: Reassemble any removed components such as drawers or doors.
- Placement: Finally, place the renovated furniture in its designated spot, ensuring it’s level and stable.
Guidance on Selecting the Right Piece
When selecting a piece for renovation, keep these factors in mind:
- Versatility: Multi-functional pieces like dressers with multiple drawers offer ample storage options.
- Condition: Opt for items with minor cosmetic damages but sound structure; avoid those with severe water damage or structural issues.
- Material: Solid wood pieces are easier to work with compared to those made from particleboard or MDF (medium-density fiberboard), which can be challenging to sand and refinish effectively.
By following these steps meticulously, you’ll breathe new life into vintage furniture, creating unique pieces that add character and functionality to your space.
2.2 Creating Tiered Stands for Organization and Display
Repurposing vintage or antique furniture items can breathe new life into your bedroom storage solutions. One innovative way to do this is by creating DIY tiered stands, which are perfect for maximizing vertical storage space. These stands not only offer practical storage but also add a touch of charm and character to your room.
DIY Guide: Crafting Your Own Tiered Stand
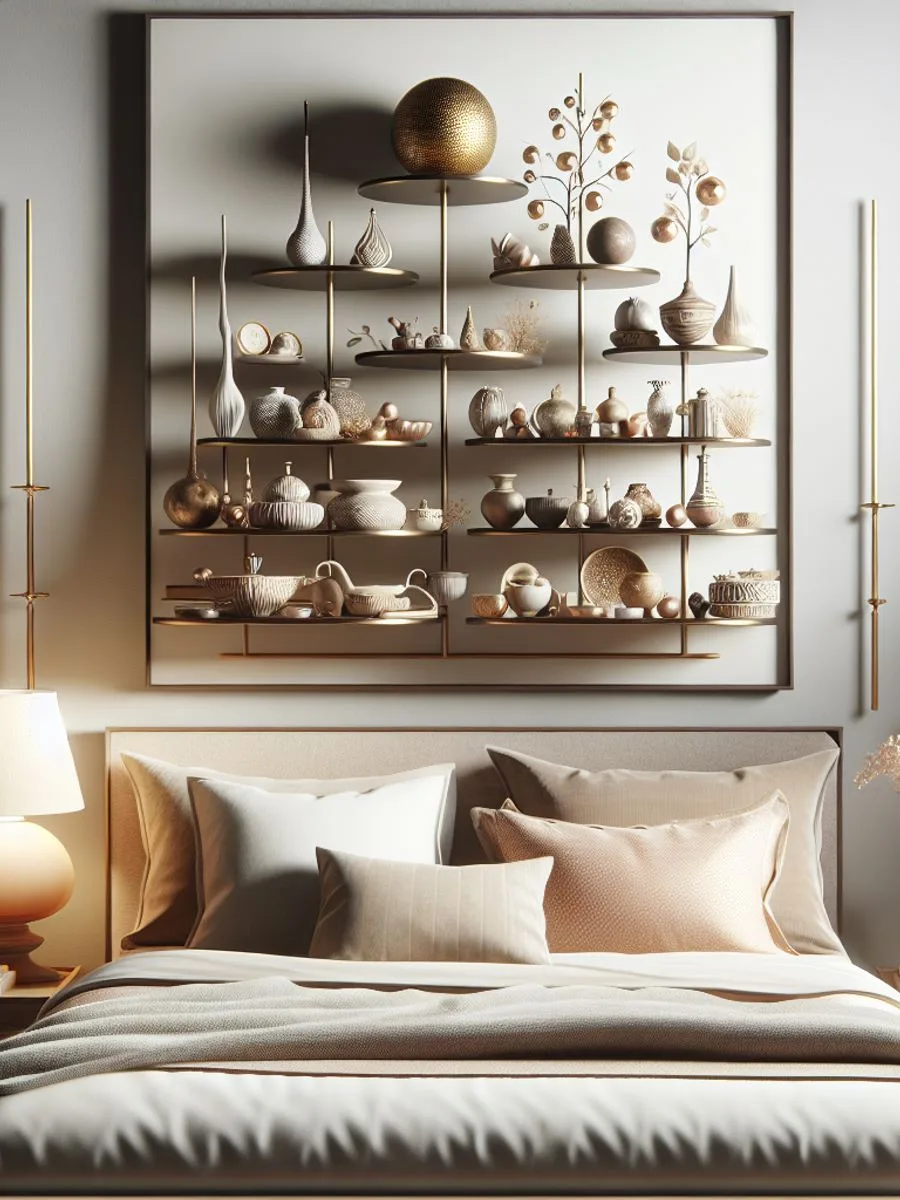
Creating your own tiered stand is a straightforward and rewarding DIY project that can add both functionality and charm to your bedroom. Follow these steps for a personalized storage solution.
1. Gather Materials:
- Three to four plates or trays of varying sizes: Thrift store finds are perfect as they offer unique designs at a budget-friendly price.
- Candle holders or small vases: These will act as spacers between the plates. Ensure they are sturdy and of appropriate height for your intended use.
- Strong adhesive: Choose an adhesive suitable for the materials you are working with, such as glass, ceramic, or metal. Epoxy resin works well for most applications.
2. Assemble the Stand:
- Begin with the largest plate as the base: This will provide stability for your stand.
- Apply adhesive to the bottom rim of a candle holder: Press it firmly onto the center of the base plate. It’s crucial to ensure it is centered to maintain balance.
- Allow it to set according to the adhesive instructions: Patience is key here; rushing this step can compromise the stand’s stability.
- Continue stacking by applying adhesive to the top rim of the first candle holder: Place a smaller plate on top, pressing firmly and ensuring it is centered.
- Repeat until all plates are stacked and secured: For each layer, follow the same process, ensuring each spacer is securely attached before moving on.
3. Final Touches:
- Ensure each layer is level before allowing the entire stand to dry completely: Use a level tool if necessary.
- Optionally, paint or decorate the stand: Customize it to match your bedroom decor with paint, decals, or other decorative elements.
Versatile Uses for Tiered Stands
Tiered stands are incredibly versatile in a bedroom setting. Here are some creative ways to utilize your new DIY piece:
1. Jewelry Display:
- Organize rings, earrings, and necklaces neatly on different levels.
- Prevent tangling and easily locate your favorite pieces.
2. Makeup Organizer:
- Keep makeup brushes, lipsticks, and compact powders within easy reach yet tidy.
- Separate items by category or frequency of use for quick access.
3. Decorative Elements:
- Showcase small plants, candles, or trinkets that enhance your room’s aesthetic.
- Add seasonal decorations or personal mementos for a touch of personality.
The beauty of repurposing lies in its ability to transform ordinary items into custom storage solutions that are both functional and unique. Vintage and antique pieces bring an unparalleled charm to any space, making everyday organizations feel special and personalized. By engaging in DIY projects like creating tiered stands, you not only solve storage problems but also infuse your bedroom with character and warmth.
3. Thinking Outside the Box with Budget-Friendly Storage Containers
When it comes to small bedroom storage solutions, thinking outside the box can lead to some surprisingly effective and budget-friendly options. One innovative approach is to repurpose unconventional objects as storage containers.
Metal Strainers: A Versatile Storage Solution
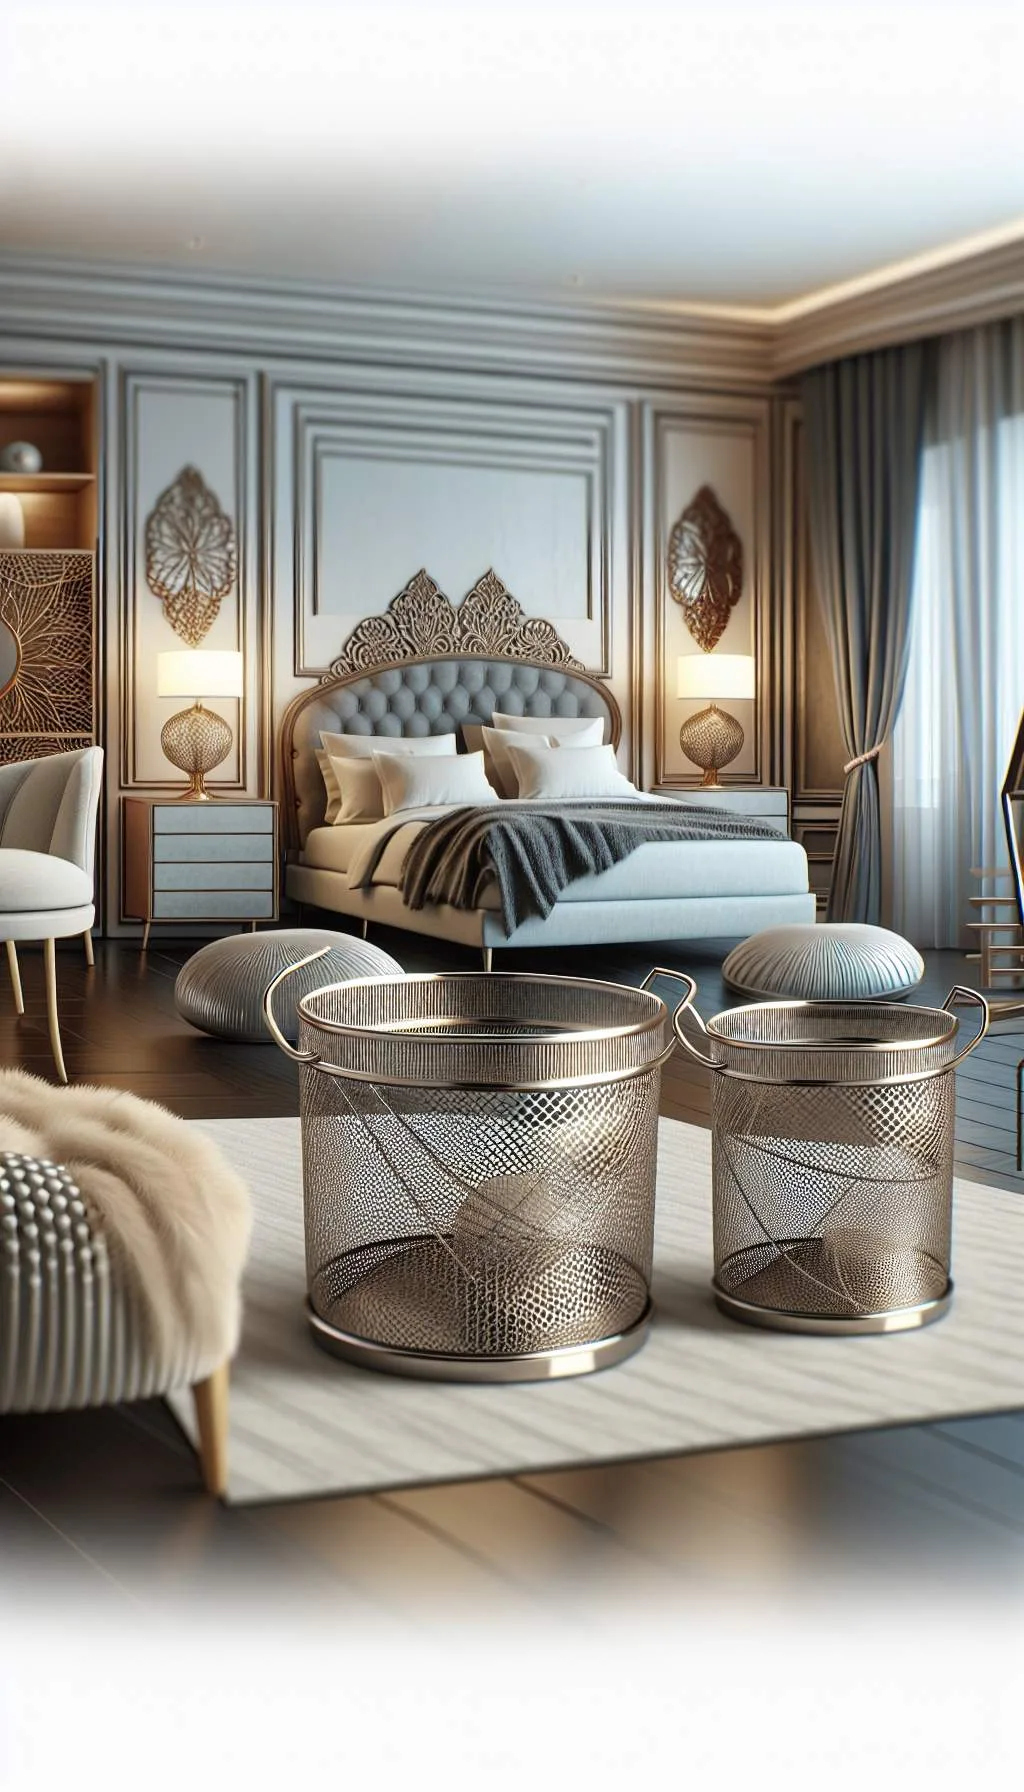
Metal strainers might not be the first thing that comes to mind for bedroom storage, but these kitchen staples offer both functionality and style. Their perforated surfaces provide excellent ventilation, making them ideal for storing items like:
- Scarves and Accessories: Hang them on hooks or nails for easy access.
- Small Toys or Trinkets: Keep them organized while adding a quirky touch to your decor.
- Stationery Supplies: Perfect for pens, pencils, and other desk essentials.
To enhance their visual appeal, consider giving metal strainers a fresh coat of paint that matches your room’s color scheme. This simple DIY project can transform them from kitchen tools into chic storage solutions.
Repurposing Paper Towel Holders for Added Functionality
Another everyday item that can be cleverly repurposed is the paper towel holder. Its vertical design makes it perfect for organizing items in a small space. Here are a few creative uses:
- Jewelry Display: Wrap bracelets or necklaces around the holder for an elegant display.
- Washi Tape Organizer: Keep your collection of decorative tapes neat and accessible.
- Hair Accessories Stand: Store hair ties, scrunchies, and headbands in one convenient spot.
For more inspiration on repurposing items, consider exploring the HomeTalk community, where you can find a plethora of ideas and discussions on repurposing various household objects.
By utilizing these unconventional objects, you can create unique and practical storage solutions without breaking the bank. The key is to look at everyday items with a fresh perspective and see their potential beyond their intended use.
Thinking creatively about storage not only helps in maximizing space but also adds a personalized touch to your bedroom decor.
4. Embracing Vintage Industrial Style for a Storage-Focused Bedroom Decor
Vintage industrial design offers a perfect combination of style and functionality, making it an excellent option for creating storage solutions in bedrooms. This design approach utilizes raw materials like metal and wood, paired with a minimalist mindset, resulting in a sleek and contemporary look that optimizes space.
Finding Authentic Vintage Pieces
Discovering genuine vintage items can be an exciting journey. Here are some tips to assist you:
- Thrift Stores and Antique Shops: These places are treasure troves for finding vintage gems. Keep an eye out for pieces such as metal lockers, wooden crates, and industrial carts.
- Online Marketplaces: Websites like Etsy, eBay, and Facebook Marketplace often have a wide selection of vintage items available.
- Estate Sales: Estate sales can be a great source of high-quality items at reasonable prices.
When choosing pieces, prioritize those that offer both storage functionality and visual appeal. For instance, a vintage metal locker can serve as both a wardrobe and an eye-catching decor piece.
Incorporating Vintage Industrial Elements
Integrating these discoveries into your bedroom decor requires some creativity. Here’s how you can do it seamlessly:
- Mixing Materials: Combine metal shelves with wooden crates to add visual interest while still maintaining practicality.
- Neutral Color Scheme: Stick to neutral colors like black, grey, and natural wood tones to create a cohesive look.
- Functional Accessories: Incorporate wire baskets for storing linens or magazines and use metal hooks for hanging accessories.
DIY Projects and Styling Techniques
Taking on do-it-yourself (DIY) projects gives you the opportunity to personalize pieces according to your space’s specific needs. Consider these ideas:
Industrial Pipe Shelving

Materials Needed:
- Metal pipes
- Flanges
- Wooden planks
Steps:
1. Assemble the Pipes:
- Gather all materials: Ensure you have metal pipes, flanges, screws, and a screwdriver at hand.
- Screw the flanges into the ends of the metal pipes: This will form the brackets that will support your shelves. Make sure they are tightly secured to prevent any wobbling.
- Double-check alignment: Lay out your assembled brackets on a flat surface to ensure they are even and aligned properly.
2. Attach to the Wall:
- Mark the drilling spots: Hold the assembled brackets against the wall at your desired height and mark where you’ll drill holes for the screws.
- Drill pilot holes: Use a drill to create small pilot holes at the marked spots to make it easier to insert screws and reduce the risk of wall damage.
- Securely mount these brackets onto your wall: Use appropriate wall anchors if you’re attaching them to drywall. Ensure they are level by using a spirit level before fully tightening the screws.
3. Add Shelves:
- Measure and cut wooden planks: If necessary, cut your wooden planks to fit the length between your mounted brackets.
- Sand down edges (optional): For a smoother finish, sand down any rough edges on the wooden planks before placing them on the brackets.
- Place wooden planks on top of the brackets: Adjust as needed to ensure they sit evenly. You can also secure them with small screws from underneath if extra stability is required.
This project not only provides robust storage but also adds a touch of industrial flair to your room, giving it both functionality and aesthetic appeal.
Repurposed Wooden Crates
Materials Needed:
- Wooden crates
- Paint or stain
- Sandpaper
Steps:
1. Prepare the Crates:
- Sand Down Rough Edges: Use sandpaper to smooth out any rough edges or surfaces on the wooden crates. This step ensures that your crates not only look polished but are also safe to handle.
- Clean the Crates: Wipe down the crates with a damp cloth to remove any dust or debris left from sanding. This will help the paint or stain adhere better.
2. Paint or Stain:
- Choose Your Finish: Decide whether you want to paint or stain the crates. Paint offers vibrant color options, while stain enhances the natural wood grain for a more rustic look.
- Application: Apply your chosen finish using a brush or roller, ensuring an even coat. You may need multiple coats for optimal coverage.
- Drying Time: Allow the crates to dry thoroughly between coats. Follow the manufacturer’s recommendations for drying times to ensure a durable finish.
3. Stack and Arrange:
- Plan Your Layout: Before securing, plan how you want to stack and arrange the crates. You can stack them vertically for a tall bookshelf effect or horizontally for a low-storage unit.
- Secure if Necessary: Use screws or brackets to secure the crates together, especially if you’re stacking them vertically, to prevent tipping.
- Placement: Place your stacked units in your desired location, ensuring they are stable and level.
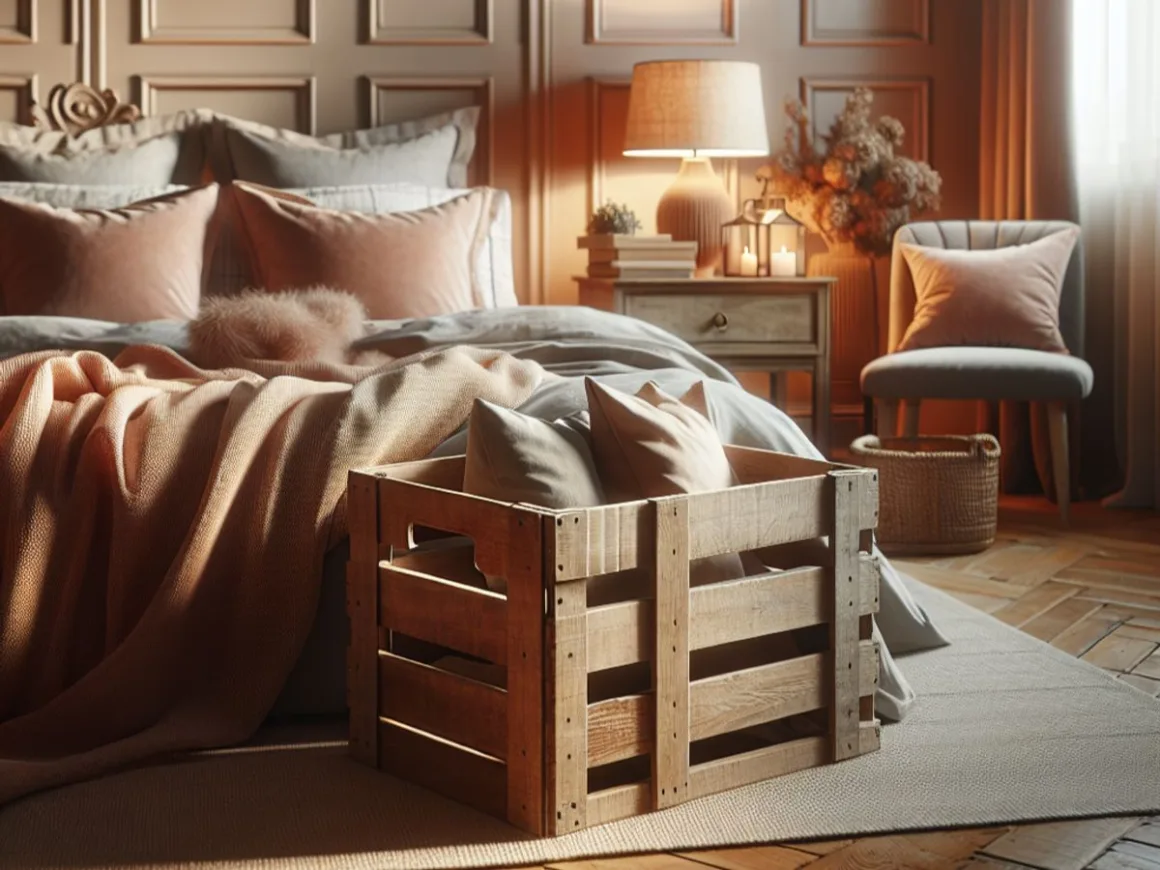
Wooden crates can be used for storing anything from books to shoes, adding both functionality and rustic charm to your space.
Additional Tips
- Customization: Personalize your crates further by adding labels, handles, or decorative elements like stencils.
- Mobility: Attach casters to the bottom crate for a mobile storage solution that can be easily moved around your space.
By following these steps, you can transform simple wooden crates into versatile storage solutions that enhance both organization and aesthetic appeal in your home.
Upcycled Metal Lockers
Materials Needed:
- Old metal lockers
- Sandpaper
- Paint
- Primer (optional)
Steps:
1. Sand Down Rust Spots:
- Start by using medium-grit sandpaper to remove any rust spots or old paint from the lockers.
- Focus on rusty areas first, then sand the entire surface to ensure a smooth finish.
- Wipe away any dust with a damp cloth after sanding to prepare for priming.
2. Prime if Necessary:
- If the lockers are heavily rusted or if you want extra durability, consider applying a metal primer.
- Choose a primer designed specifically for metal surfaces to ensure proper adhesion and longevity.
- Apply an even coat of primer and let it dry completely according to the manufacturer’s instructions.
3. Repaint:
- Select a high-quality paint that is suitable for metal surfaces. Spray paint can offer a more even finish, but brush-on paint can work well too.
- Choose a color that complements your room’s color scheme. For an industrial look, consider muted tones like grey, black, or navy.
- Apply an even coat of paint, making sure to cover all nooks and crannies. Allow it to dry thoroughly before applying a second coat if needed.
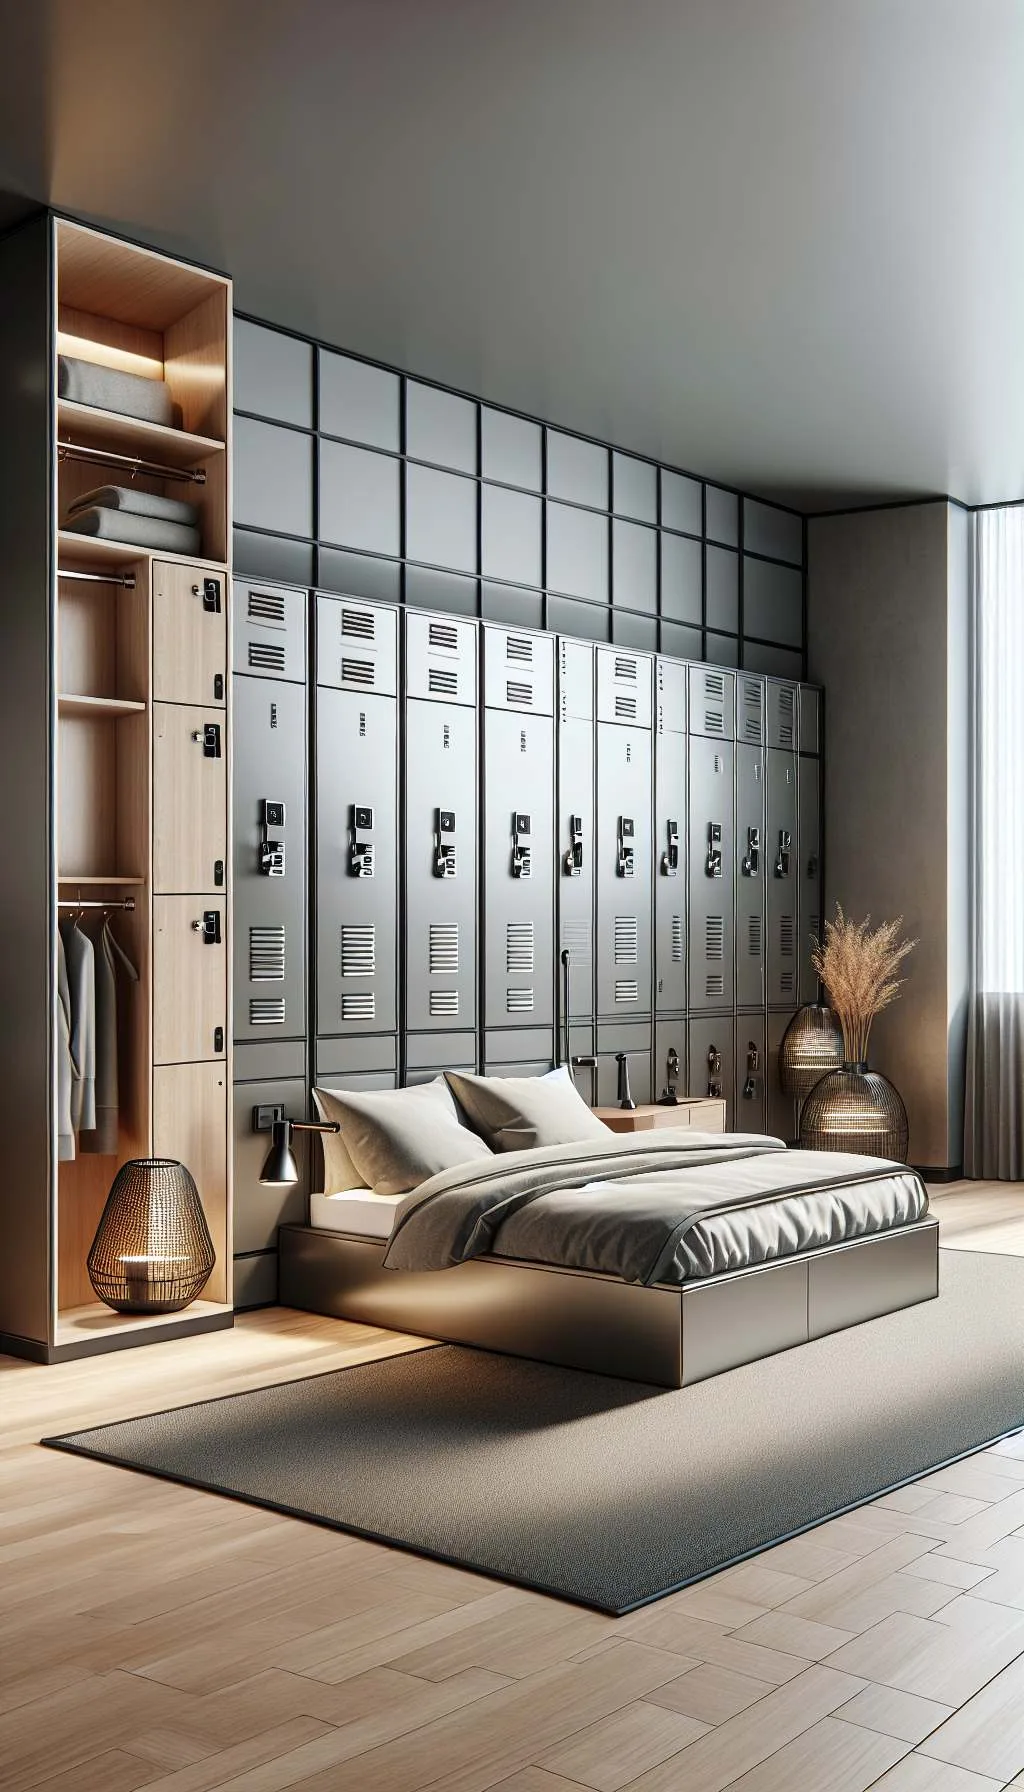
Upcycling old metal lockers not only gives them new life but also introduces an element of vintage industrial style into your bedroom. By following these steps, you can transform outdated lockers into stylish and functional storage solutions that enhance your space’s overall aesthetic.
These techniques allow you to infuse your personality into the space while keeping it organized and stylish. The combination of vintage charm with functional storage capabilities makes vintage industrial design an attractive choice for any budget-friendly bedroom makeover project.
By incorporating elements like industrial pipe shelving, repurposed wooden crates, and upcycled metal lockers, you can achieve a cohesive yet eclectic look that is both practical and aesthetically pleasing.
Conclusion
Exploring diverse and cost-effective approaches to bedroom storage through thrifting, repurposing, and DIYing opens up a world of possibilities. Thrift store gems offer unique and budget-friendly storage solutions that bring both character and functionality to your space.
By unleashing your creativity, you can personalize these ideas to perfectly suit your small space challenges. Each project, whether it’s a DIY furniture makeover or repurposing a vintage find, allows you to infuse your style into the room.
Embracing budget-friendly storage solutions is more than just a practical endeavor; it can be a rewarding journey. Transforming old pieces and finding new uses for everyday items leads to a more organized and stylish bedroom environment. Dive into this adventure with an open mind and let each discovery enhance the charm and efficiency of your space.
FAQs (Frequently Asked Questions)
Thrifting for bedroom storage solutions at thrift stores and consignment shops is a budget-friendly way to find unique and affordable pieces that can add character to your bedroom while providing practical storage solutions.
When searching thrift stores for storage solutions, it’s essential to keep an open mind, have a clear idea of the items you need, carefully inspect each piece for quality and functionality, and be prepared to do some minor repairs or modifications if necessary.
In addition to thrift stores, you can explore other sources such as yard sales, online marketplaces like Craigslist and Facebook Marketplace, and even local consignment shops for budget-friendly bedroom storage solutions.
You can transform vintage furniture into stylish storage solutions by giving them a DIY makeover, creating tiered stands for organization and display, and incorporating versatile uses for tiered stands in your bedroom setting.
Metal strainers and repurposed paper towel holders are versatile storage solutions that may not be commonly associated with bedroom storage but can offer unique and functional ways to organize and store items in a small space.
Embracing vintage industrial style involves finding authentic vintage pieces, incorporating vintage industrial elements into your decor, taking on DIY projects using materials like industrial pipe shelving or repurposed wooden crates, and upcycling items like metal lockers for added functionality.
