Table of Contents Show
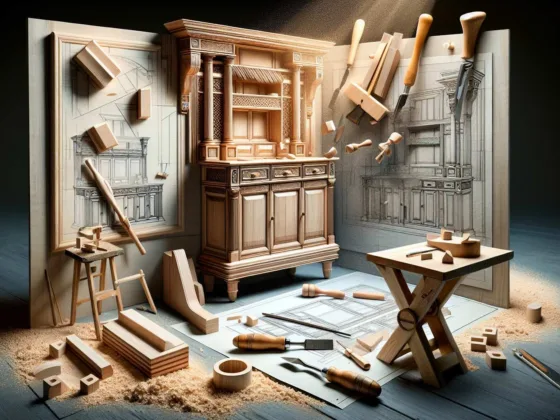
Have you ever been fascinated by the ancient craft of blacksmithing? The art of shaping metal with heat and hammer has been around for centuries, and it continues to captivate the imaginations of people around the world. In this beginner’s guide, we will explore the basics of blacksmithing and how you can get started on your own journey as a modern-day blacksmith.
Setting Up Your Forge
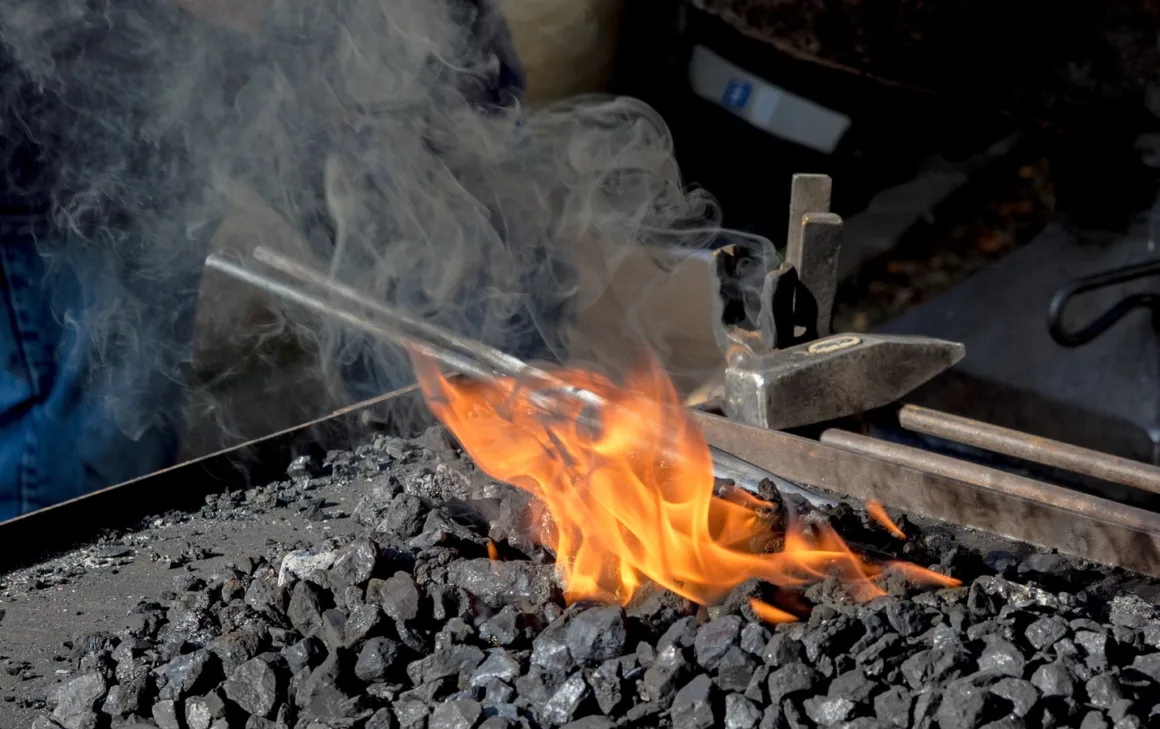
The forge is the heart of any blacksmithing operation. It’s where the magic happens, where metal is heated to a malleable state and transformed into beautiful and functional objects. There are two main types of forges: solid fuel forges and non-solid fuel forges.

Solid Fuel Forges: Embrace the Tradition
Let’s start with the classics – solid fuel forges. These forges, often powered by coal, have been the go-to choice for blacksmiths throughout history. There’s something undeniably romantic about the crackling sound of coal and the dancing flames that envelop your workpiece.
One of the advantages of solid fuel forges is their versatility. They can reach higher temperatures than their non-solid fuel counterparts, allowing you to work with a wider range of metals. Additionally, coal is relatively inexpensive and readily available in many areas, making it a cost-effective option for aspiring blacksmiths.
However, solid fuel forges do require a bit more skill and effort to operate. You’ll need to learn the art of fire management, ensuring that your coal is properly ignited and maintained at the right temperature. But fear not, for with practice and patience, you’ll soon become a master of the forge.
Non-Solid Fuel Forges: Modern Convenience
If you prefer a more convenient and user-friendly option, non-solid fuel forges might be the way to go. These forges use propane or natural gas as their heat source, providing a consistent and easily controllable flame.
One of the main advantages of non-solid fuel forges is their simplicity. With just the turn of a knob, you can adjust the heat to suit your needs. This makes them ideal for beginners or those who value ease of use.
Another benefit of non-solid fuel forges is their cleanliness. Unlike coal, propane and natural gas produce minimal smoke and ash, keeping your workspace tidy and reducing the risk of respiratory issues.
However, it’s worth noting that non-solid fuel forges may have limitations when it comes to reaching extremely high temperatures. This can make them less suitable for certain types of metalworking, such as forge welding. Additionally, the cost of propane or natural gas may be higher than that of coal, depending on your location.
Choosing the Forge That’s Right for You
Ultimately, the choice between a solid fuel forge and a non-solid fuel forge boils down to personal preference and practical considerations. Consider the following factors when making your decision:
- Availability of resources: Is coal easily accessible in your area, or is propane/natural gas more abundant?
- Desired temperature range: Will you be working with a variety of metals that require higher temperatures?
- Convenience: Do you value ease of use and simplicity, or are you willing to put in the extra effort to master the traditional art of fire management?
- Cost: Take into account the initial investment as well as the ongoing expenses of fuel.
Remember, whichever forge you choose, it’s the passion and dedication you bring to your craft that truly matters. So, embrace the flames, let your creativity flow, and forge on!

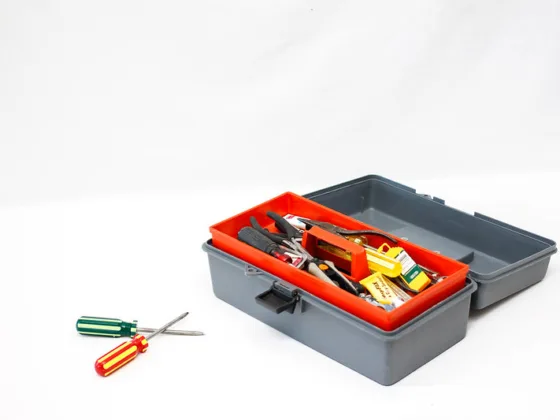
Tools You’ll Need for Blacksmithing
Now that you have your forge set up, it’s time to gather the essential tools of the trade. These tools will be your trusted companions as you shape metal into works of art. Let’s take a look at the must-haves:
Anvil
The anvil is the heart and soul of any blacksmithing workshop. It provides a sturdy surface for shaping and forging metal. When choosing an anvil, look for one made of high-quality steel with a flat surface and a horn for bending metal. Anvils come in various weights, so consider your own strength and the size of the projects you plan to work on.
Hammer
A good hammer is another indispensable tool for blacksmithing. Look for a hammer with a comfortable grip and a weight that suits your needs. A ball-peen hammer is a versatile option that can be used for a variety of tasks, including shaping and riveting.
Tongs
Tongs are used to hold and manipulate hot metal. They come in different shapes and sizes, each designed for specific tasks. For beginners, a pair of flat-jaw tongs and a pair of wolf-jaw tongs should cover most needs. Make sure the tongs fit comfortably in your hand and have a good grip on the metal.
Forge
A forge is where the magic happens. It’s the heat source that allows you to shape and mold metal. There are various types of forges available, including coal forges, gas forges, and propane forges. Each has its own advantages and disadvantages, so do your research and choose one that suits your budget and needs.
Files and Rasps
Files and rasps are essential for refining your work and removing excess material. Look for files with different shapes and sizes to accommodate various contours and angles. A good set of needle files is also handy for intricate work. Remember to keep your files clean and sharp for optimal performance.
Essential Safety Gear for Blacksmithing
Blacksmithing is a craft that requires caution and safety measures. To protect yourself from high temperatures and flying sparks, it’s important to invest in the right gear:
Cotton or Fiber Clothing
When it comes to clothing, synthetic fabrics are a big no-no in the forge. Instead, opt for cotton or fiber materials that offer better protection against heat. These fabrics are less likely to melt or catch fire, providing an additional layer of safety.
Earplugs
The constant hammering in the forge can take a toll on your ears over time. To protect your hearing, it’s essential to wear earplugs. These small yet mighty devices help reduce the noise level, ensuring that you can continue to enjoy the sounds of your craft without compromising your hearing.
Safety Glasses
Working with metal means dealing with flying sparks and debris. To shield your eyes from potential harm, invest in a good pair of safety glasses. These will not only protect your eyes but also give you a clear vision of your work, allowing you to focus on the intricate details.
Respirator
Forging metal produces fumes and particles that can be harmful to your lungs. To protect yourself, wear a respirator that filters out these pollutants. A respirator with replaceable filters is ideal, as it ensures you can continue working in a clean and safe environment.
Hand Gloves
When it comes to hand protection, regular gloves won’t cut it in the forge. Invest in heat-resistant gloves that provide both dexterity and protection. These gloves are designed to withstand high temperatures, allowing you to handle hot metal while keeping your hands safe.
Footwear
Working in a forge means dealing with falling objects and hot metal. To protect your feet, wear closed-toe shoes or boots. These will provide a barrier against potential injuries, ensuring that you can work confidently without worrying about your feet.
Fire Extinguisher
While we hope for the best, it’s always wise to prepare for the worst. Keep a fire extinguisher within reach in case of emergencies. A small fire can quickly escalate, and having a fire extinguisher on hand can help prevent a disaster.
Basic Shaping Techniques for Blacksmithing Beginners
Whether you’re a beginner or looking to refine your skills, there are a few basic shaping techniques that every blacksmith should know. Here are some fundamental techniques that will help you shape metal and create beautiful pieces of art.
Hitting: The Art of Shaping
One of the most essential techniques in blacksmithing is hitting. This involves striking the metal on the anvil with a hammer to shape it. The anvil provides a solid surface for the metal to be shaped against and the hammer applies force to shape it. Remember, the key here is precision and control. Practice your hammer blows to achieve the desired shape and texture.
Quenching: Cooling It Down
After heating the metal, it’s important to cool it rapidly to set its shape. This is where quenching comes into play. Quenching involves placing the heated metal into water or oil to quickly cool it down. The rapid cooling helps to harden the metal, making it more durable. However, be cautious as quenching can also make the metal brittle. Experiment with different quenching methods and find what works best for your projects.
Cutting and Shaping Techniques
Aside from hitting and quenching, there are various cutting and shaping techniques that you can utilize in blacksmithing. Let’s explore a few:
1. Cutting
Cutting metal is an essential skill for any blacksmith. There are several methods you can use to cut metal, such as using a hacksaw, chisel, or even a plasma cutter for more advanced projects. Remember to take safety precautions and wear protective gear when cutting metal.
2. Bending
Bending metal allows you to create curves and angles in your work. You can use a variety of tools, such as a bending jig or a bending fork, to achieve different bends. Experiment with different techniques and tools to master the art of bending metal.

3. Twisting
Twisting adds an elegant and decorative touch to your metalwork. You can use a twisting wrench or tongs to create beautiful twists in the metal. Practice your technique and experiment with different degrees of twists to add flair to your creations.
4. Punching and Drifting
Punching involves creating holes in the metal, while drifting involves enlarging those holes. These techniques are commonly used in making rivets or creating decorative patterns. Using a punch and drift set, you can create intricate designs and add unique details to your projects.
Blacksmithing for Beginners – TikTok Video
@nate_weiss Come learn based blacksmithing with me #therealpussinboots #fypシ #fyp #art ##forging##ancient##tools ♬ Au Revoir – Sweet After Tears
Conclusion
Blacksmithing is a fascinating craft that allows you to unleash your creativity while working with your hands. Whether you’re interested in making tools, jewelry, or art, blacksmithing offers endless possibilities. By setting up your forge, gathering the essential tools, and investing in the right protective gear, you’ll be well on your way to becoming a skilled blacksmith.
So, why not dive into the world of blacksmithing? Embrace the heat, the hammer, and the artistry. The ancient craft awaits your touch.