Table of Contents Show
Introduction
Soundproofing between floors is crucial for maintaining a peaceful and comfortable living or working environment. Noise pollution can disrupt daily activities, hinder productivity, and even affect mental well-being. Whether it’s the constant foot traffic from upstairs neighbours or the echo of conversations from below, unwanted noise transmission can be a significant disturbance.
This common scenario underscores the importance of effective soundproofing solutions. By addressing floor-to-floor noise transmission, you can create a serene and tranquil space free from unwelcome intrusions.
Soundproofing not only enhances privacy but also improves the overall quality of life. It serves as a barrier against disruptive sounds, allowing you to enjoy your personal time without constant interruptions. By implementing various soundproofing techniques, you can significantly dampen noise levels between floors without undergoing extensive renovations. This guide explores eight practical methods to help you achieve optimal sound insulation and maintain a quieter indoor environment.
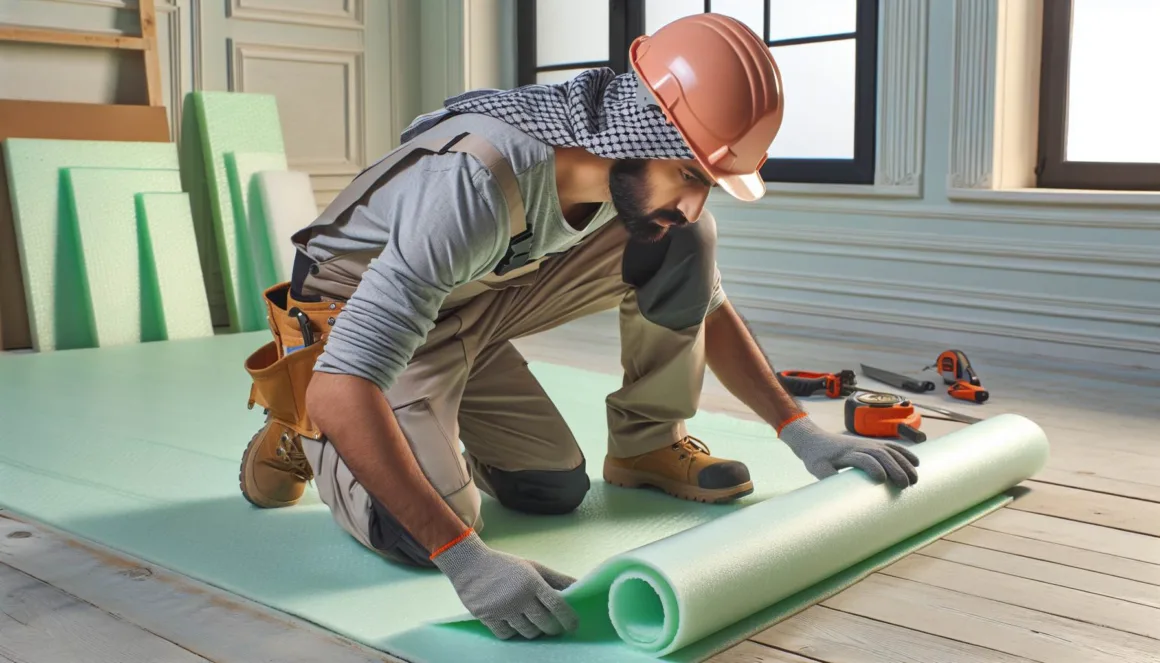
1. Polyethylene Foam Underlayment
Polyethylene foam underlayment acts as a barrier to reduce sound transmission between floors. This soundproofing material works by absorbing impact noise, such as footsteps, and minimizing airborne sounds that travel through the floor structure. The foam’s cellular composition traps sound waves, preventing them from passing through to the room below.
Advantages of Using Polyethylene Foam Underlayment
Using polyethylene foam underlayment offers several benefits:
- Effective Noise Reduction: Its dense structure absorbs both impact and airborne noise.
- Durability: Resistant to moisture and mould, ensuring long-lasting performance.
- Easy Installation: Lightweight and flexible, making it simple to handle and install.
- Cost-Effective: Provides significant soundproofing benefits at a relatively low cost.
Step-by-Step Installation Guide for Polyethylene Foam Underlayment
Preparation
- Clean the subfloor thoroughly to remove any debris or dust.
- Ensure the subfloor is dry and level.
Laying the Underlayment
- Roll out the polyethylene foam underlayment across the entire floor area.
- Cut the foam with a utility knife to fit around corners and edges.
Securing the Underlayment
- Use adhesive tape or spray adhesive to secure the seams between sheets of underlayment.
- Ensure there are no gaps or overlaps between sections for optimal performance.
Installing Flooring Over the Underlayment
- Follow manufacturer guidelines for installing your chosen flooring material over the underlayment.
- Make sure that the flooring is properly aligned and secured to prevent movement that could reduce soundproofing effectiveness.
By following these steps, you can maximize the sound-dampening properties of polyethylene foam underlayment, creating a quieter living environment between floors.
2. Acoustic Foam
Understanding the Principles Behind Acoustic Foam
Acoustic foam is designed to absorb sound vibrations, making it an effective tool for reducing noise. It is made of open-cell polyurethane or melamine, which disrupts sound waves by converting them into heat energy and reducing their strength. This feature makes it particularly useful for reducing echo and reverberation between floors.
Types and Applications of Acoustic Foam
There are different types of acoustic foam available, each suitable for various purposes:
- Wedge Panels: Ideal for general sound absorption.
- Egg Crate Panels: Commonly used in recording studios to improve sound clarity.
- Pyramid Panels: Effective for controlling middle to high frequencies.
- Bass Traps: Specifically designed to absorb low-frequency sounds.
For soundproofing floors, wedge panels and egg crate panels are often preferred due to their versatility and easy installation.
Tips on Proper Installation
To get the best results from using acoustic foam panels on floors:
- Preparation: Thoroughly clean the floor surface to ensure strong adhesion.
- Layout Planning: Arrange the panels in a staggered pattern to cover more surface area.
- Adhesive Application: Use a high-strength adhesive spray or double-sided tape made for acoustic foam.
- Placement: Press each panel firmly onto the floor, making sure there are no gaps between them.
- Edge Sealing: Seal the edges with acoustical sealant to prevent sound from escaping.
Following these steps will greatly enhance the noise reduction effectiveness of acoustic foam in your flooring setup.
3. Felt Underlayment
The Role of Felt Underlayment in Reducing Impact Noise Between Residential Floors
Felt underlayment acts as a cushion that absorbs impact noise, such as footsteps or dropped objects, which are common disturbances in multi-level homes. This sound-dampening material effectively reduces the transmission of these noises to lower levels, contributing to a quieter living environment.
Benefits Offered by Felt Underlayment as a Cost-Effective Soundproofing Solution for DIY Enthusiasts
Felt underlayment is an attractive option for those looking to improve sound insulation without spending excessively. Some key benefits include:
- Affordability: Felt underlayment is relatively inexpensive compared to other soundproofing materials.
- Ease of Installation: Its straightforward installation process makes it ideal for DIY projects.
- Environmental Friendliness: Many felt underlayments are made from recycled materials, offering an eco-friendly choice.
Proper Installation Techniques for Maximizing the Sound Dampening Effects of Felt Underlayment
To achieve optimal noise reduction, proper installation is critical. Follow these steps:
- Preparation: Clean the subfloor thoroughly to remove debris and ensure a smooth surface.
- Layout: Unroll the felt underlayment across the floor, ensuring it covers the entire area without gaps.
- Cutting: Trim the underlayment to fit snugly around corners and obstacles.
- Securing: Use adhesive or staples to fix the felt in place, preventing movement over time.
- Overlaying: Install your final flooring layer (e.g., hardwood, laminate) on top of the felt underlayment.
By following these guidelines, you can maximize the effectiveness of felt underlayment in dampening impact noise between floors.
4. Plywood Underlayment
Plywood underlayment is an important element in reducing airborne noise between floors. Its dense structure helps to block sound waves, decreasing the transfer of noise through the floor.
Strengths and Potential Drawbacks
Strengths:
- Durability: Plywood underlayment is strong and long-lasting.
- Cost-Effective: It is relatively affordable compared to other soundproofing materials.
- Versatility: It can be used with different types of flooring such as hardwood, laminate, and carpet.
Drawbacks:
- Weight: Plywood can make the floor heavier, which may not be suitable for all buildings.
- Installation Complexity: Installing plywood underlayment requires precise measurements and cutting, making it less suitable for DIY projects.
Key Considerations for Installation
- Preparation: Make sure the subfloor is clean, dry, and level before starting the installation.
- Cutting: Measure and cut the plywood sheets accurately to fit the floor area.
- Fastening: Use screws or nails to secure the plywood to the subfloor, spacing them evenly to avoid gaps.
- Sealing Joints: Apply acoustic sealant to the seams between plywood sheets to enhance soundproofing effectiveness.
Proper installation of plywood underlayment plays a crucial role in reducing noise and creating a quieter space by minimizing airborne sound transmission.
5. Acoustic Underlayment
Understanding how acoustic underlayment layers absorb sound is crucial for effectively reducing noise between floors. Acoustic underlayment works by absorbing sound vibrations and reducing their transmission through the floor structure. This method targets both airborne and impact noises, making it a versatile solution for various noise issues.
Different types of acoustic underlayment products are available, each with specific soundproofing characteristics:
- Rubber Underlayment: Known for its durability and superior sound absorption capabilities.
- Cork Underlayment: Eco-friendly and effective in dampening noise.
- Foam Underlayment: Lightweight and easy to install, offering moderate soundproofing benefits.
To install acoustic underlayment correctly for maximum noise reduction benefits, follow these steps:
- Prepare the Subfloor: Ensure the subfloor is clean, dry, and free of any debris.
- Roll Out the Underlayment: Start at one end of the room and roll out the acoustic underlayment, ensuring it fits snugly against walls and edges.
- Cut to Size: Use a utility knife to trim excess material for a precise fit.
- Tape Seams Together: Secure seams with specialized tape to prevent gaps that could allow sound transmission.
- Install Flooring Over Underlayment: Lay your chosen flooring material directly over the underlayment, following manufacturer guidelines.
Proper installation ensures optimal performance, enhancing your indoor environment by significantly reducing floor-to-floor noise transmission.
6. Cement Board
The Role of Cement Board in Sound Isolation
A cement board is an effective soundproofing solution due to its mass and density, which are critical in blocking and reducing noise transmission between floors. By adding substantial weight, a cement board can significantly impede the travel of sound waves, offering better sound isolation.
Benefits and Limitations
Using cement board for floor soundproofing comes with several benefits:
- Durability: The cement board is highly durable and resistant to moisture, making it suitable for various environments.
- Fire Resistance: It offers additional fire resistance, contributing to overall safety.
- Acoustic Performance: Its density helps in reducing both airborne and impact noise.
However, there are limitations to consider:
- Weight: The added weight can be a structural concern for some buildings.
- Installation Complexity: Installing cement boards requires careful handling and proper techniques to avoid damage.
Proper Installation Methods
For effective utilization of cement board as a noise control material:
- Preparation: Ensure the subfloor is clean and level before installation.
- Cutting: Use appropriate tools such as a carbide-tipped scoring knife or saw to cut the cement board to size.
- Positioning: Lay the cement board panels with staggered joints to avoid alignment with subfloor seams.
- Securing: Use corrosion-resistant screws or nails, spaced approximately 8 inches apart along the edges and 10-12 inches apart in the field.
- Sealing Joints: Apply mesh tape and a thin layer of mortar over joints to create a seamless surface.
These steps help maximize the acoustic benefits while ensuring structural integrity and longevity.
7. Carpeting and Padding
Carpeting, when paired with thick padding, can significantly reduce both impact noise and airborne noise transmission between floors. The soft surface of the carpet absorbs sound waves, while the padding beneath acts as an additional barrier, dampening vibrations.
Benefits of Using Carpeting with Thick Padding
Carpeting with padding offers several advantages when it comes to soundproofing your floors:
- Reduces Impact Noise: Carpeting with padding effectively reduces footfall noise, making it ideal for high-traffic areas.
- Absorbs Airborne Noise: Thick carpets and padding absorb airborne noises such as conversations, music, and TV sounds.
- Provides Comfort: Apart from noise reduction, carpeting adds a layer of comfort underfoot.
Important Considerations and Installation Tips
Before installing carpeting with padding for soundproofing purposes, keep these factors in mind:
- Choose the Right Thickness: The effectiveness of carpeting in soundproofing is directly proportional to its thickness. Opt for high-density carpets and pads.
- Select Sound Absorbing Materials: Choose materials specifically designed for sound absorption to maximize noise reduction.
- Regular Maintenance is Key: Regular cleaning is essential to maintain the effectiveness of the carpet and padding over time.
Here are some tips for proper installation of carpeting with padding:
- Ensure the subfloor is clean and free from debris before laying down any materials.
- Start by laying the padding evenly across the entire floor area. Use double-sided tape to secure it in place.
- Roll out the carpet over the padding. Make sure it fits snugly against walls and corners. Use a carpet stretcher to eliminate any wrinkles.
- For large rooms where multiple pieces of carpet meet, use seam tape to prevent sound leaks through gaps.
By following these guidelines and combining carpeting with thick padding, you can create an effective floor soundproofing solution that improves the overall acoustics of your home.
8. Insulation Between Floors
Insulation between floors is crucial for filling gaps and blocking sound transfer paths between different levels of a building. It plays a significant role in controlling noise by addressing the spaces through which sound can travel.
Types of Insulation Suitable for Floor Soundproofing
1. Fiberglass Insulation
- Effective at absorbing sound waves.
- Commonly used in residential buildings.
2. Mineral Wool Insulation
- Offers superior acoustic performance.
- Resistant to heat and fire, adding extra safety benefits.
3. Cellulose Insulation
- Made from recycled materials.
- Dense composition helps in blocking both airborne and impact noises.
Installation Methods for Enhanced Noise Control
Method 1: Between Joists
Insert insulation material between floor joists to create a barrier that disrupts sound waves travelling through the structure.
Method 2: Floating Floor Systems
Incorporate insulation within floating floor systems to achieve additional layers of sound dampening, isolating vibrations more effectively.
Method 3: Ceiling Cavities
Fill ceiling cavities with insulation to prevent noise from penetrating through ceilings into lower floors.
Proper installation is key to maximizing the effectiveness of these methods. Ensure that insulation fits snugly without leaving gaps and is adequately secured to avoid settling over time, which can reduce its noise-blocking capabilities.
Choosing the Right Soundproofing Methods for Your Floors
Selecting the appropriate soundproofing methods for your floors involves several key factors. Different floor structures and noise issues require tailored soundproofing solutions to achieve the desired results.
1. Type of Noise:
- Impact Noise: Footsteps, furniture movement.
- Airborne Noise: Voices, music, TV sounds.
2. Floor Structure:
- Hardwood floors may benefit from polyethylene foam underlayment or carpeting and padding.
- Concrete floors might require more robust solutions like cement boards for mass and density.
3. Budget Constraints:
- Felt underlayment offers a cost-effective solution for DIY enthusiasts.
- Higher-end options like acoustic underlayment provide superior performance but at a higher cost.
4. Installation Requirements:
- Some methods, such as using plywood underlayment, may involve more complex installation processes.
- Simpler installations can be achieved with acoustic foam panels or insulation materials between floors.
5. Desired Level of Sound Reduction:
- For minimal noise reduction, basic options like carpeting and padding might suffice.
- For significant noise reduction, combining multiple methods (e.g., acoustic underlayment + insulation) can yield better results.
Evaluating these factors helps you choose the best soundproofing methods tailored to your specific needs, ensuring effective noise control between floors.
Conclusion
Implementing soundproofing methods to soundproof between floors can significantly enhance your living environment by reducing unwanted noise. Each method discussed offers unique advantages in dampening noise, and choosing the right one depends on your specific needs.
- Take action: Apply one or more of the soundproofing techniques such as Polyethylene Foam Underlayment, Acoustic Foam, or Carpeting and Padding.
- Peaceful environment: Addressing floor-to-floor noise transmission is crucial for maintaining a tranquil indoor atmosphere.
- Manage expectations: While these methods effectively reduce noise levels, achieving complete silence may not be feasible without major structural modifications.
Incorporate these practices to create a quieter, more comfortable living space. Soundproofing between floors not only adds value to your home but also improves daily life quality.
FAQs (Frequently Asked Questions)
How does polyethylene foam underlayment work on soundproof floors?
Polyethylene foam underlayment works by providing a cushioning layer between the subfloor and the finished floor, which helps to absorb and reduce impact noise transmission. It also helps to create an air gap that can further dampen sound vibrations travelling between floors.
What are the advantages of using polyethylene foam underlayment for effective sound insulation between floors?
Polyethylene foam underlayment offers advantages such as ease of installation, affordability, and versatility in accommodating different types of finished flooring. It also provides reliable soundproofing performance by reducing impact noise and minimizing airborne sound transmission.
How does plywood underlayment contribute to the isolation of airborne sounds between adjacent floors?
Plywood underlayment contributes to the isolation of airborne sounds by adding mass and density to the floor structure, which helps to block the transmission of sound waves. When installed correctly, it can effectively reduce the transfer of airborne noise between floors.
What is the role of cement board in providing mass and density for sound isolation between floors?
Cement board plays a crucial role in providing mass and density for sound isolation between floors. Its heavy and rigid composition helps to reduce the transmission of impact noises and airborne sounds, contributing to overall noise control within a building or home environment.
How can carpeting combined with thick padding help in reducing both impact and airborne noise transmission between residential floors?
Carpeting combined with thick padding can help in reducing impact noise by absorbing footfall and other physical impacts. Additionally, the soft materials act as a barrier to airborne sound transmission, effectively dampening noise between floors when installed correctly.
What factors should be considered when selecting the most appropriate soundproofing approach for specific floor structures and noise issues?
When choosing the right soundproofing methods for your floors, it’s important to consider factors such as the type of noise (impact or airborne), the existing floor construction, budget constraints, and long-term maintenance requirements. Additionally, assessing the specific noise issues within the building or home environment is crucial for selecting an effective solution.